Re: Oak Control, Yaskawa Servos, on Brand New Rigid Head Bed Mill with ATC
Posted: Sun Dec 08, 2019 12:09 pm
by jhenise
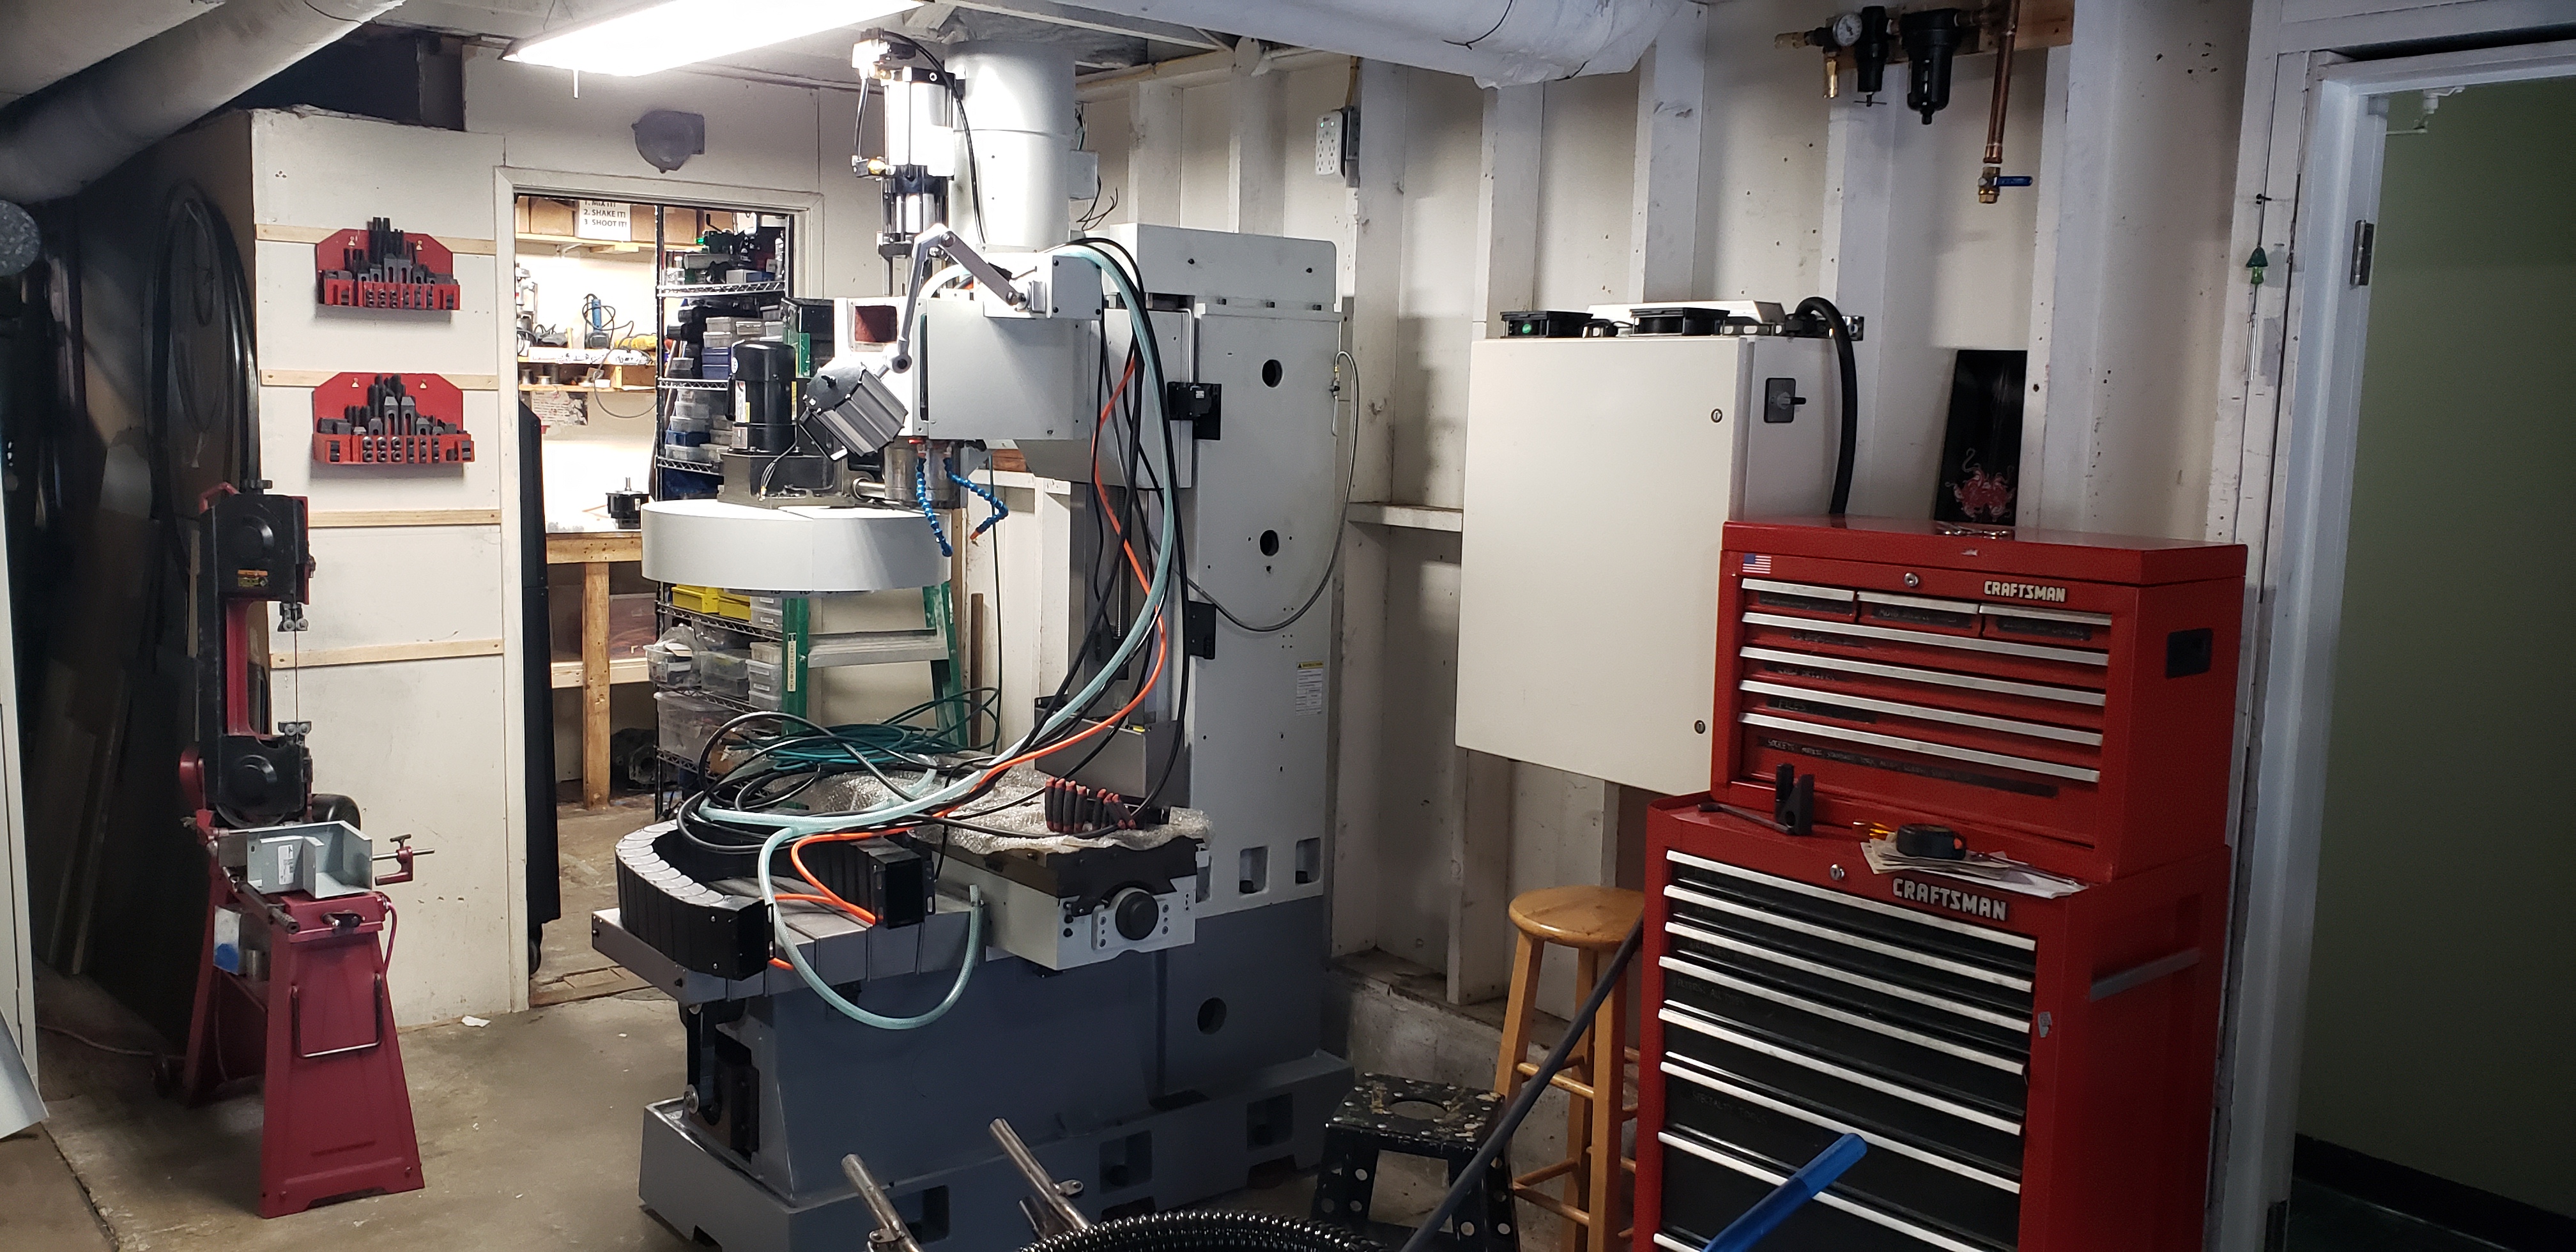
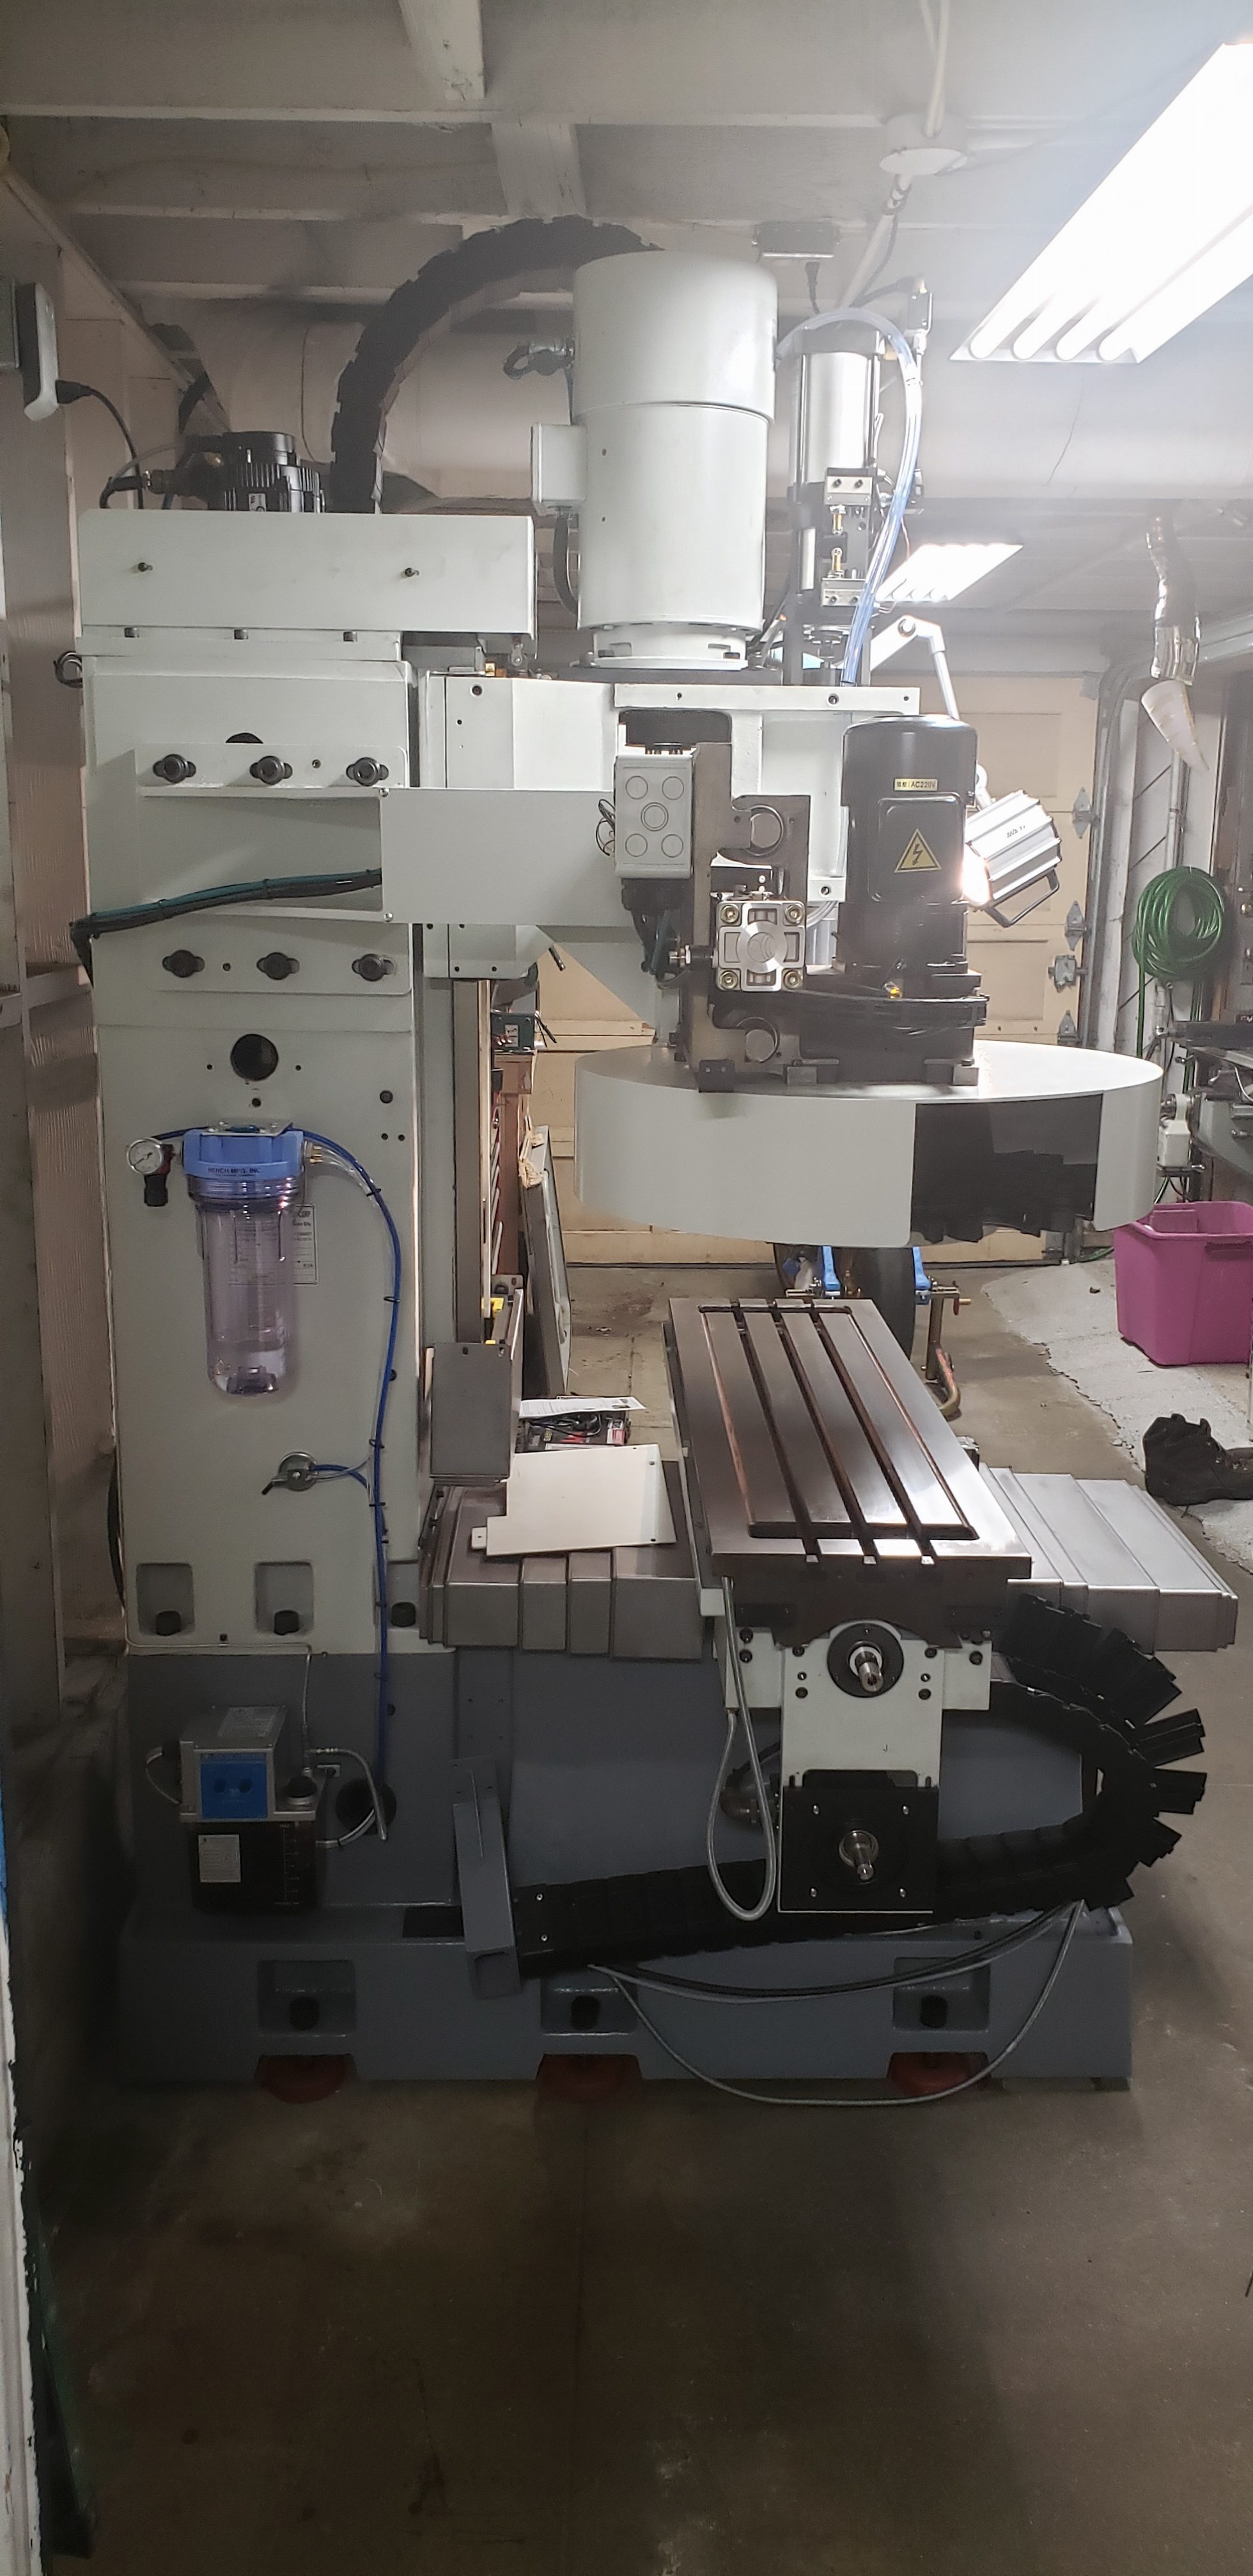
Since this mill is installed in a garage space is a premium. It is not practical to mount the electronics cabinet on the back of the machine as seems to be pretty standard, requiring about 3 feet clearance behind the machine to open the cabinet door. I want to place the machine with the back against a wall to save space with the cabinet mounted on the wall next to the mill.
like this...
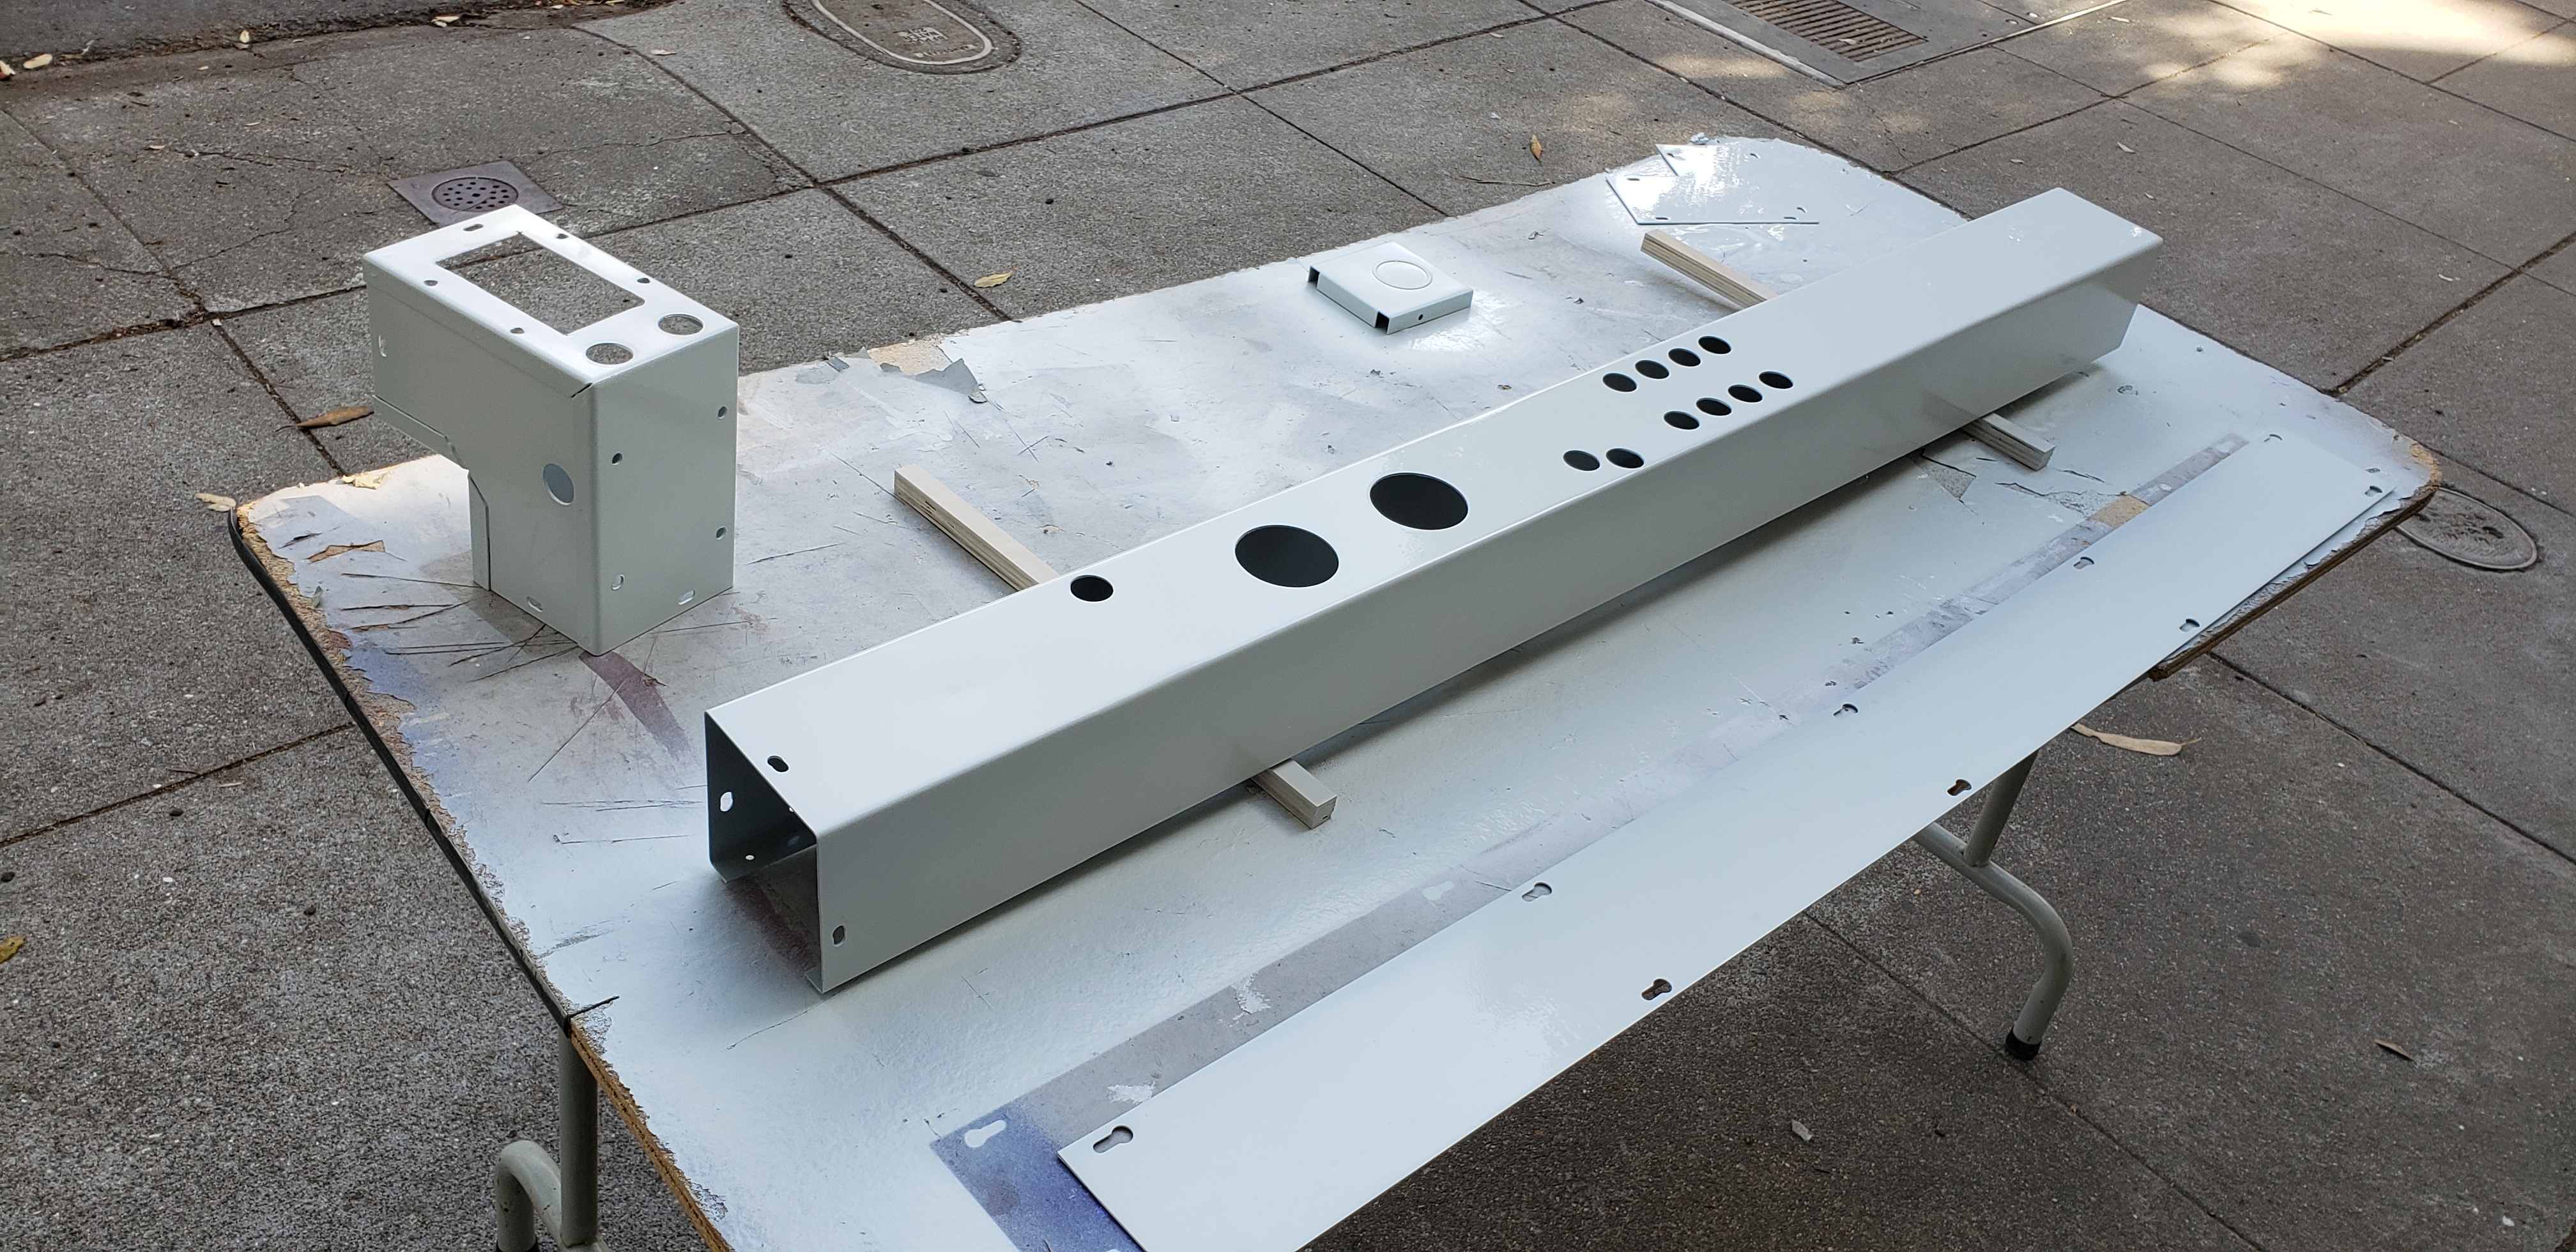
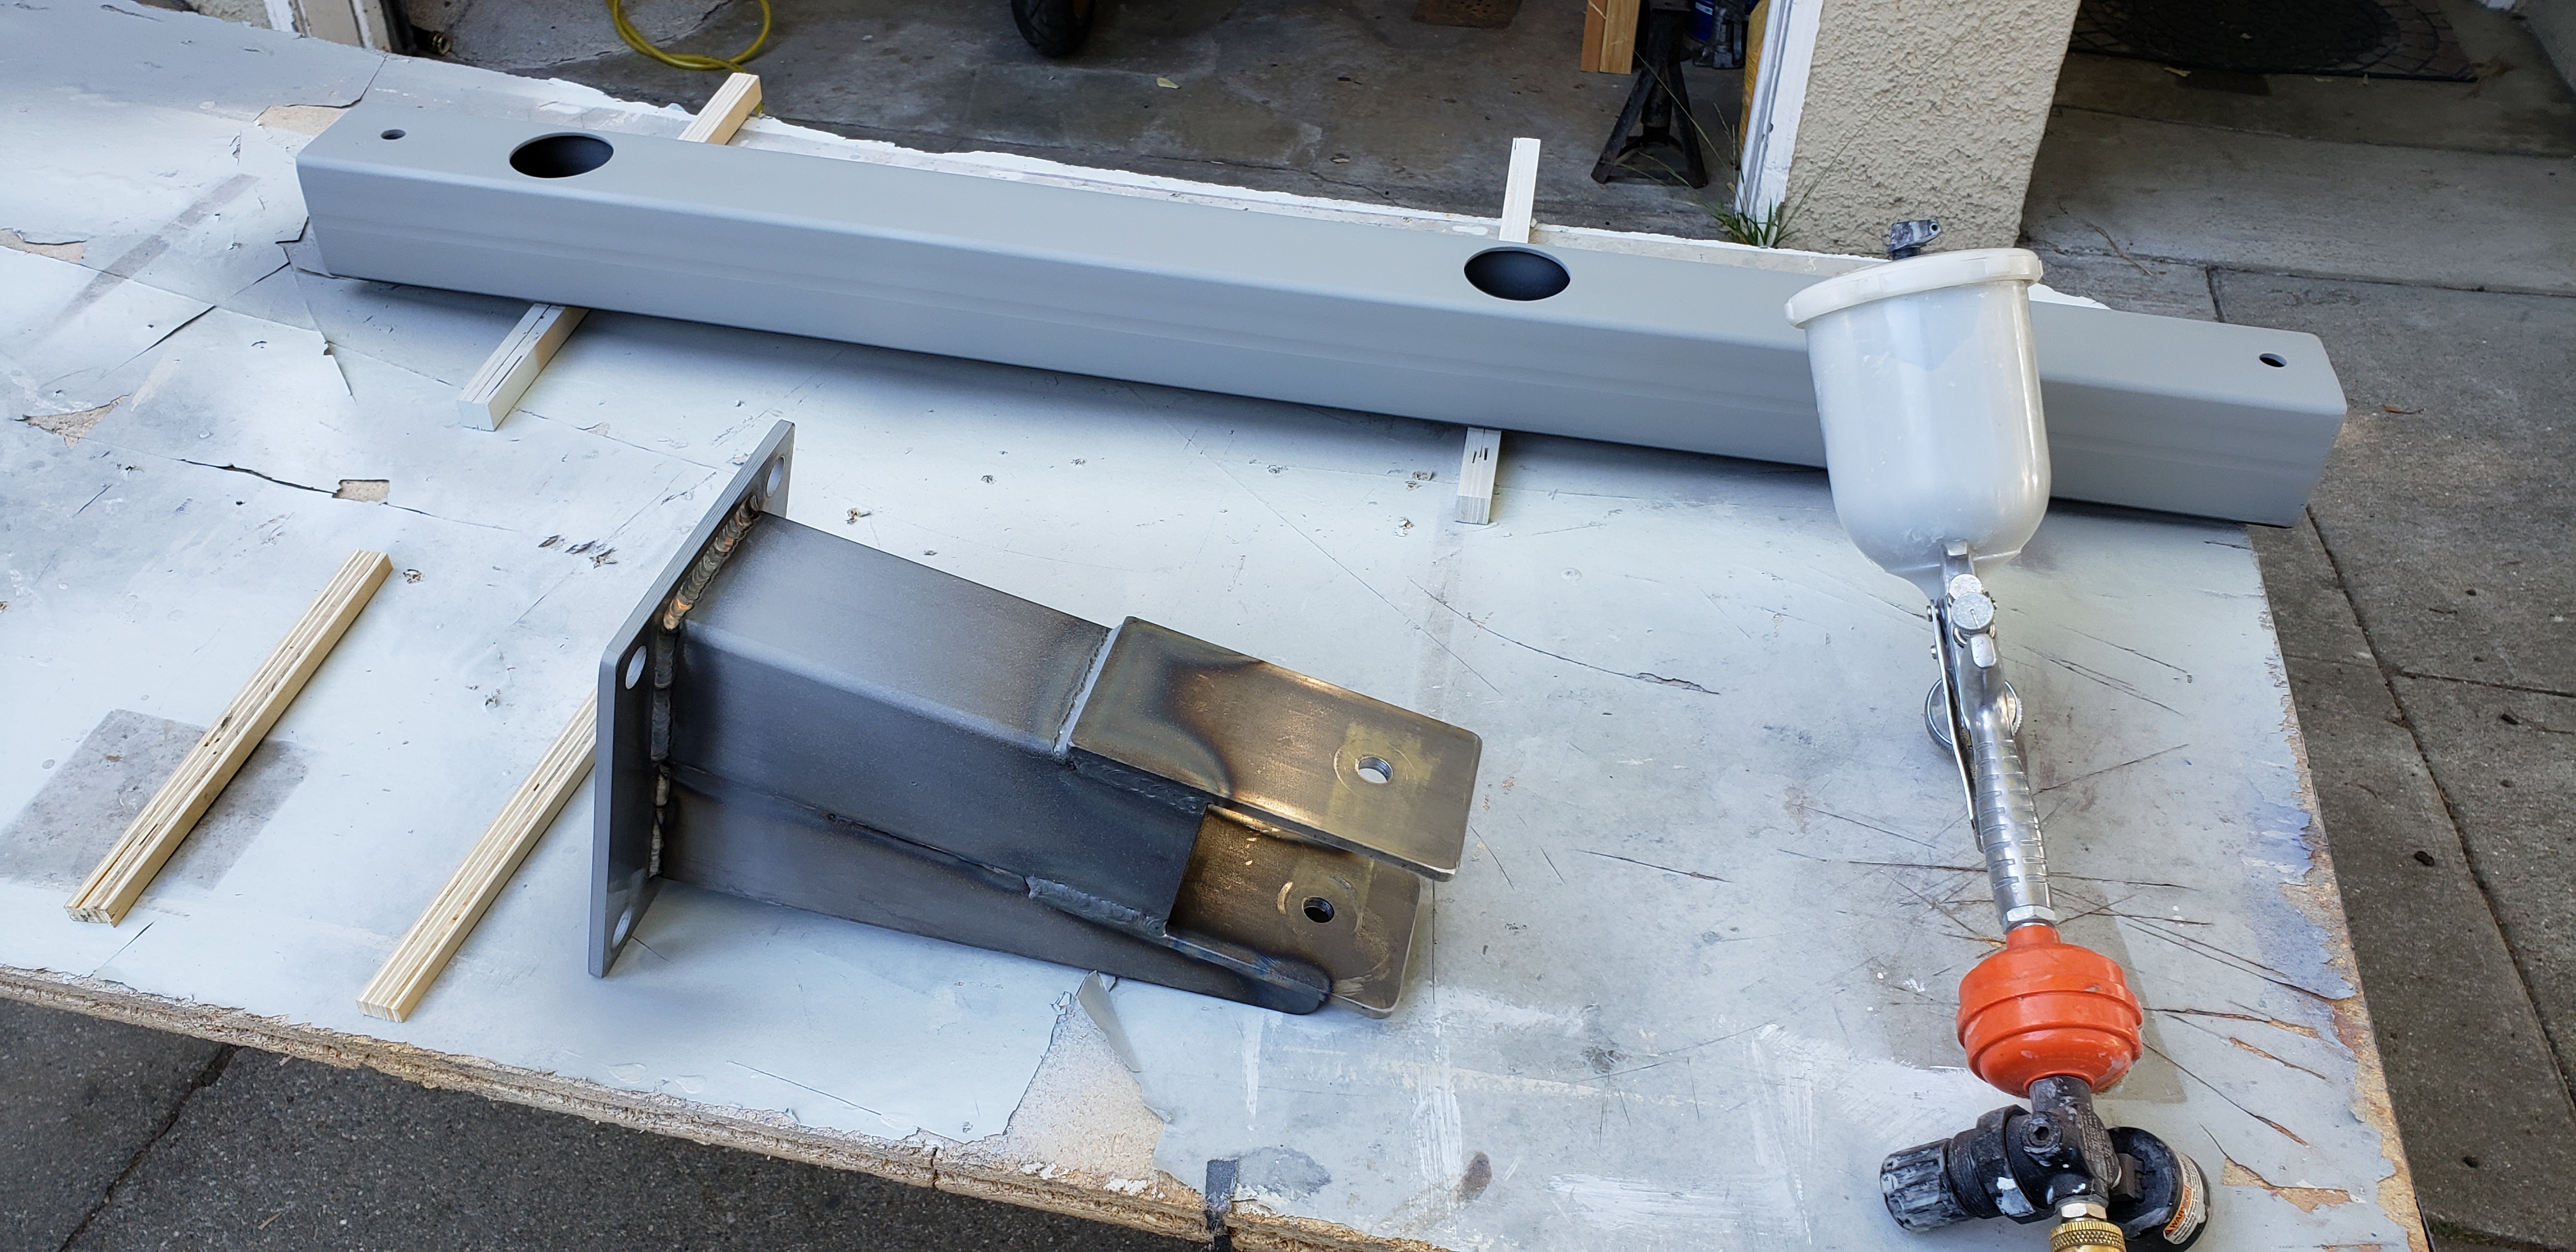
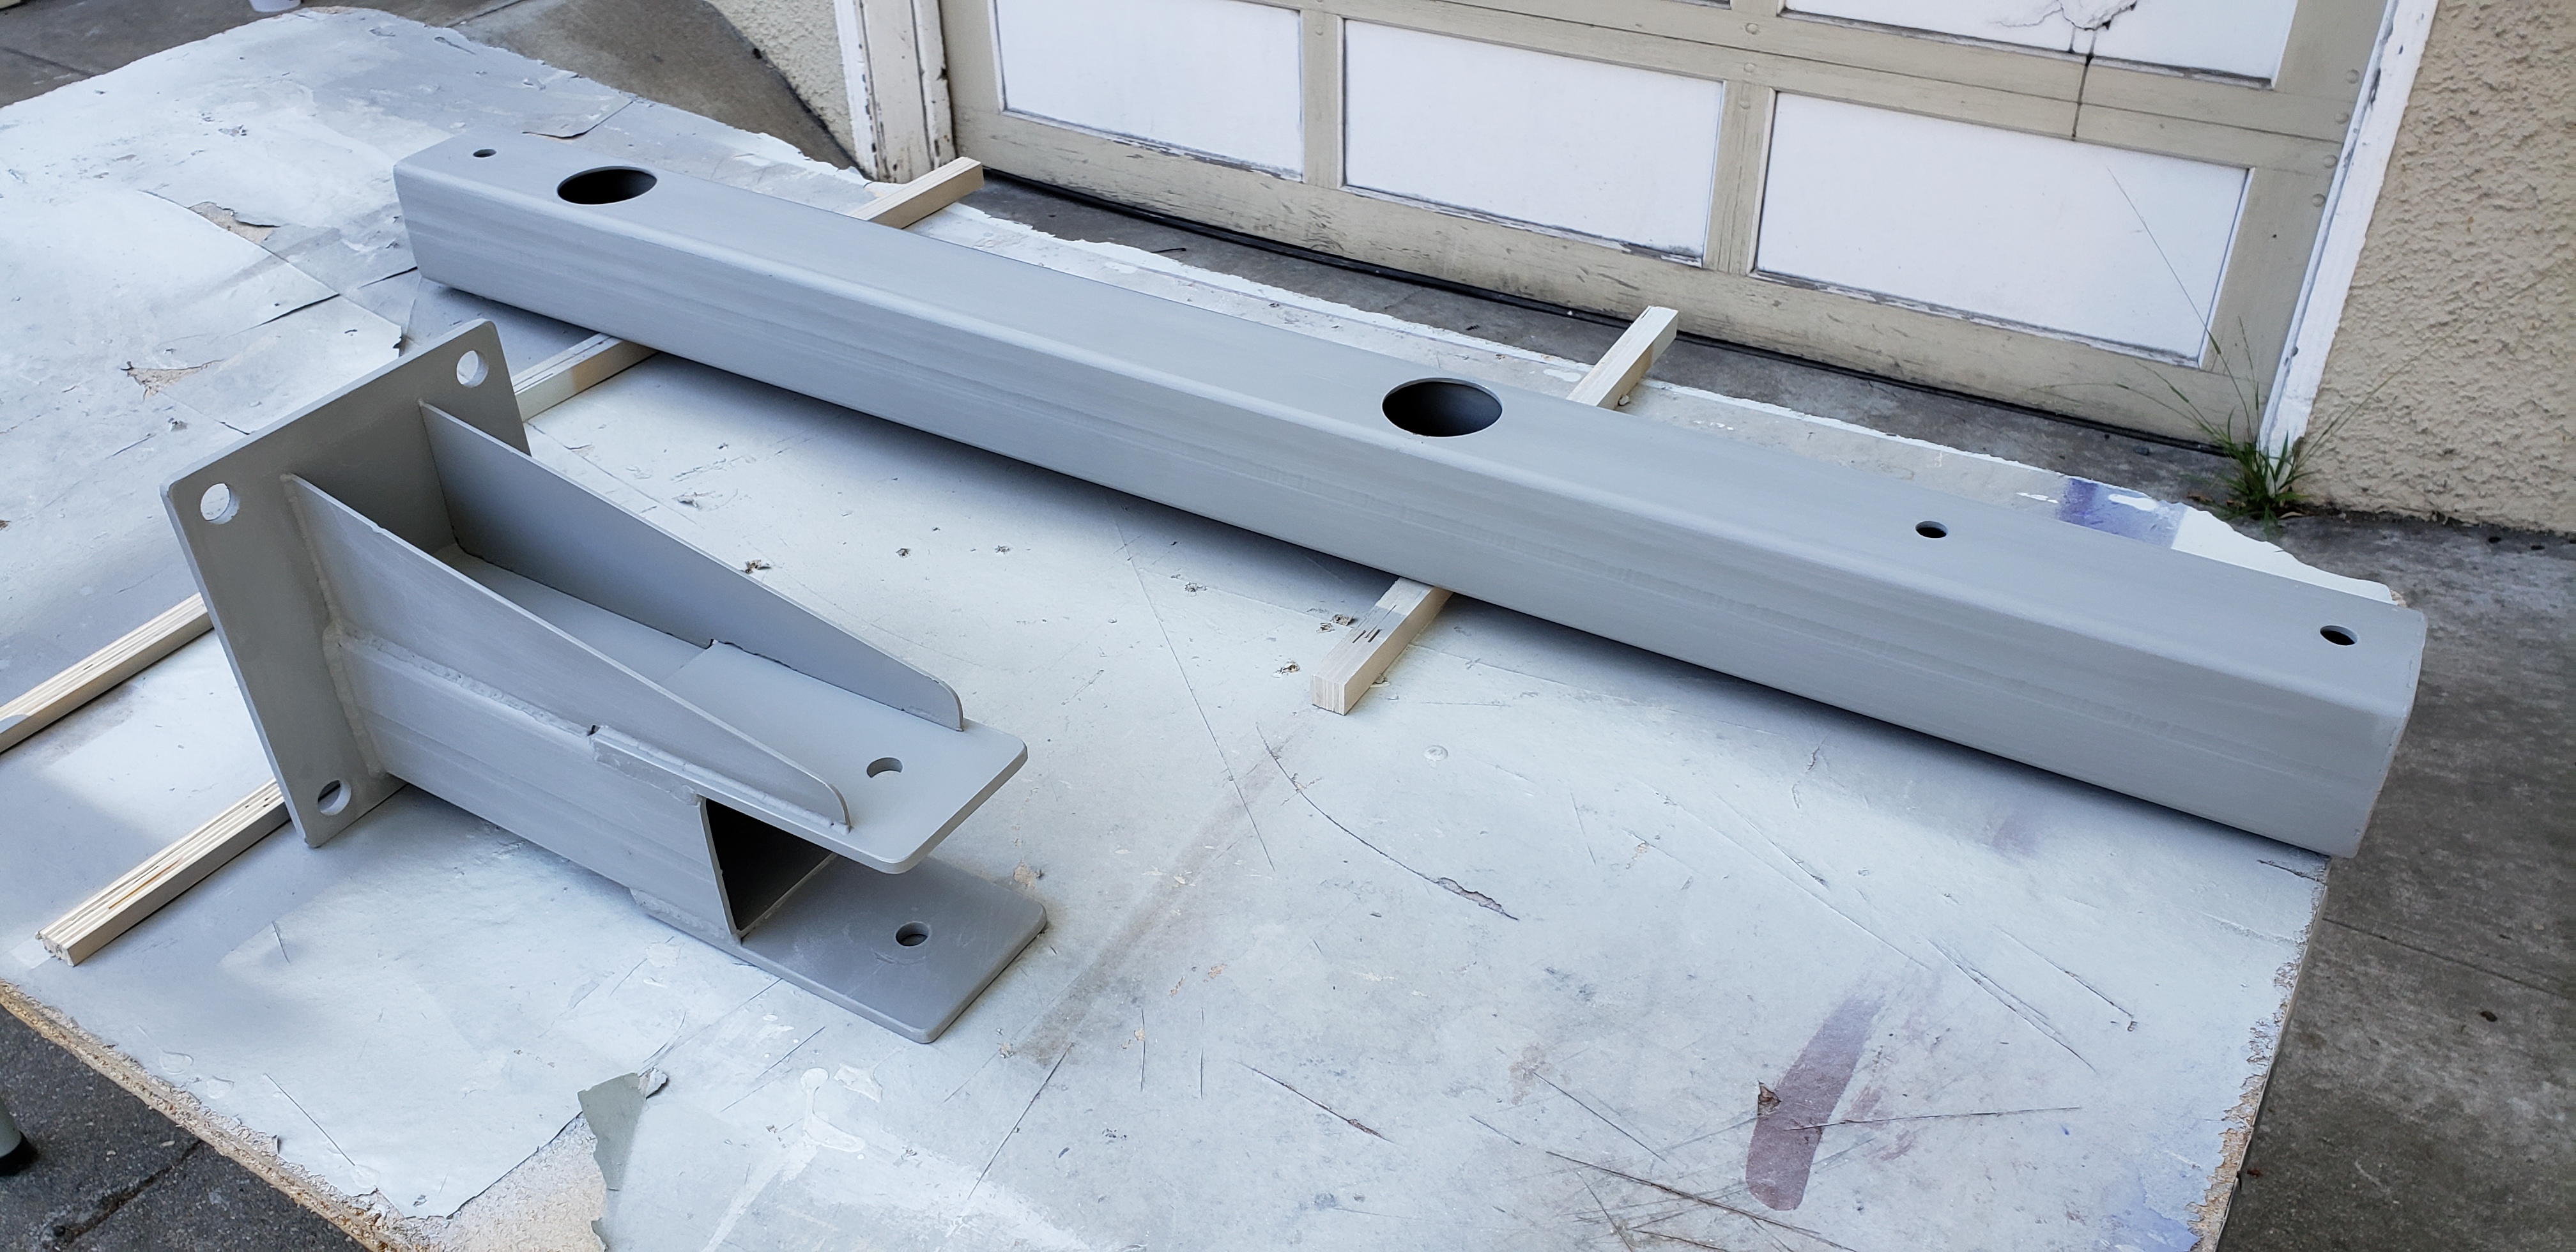
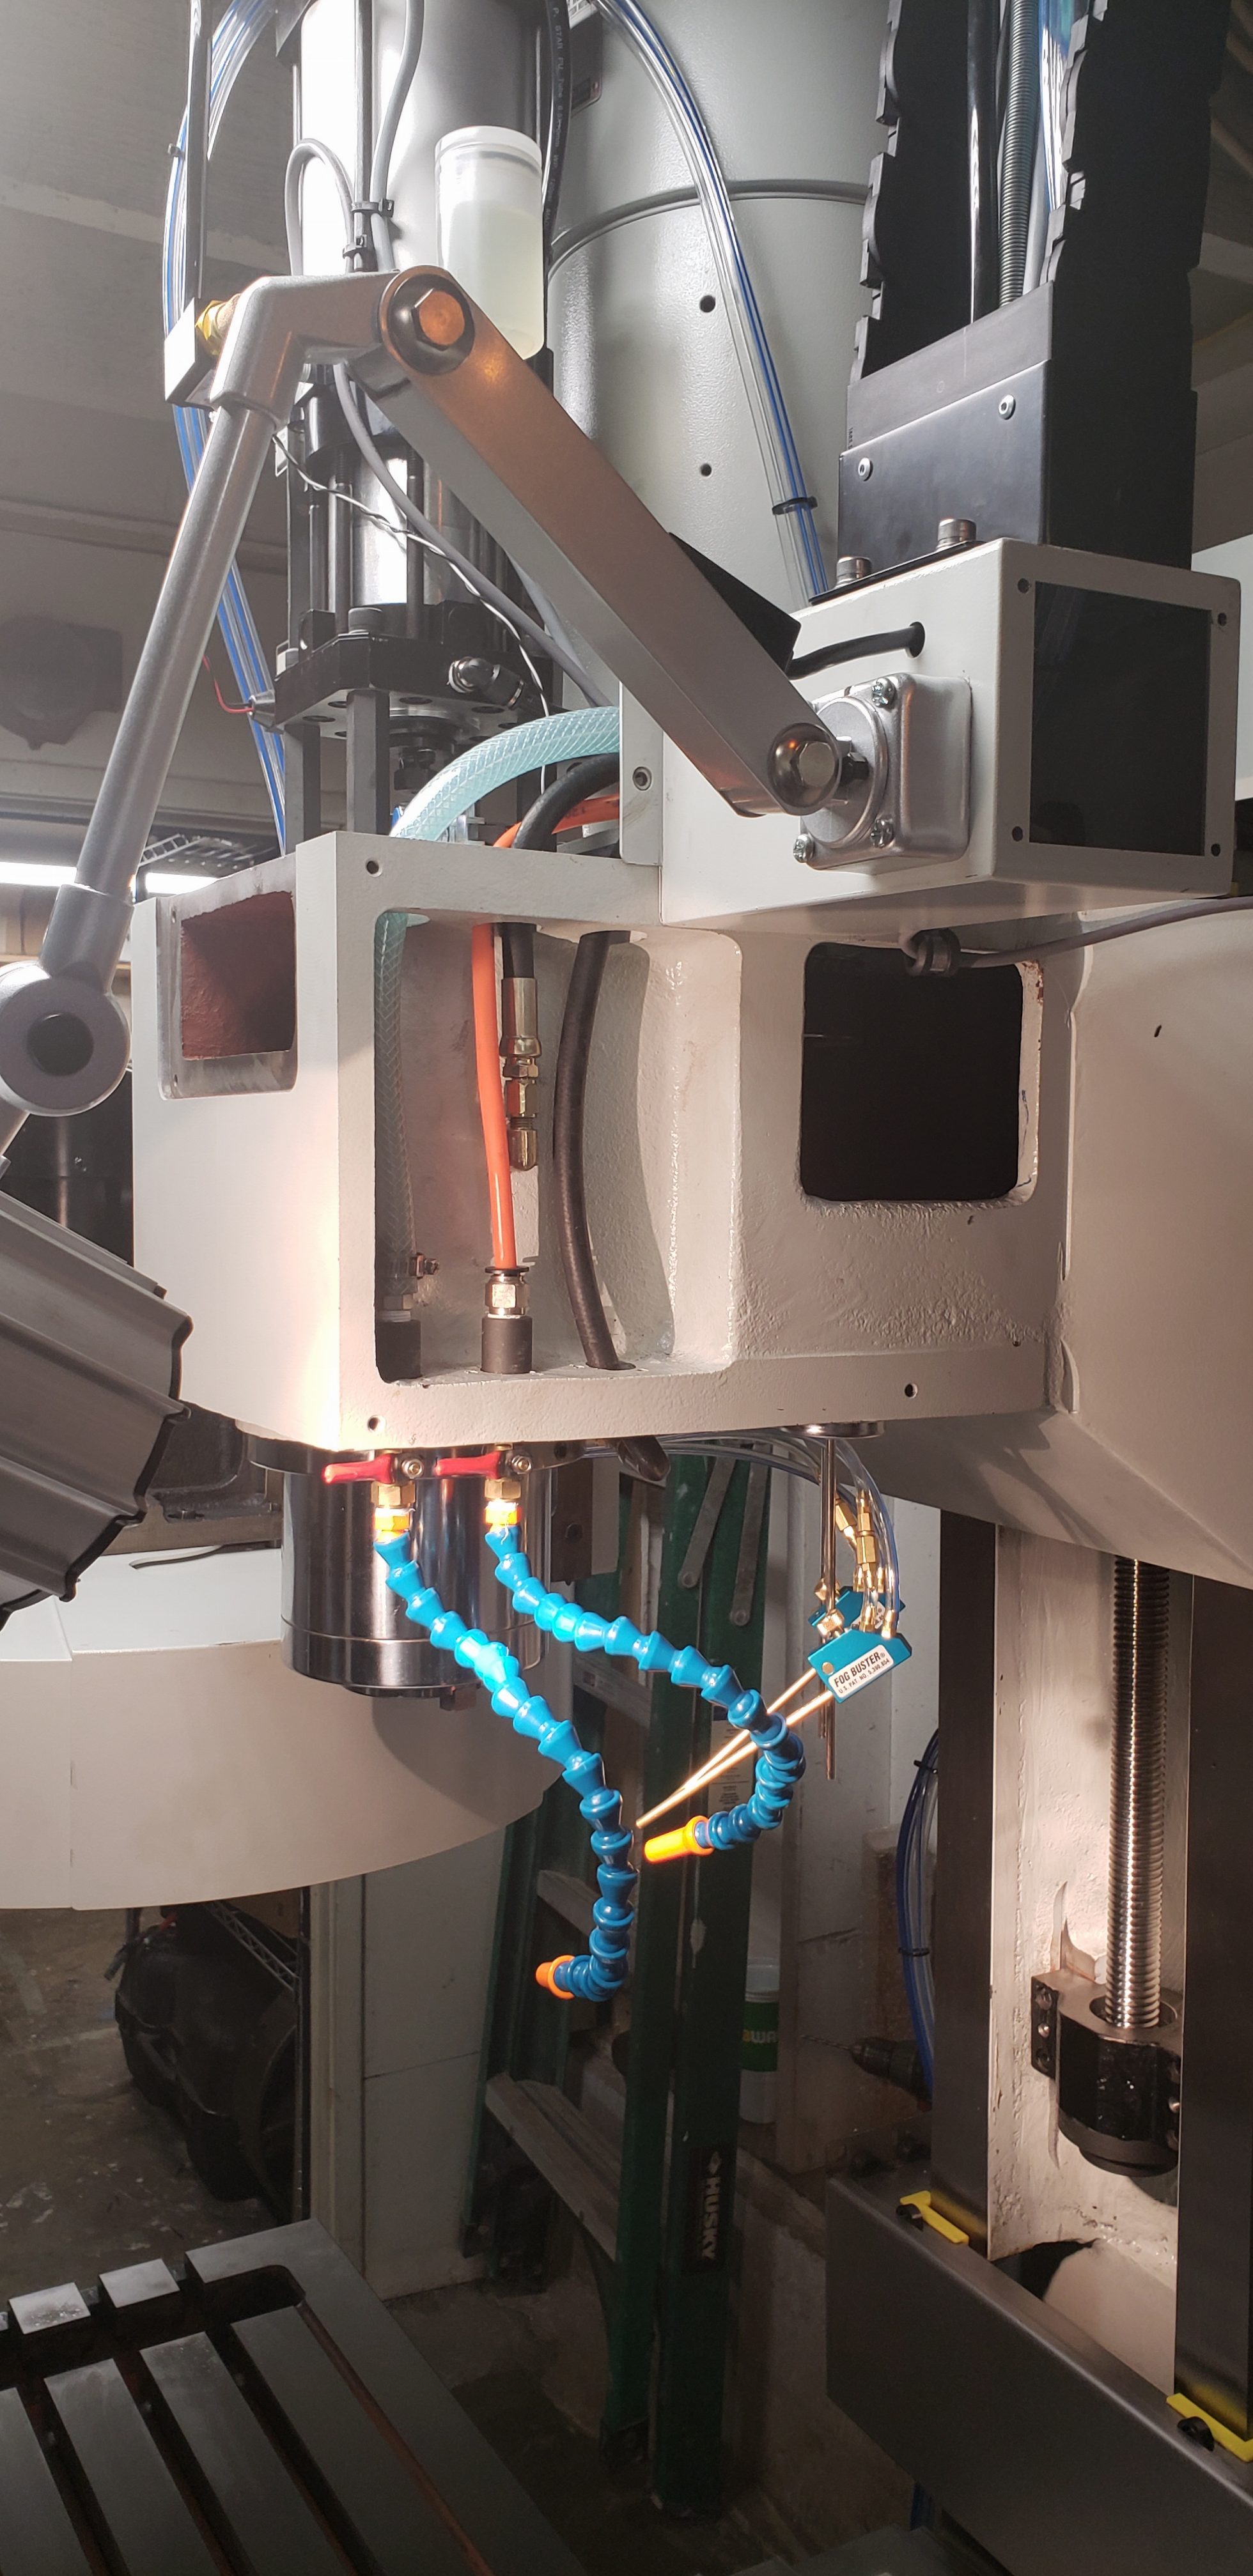
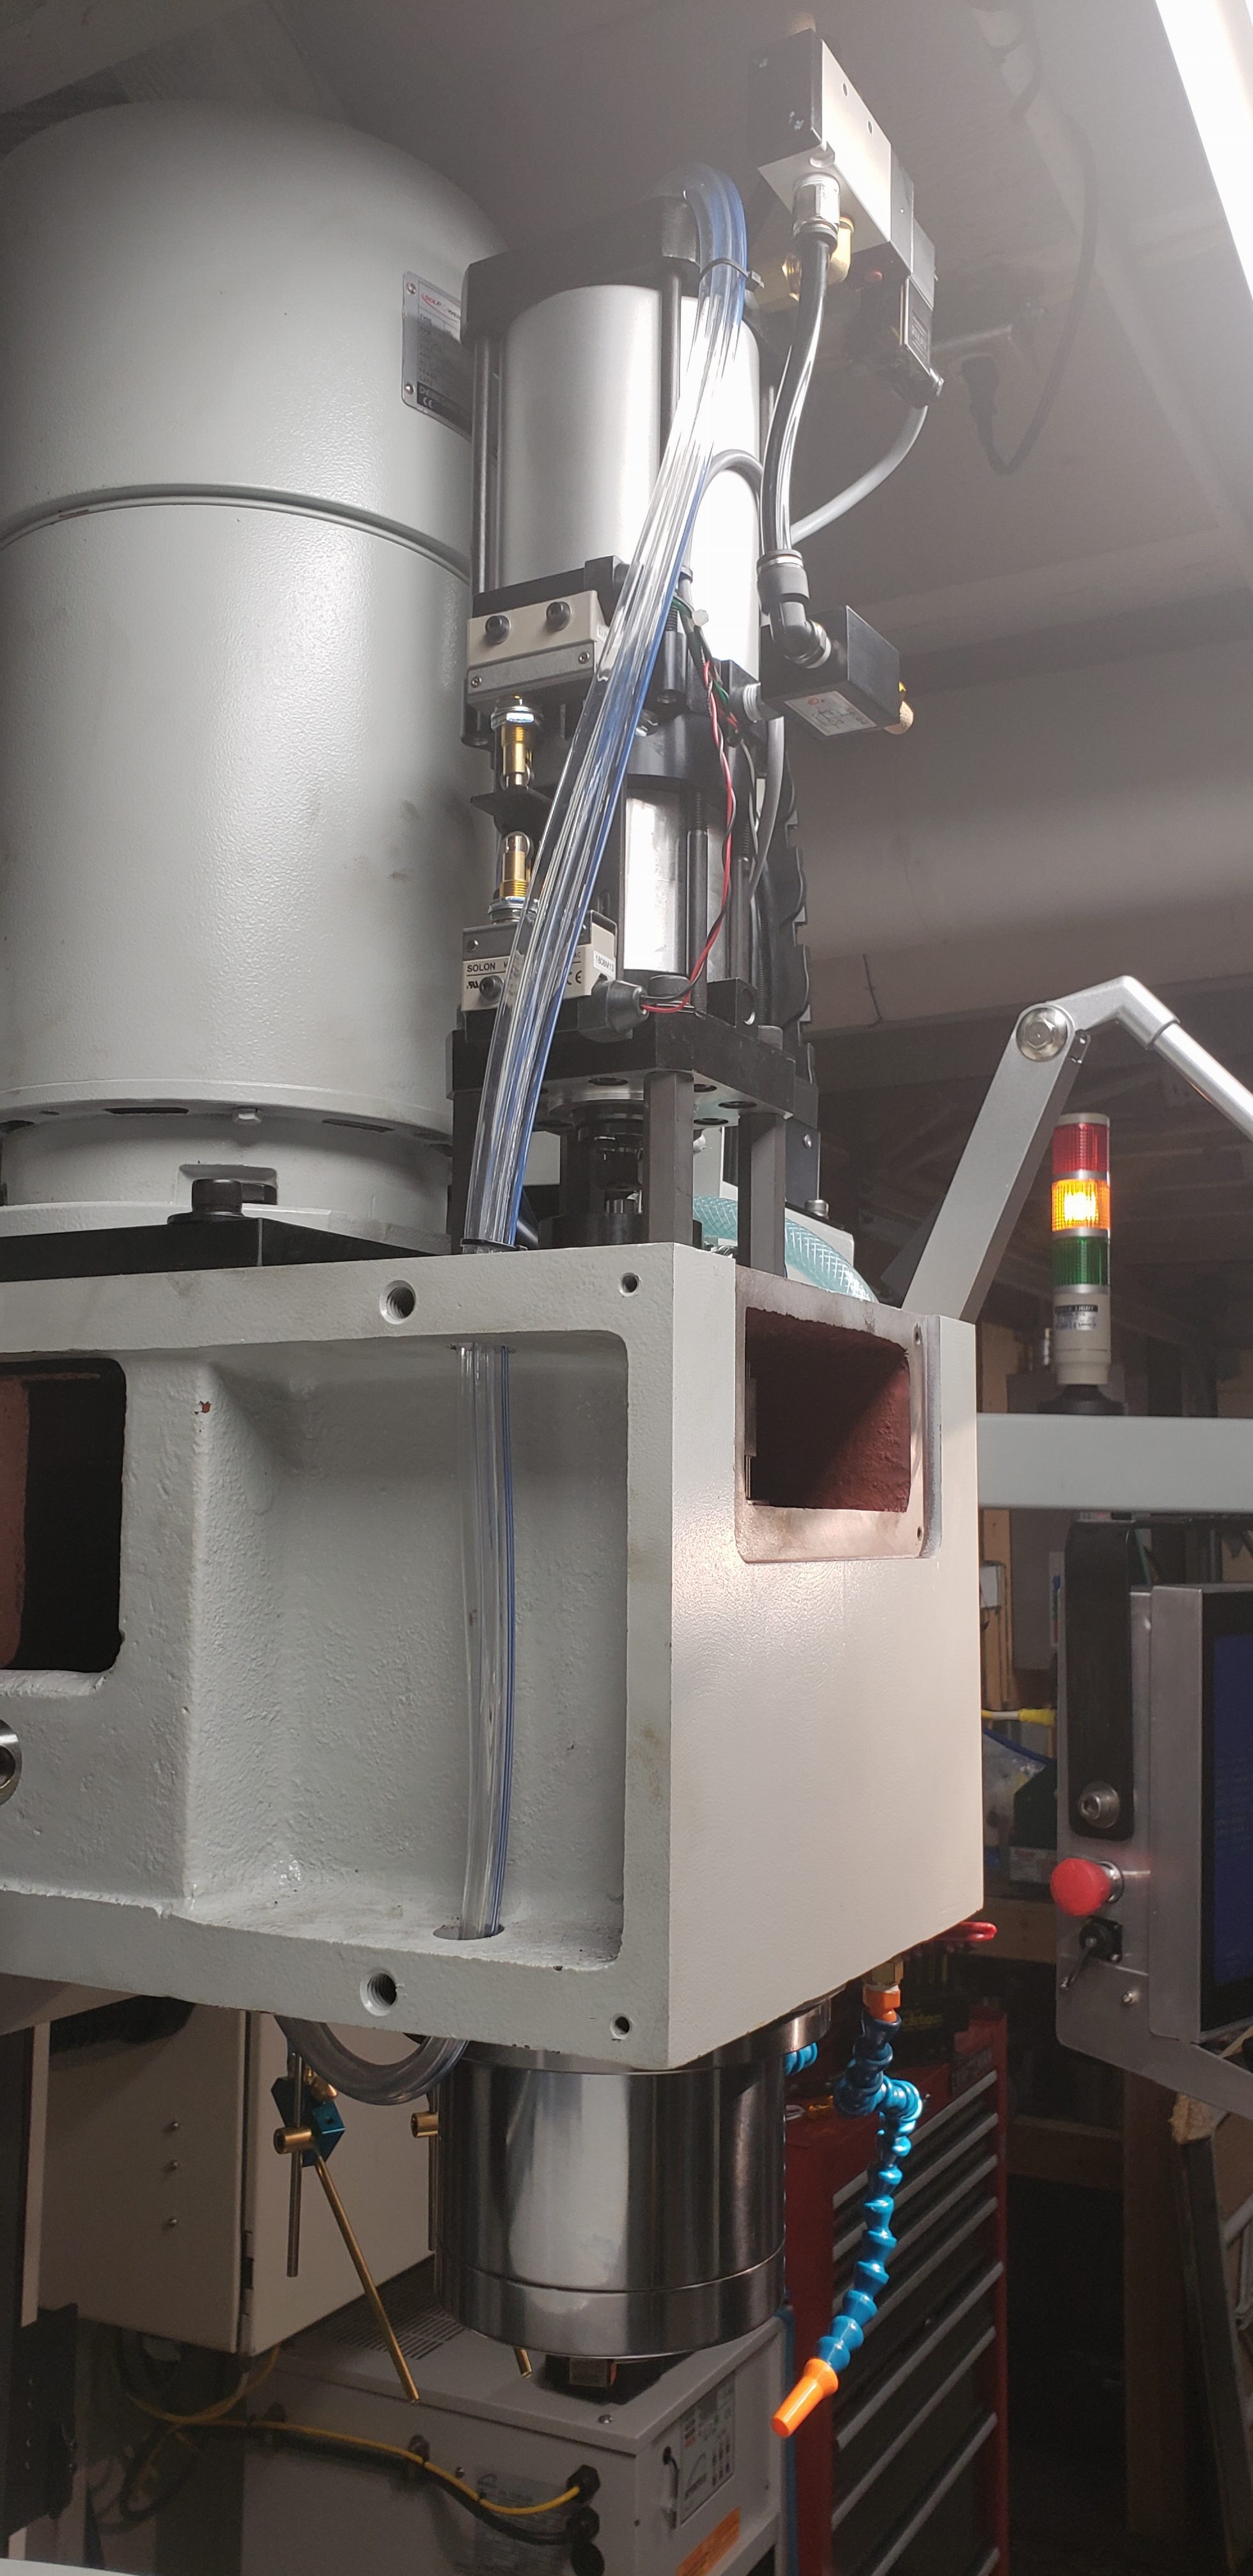
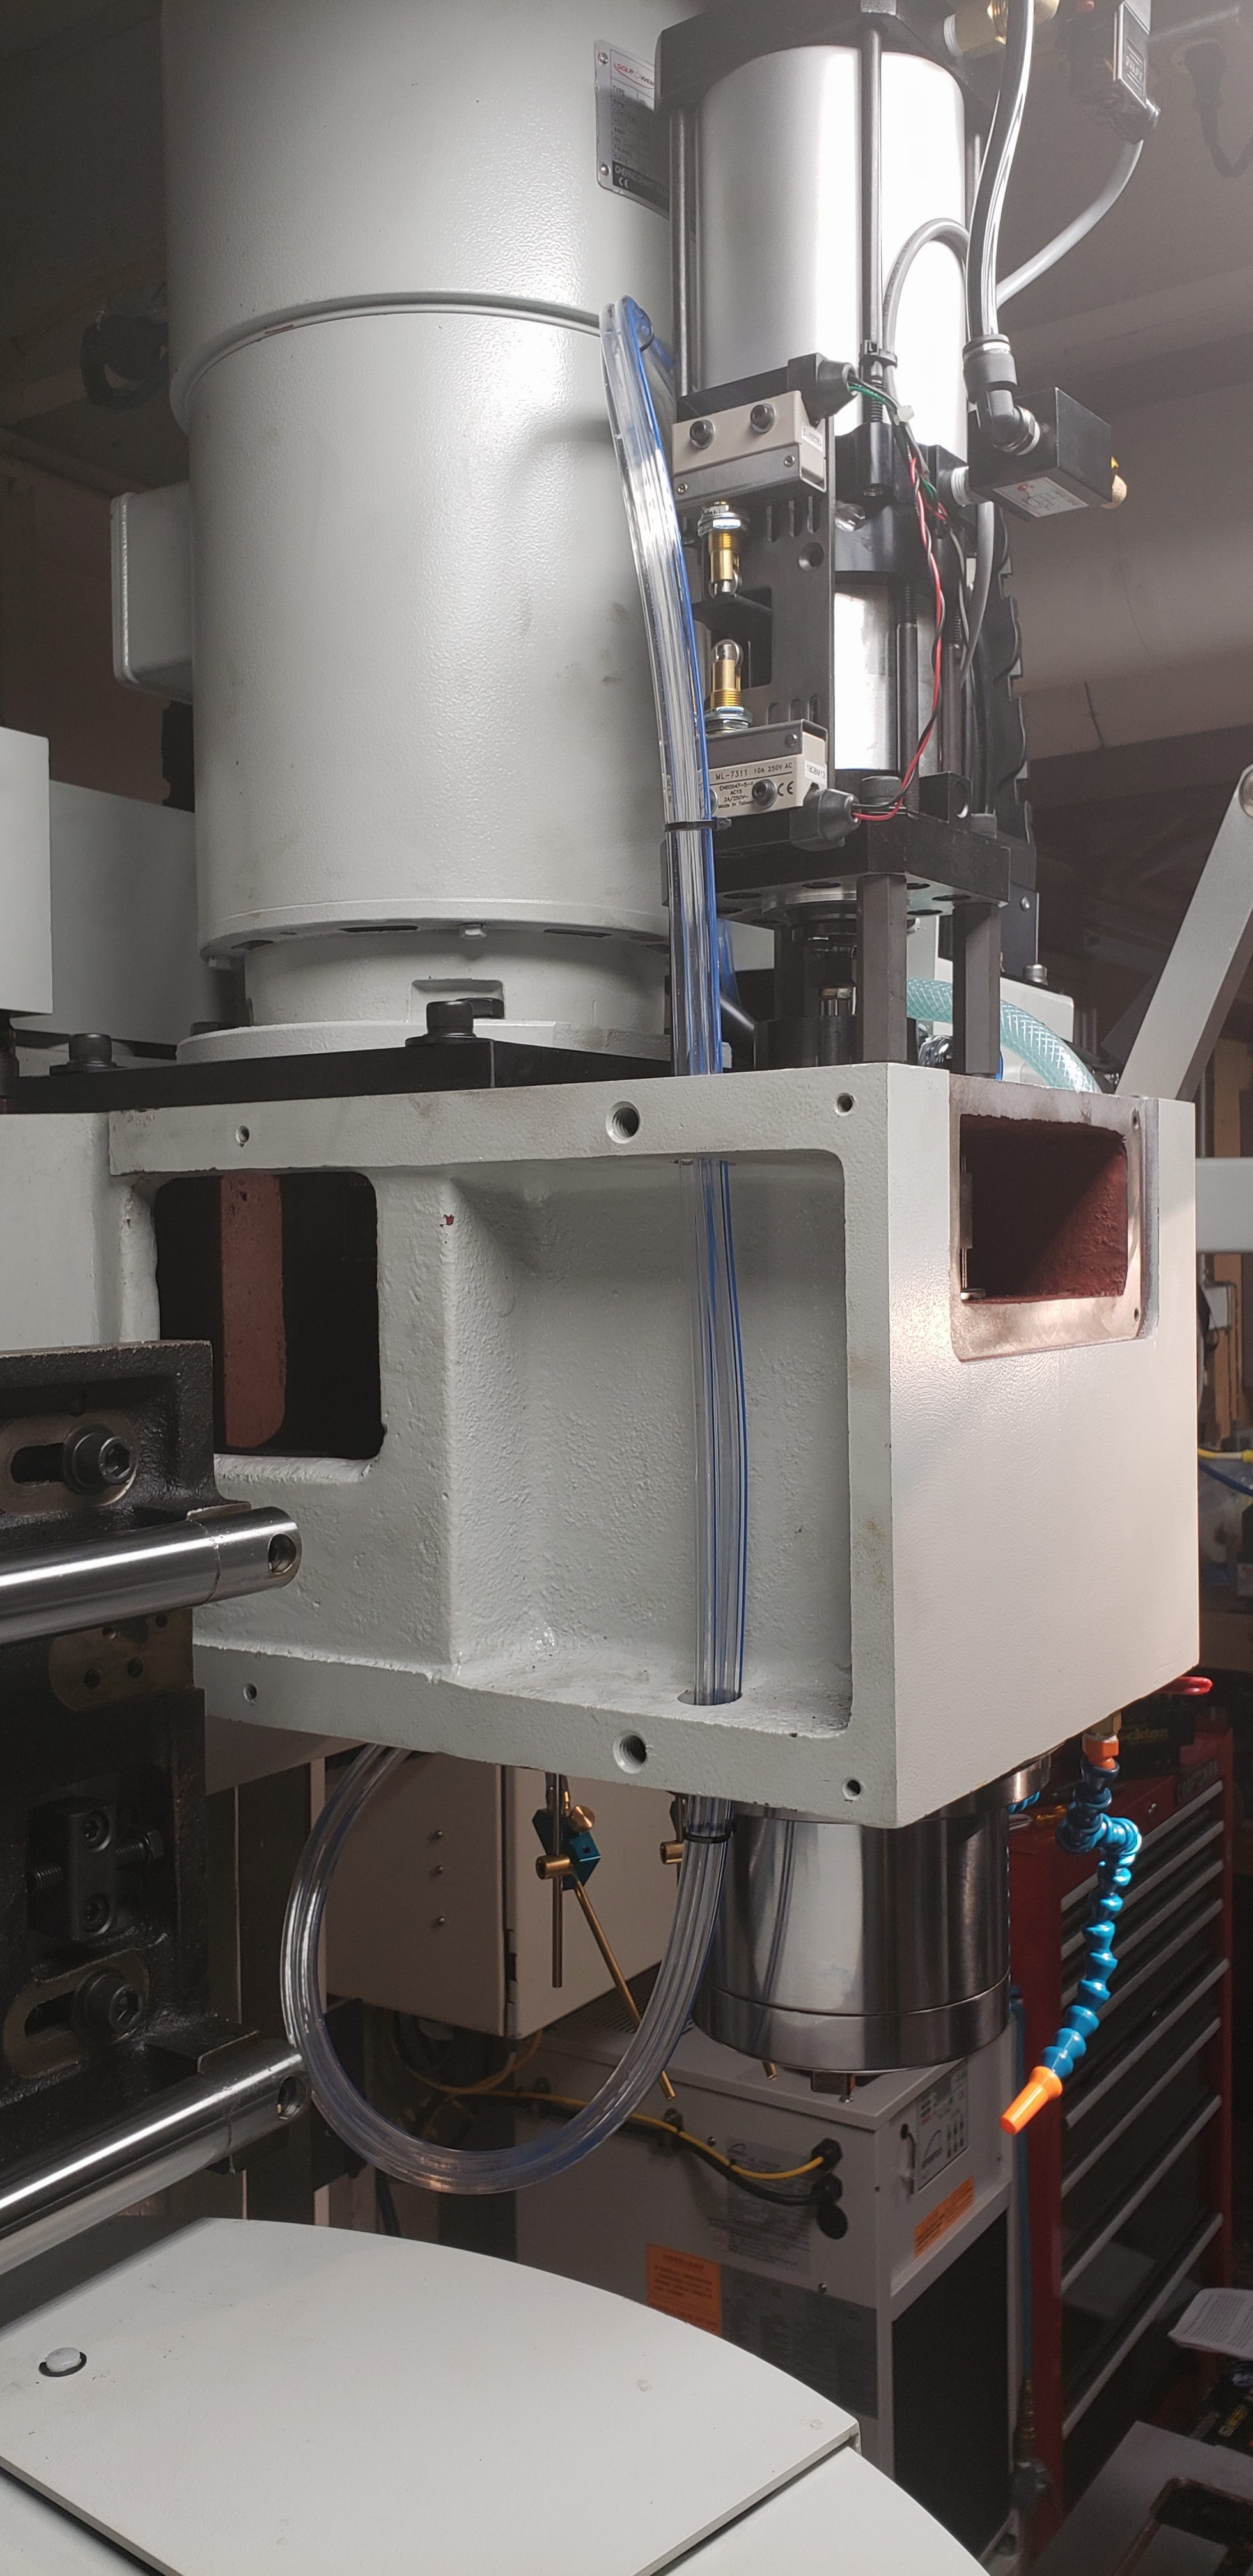
On rigid head mills there is usually a cable carrier that runs from the spindle head back to the electronics cabinet, since my cabinet is on the wall it is not inline with the head. You can see in the photo above the mess of flood coolant lines, air lines, oil lines, and soon to come electrical wires, that must move up and down with the head. A continuous flex conduit could be used but the path is awkward off to the side between the head and cabinet. So i fabricated a raceway that will mount on the right side of the mill column to accept the cable carrier and distribute wires and tubes out the back and bottom to the various pneumatics, hydraulics, and electronics...
like this...
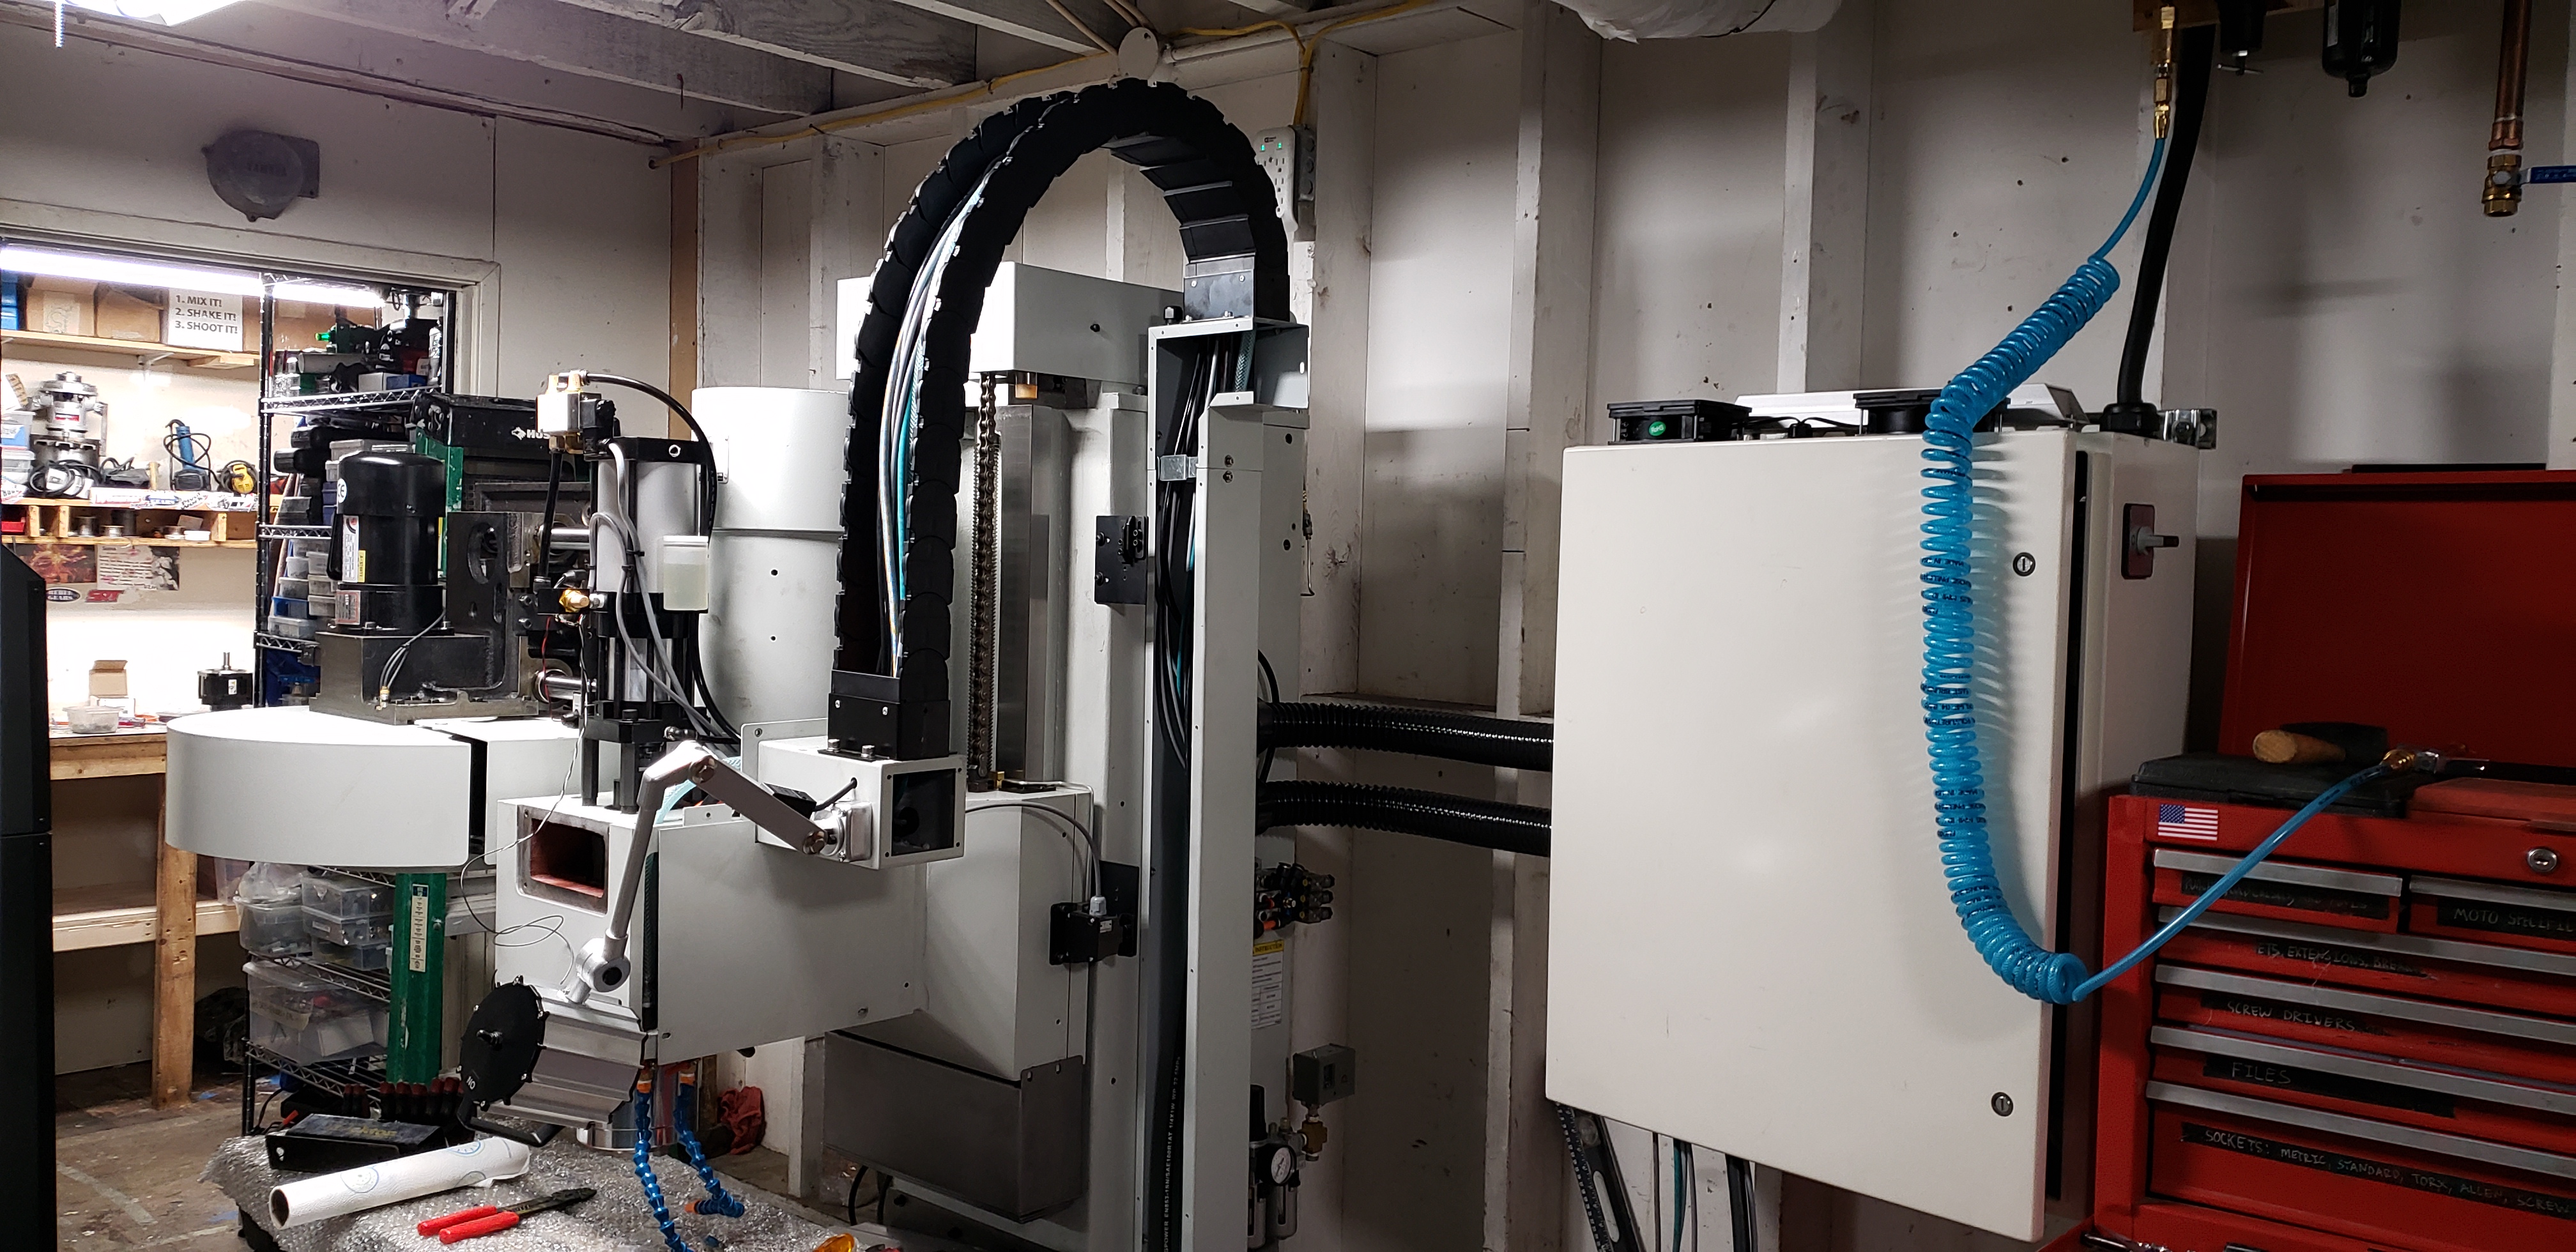
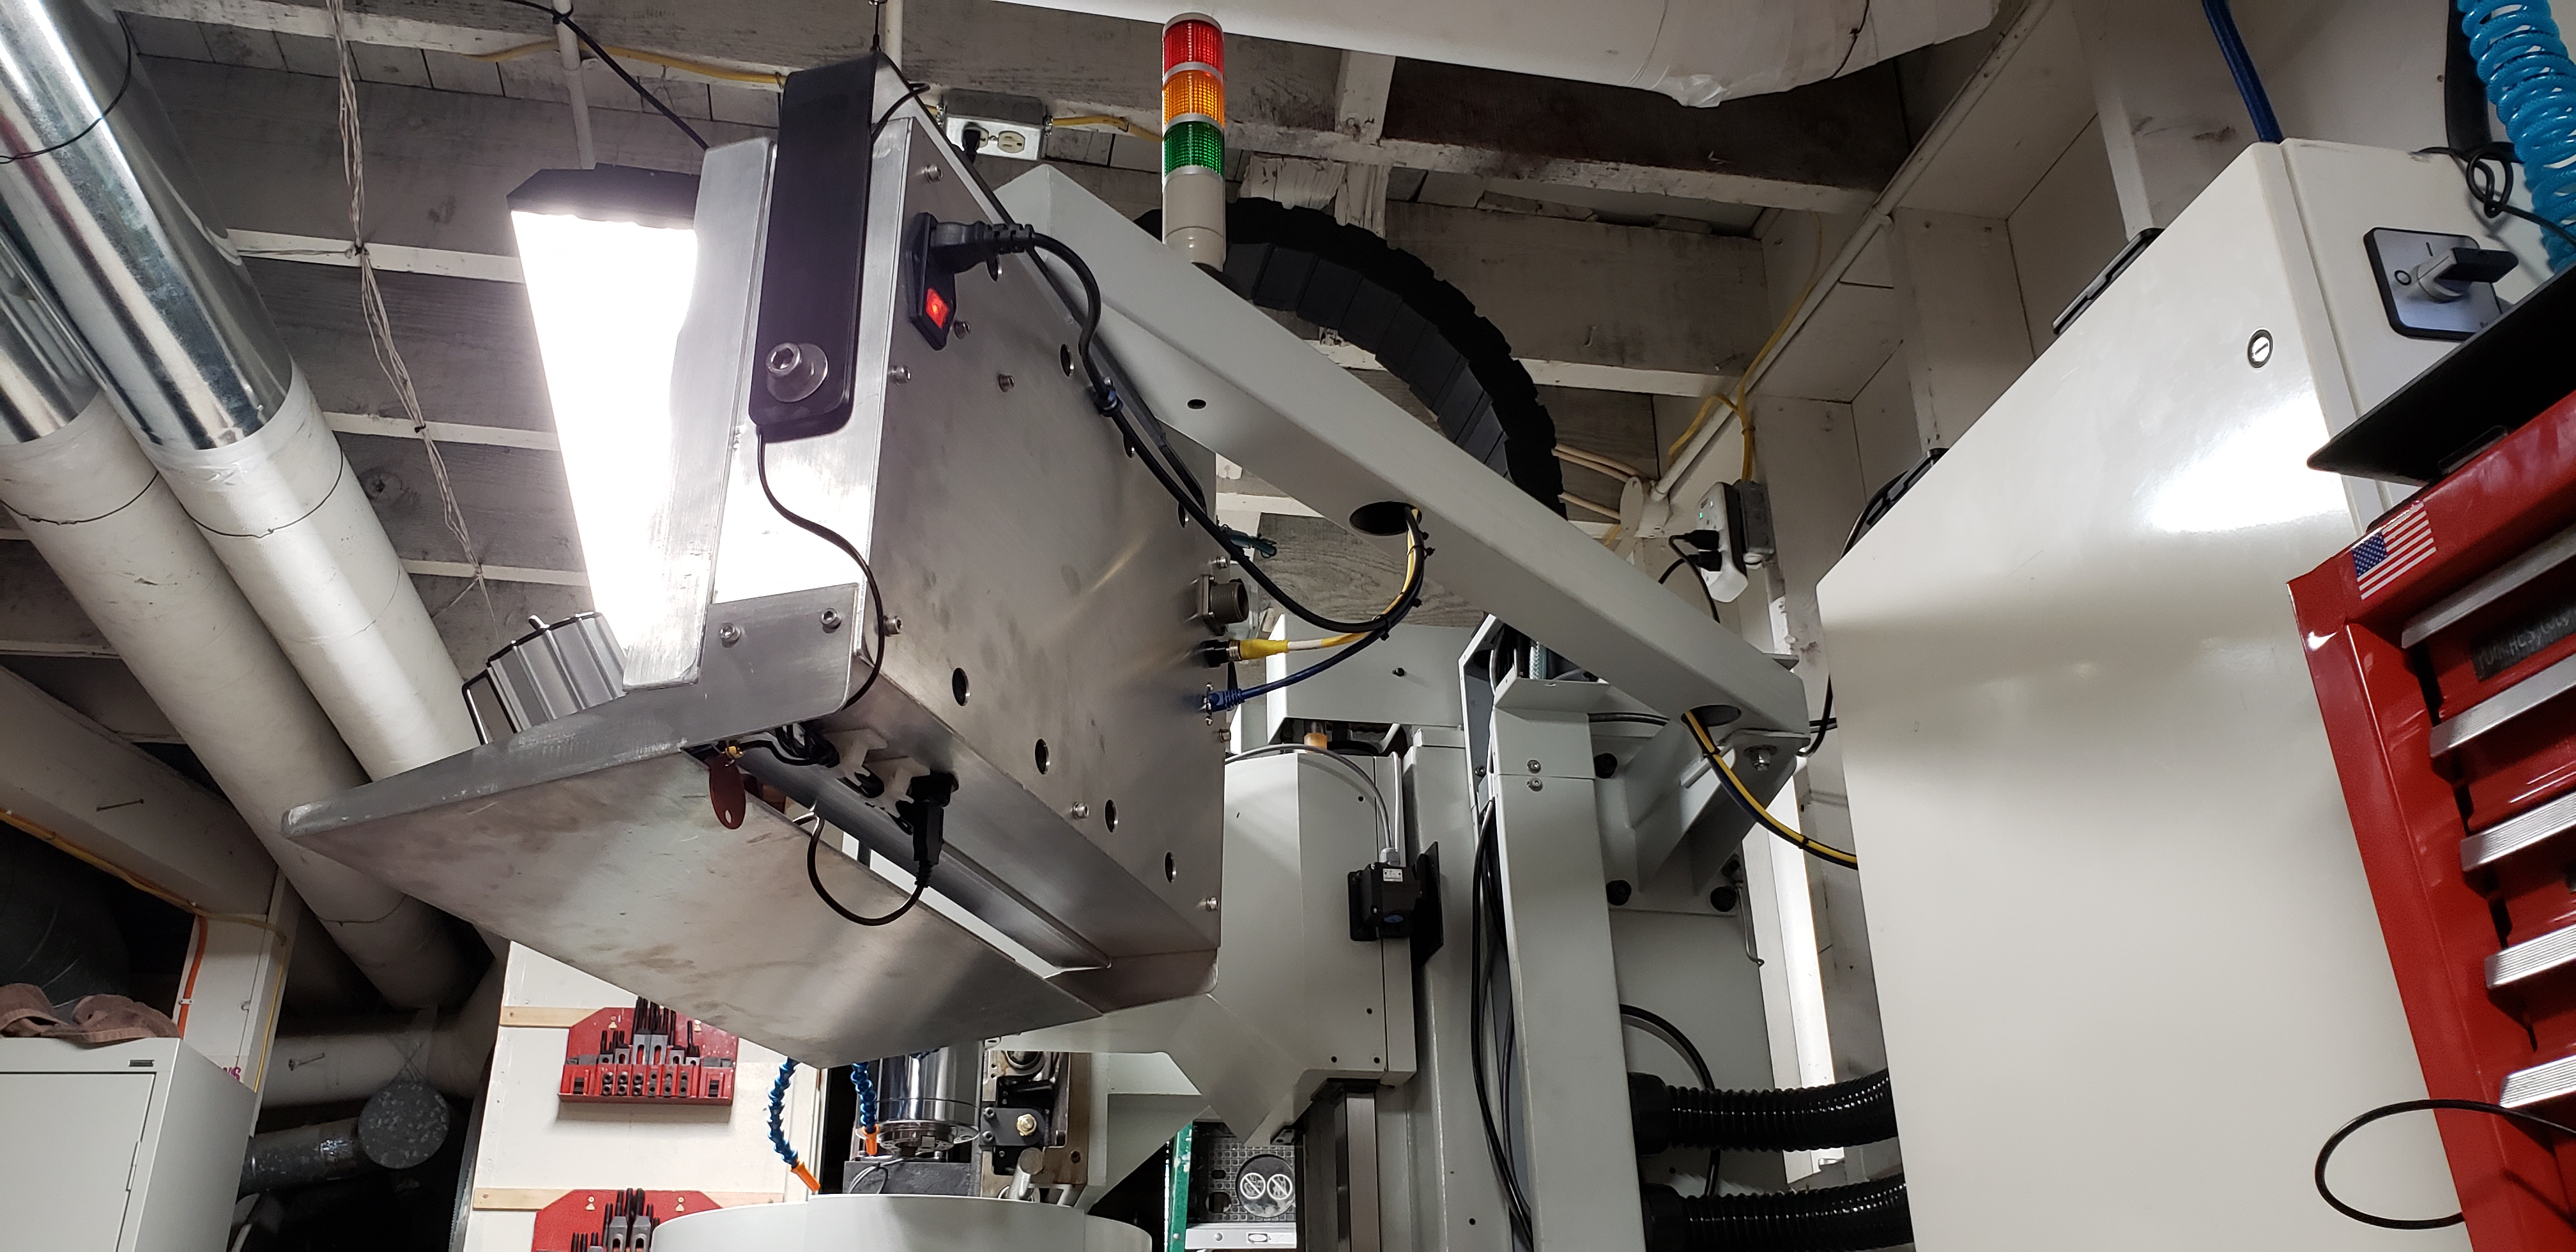
Note in the photo above the two flexible conduits from the raceway to the electrical cabinet. If i ever move the mill out of the garage the cabinet can simply fold around and mount to the back of the mill's column (as standard) without having to be disconnected...
Re: Oak Control, Yaskawa Servos, on Brand New Rigid Head Bed Mill with ATC
Posted: Sun Dec 08, 2019 12:15 pm
by jhenise
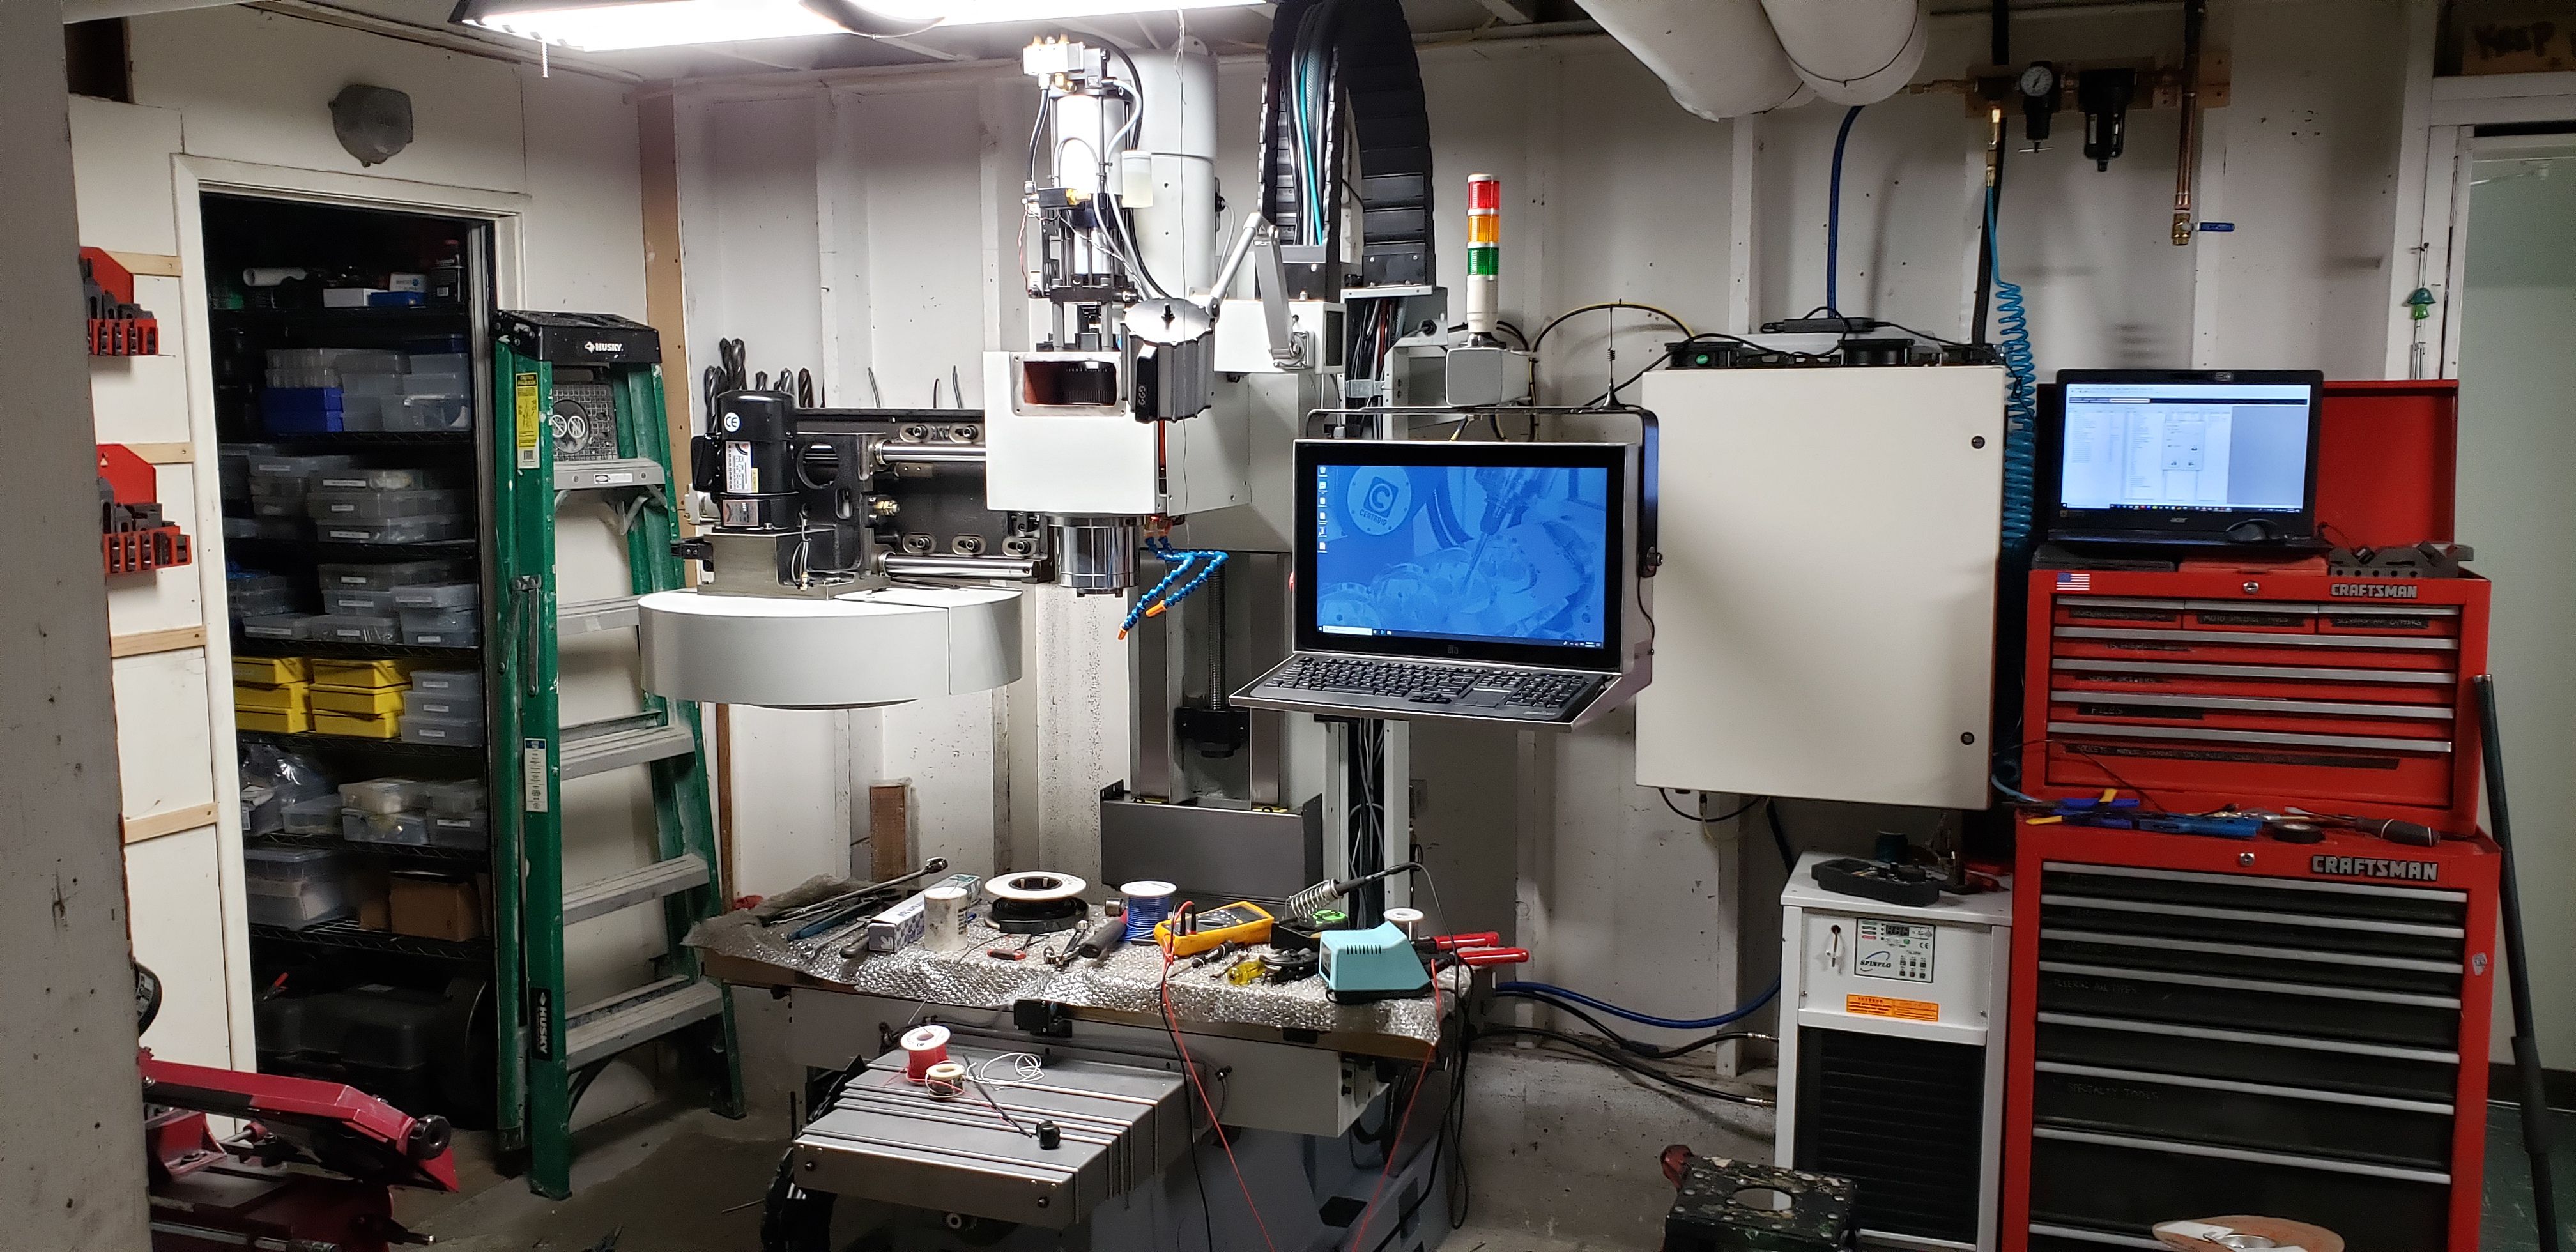
next order of business was to fabricate a pendant arm for the control computer console.
installed...
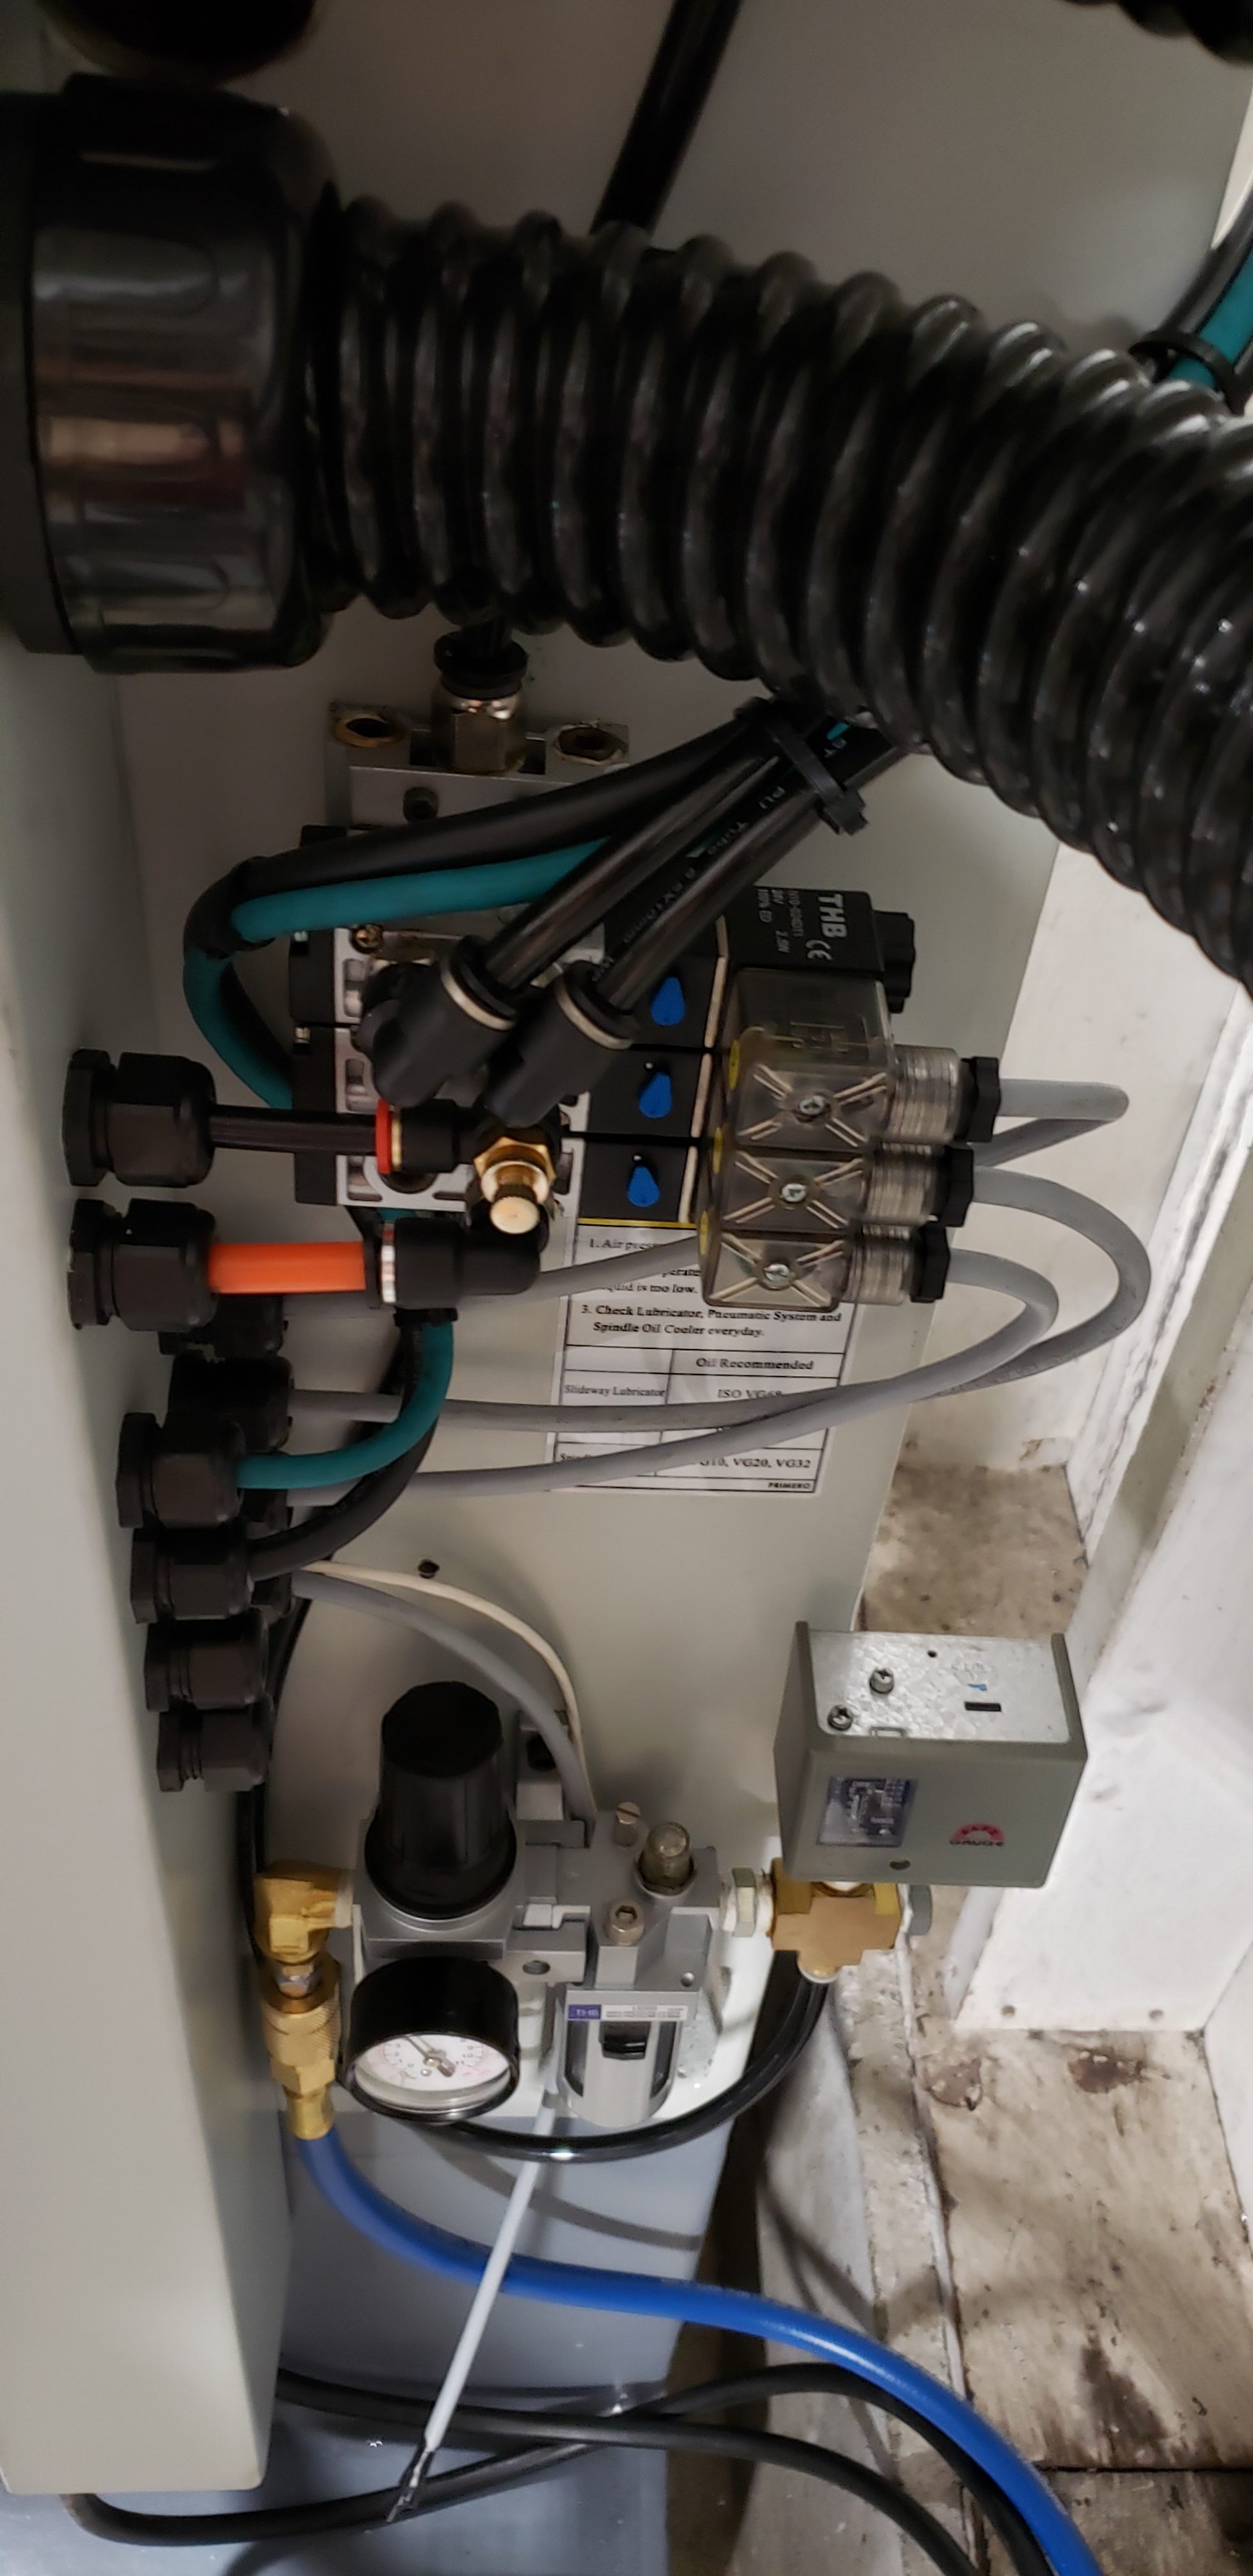
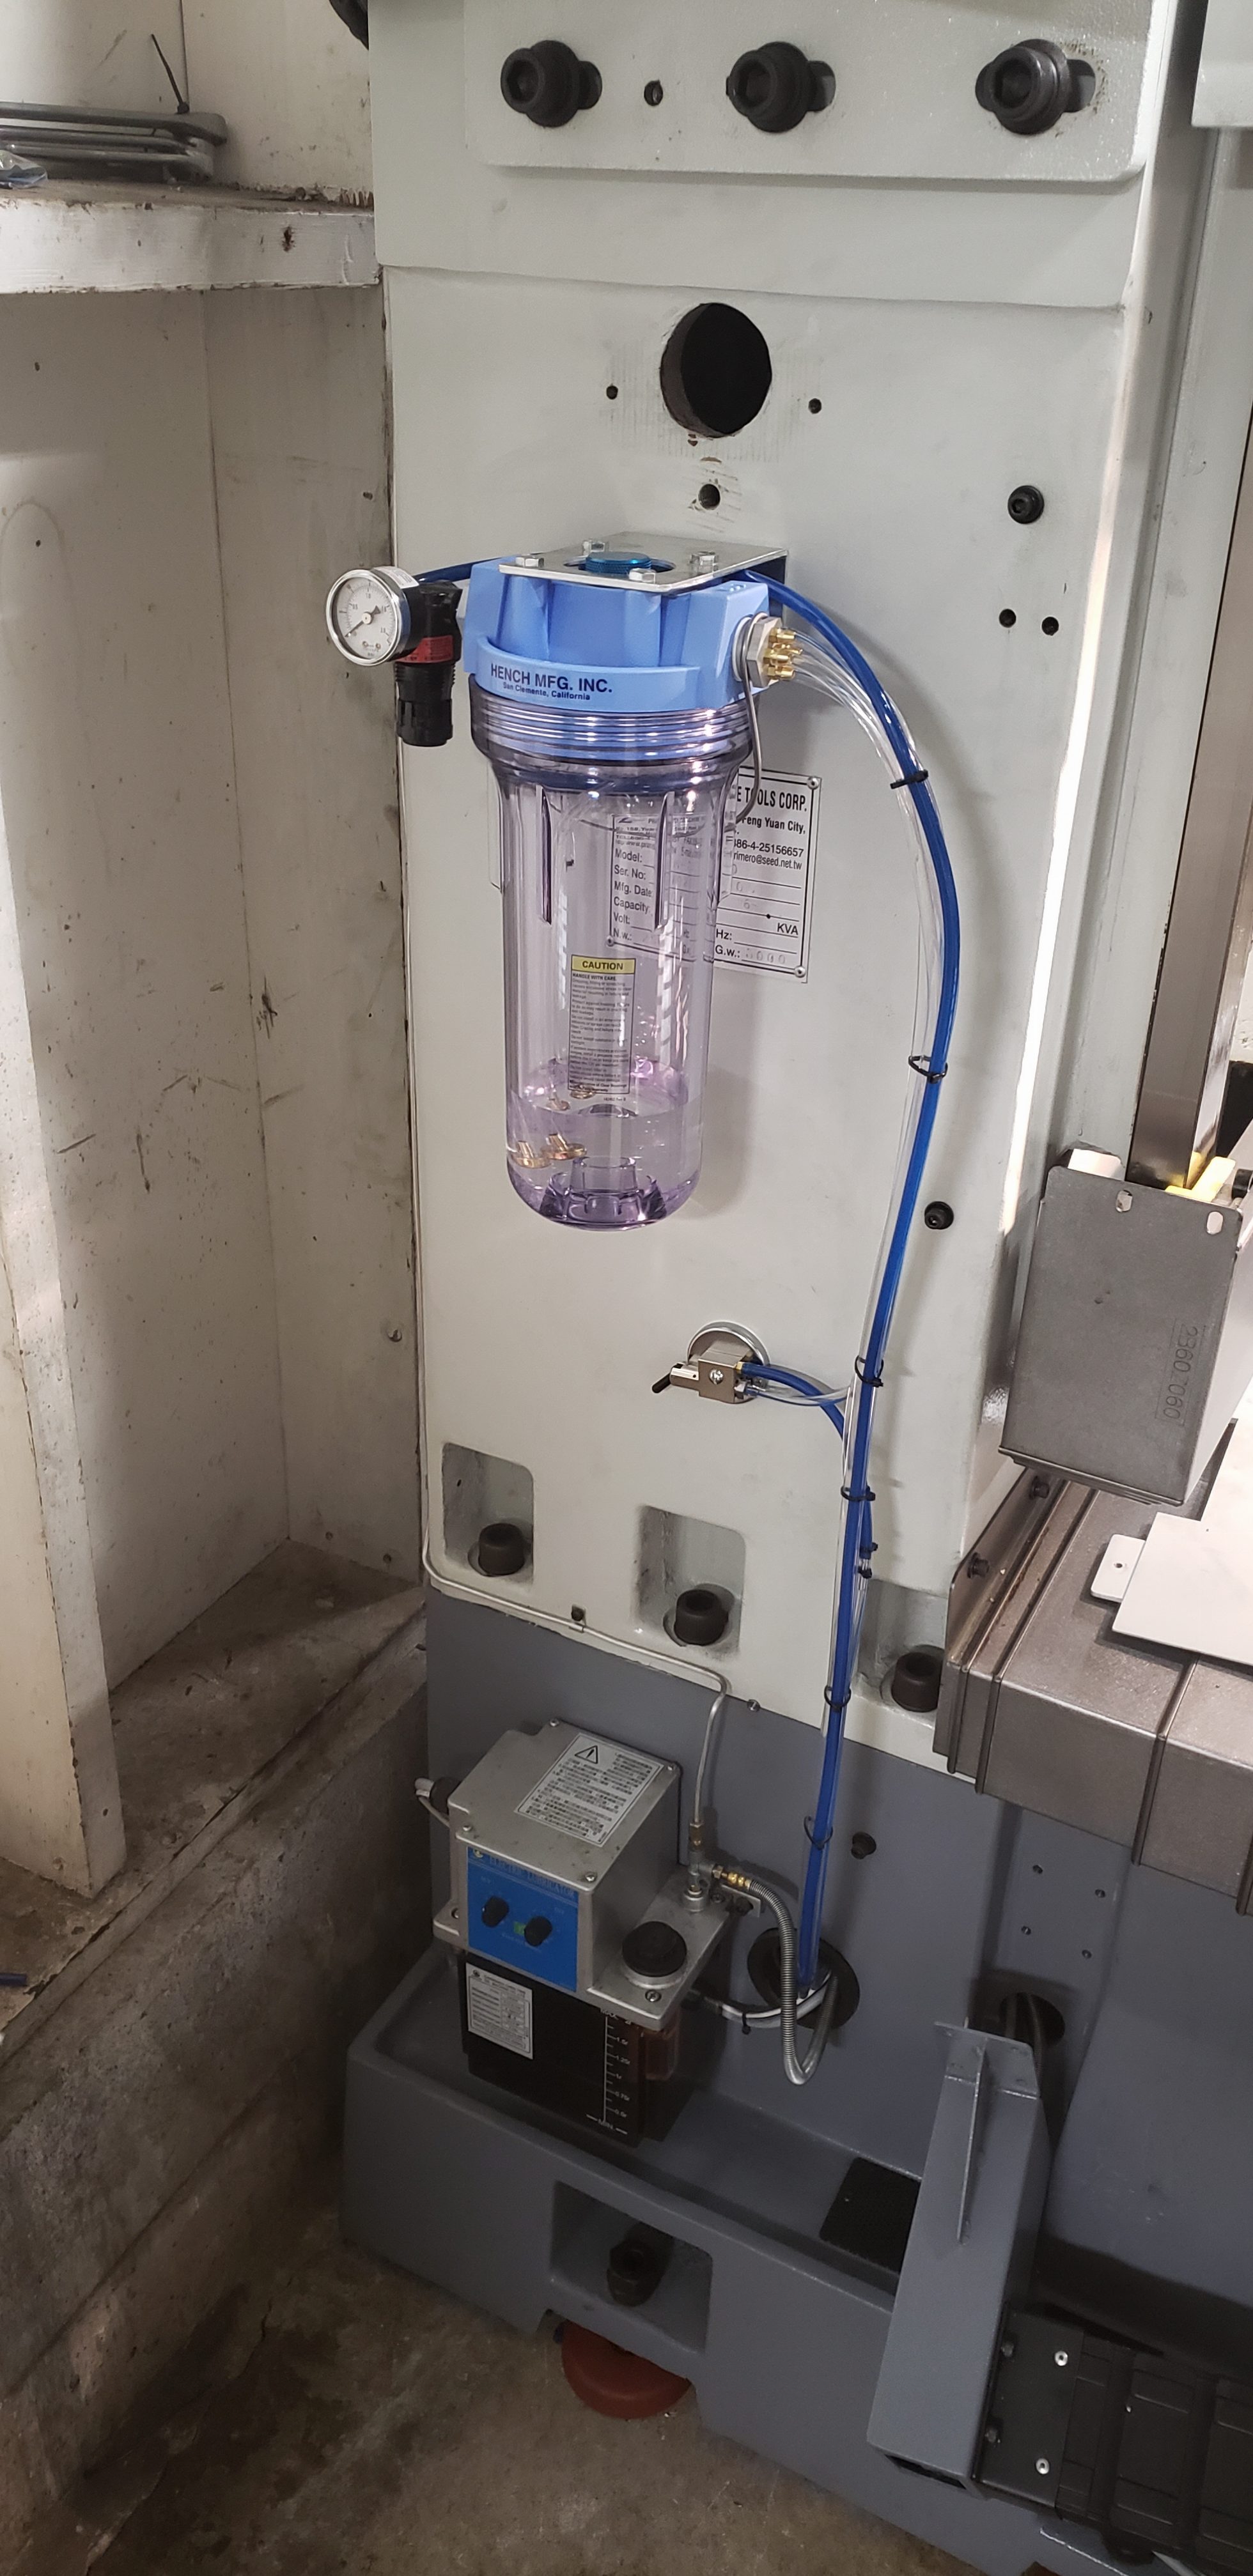
here is a shot of the raceway feeding the pneumatics, note wires also come out the bottom of the raceway to run through the bed to the other side of the mill (lube power/fault, X and Y servo power - encoders - and limit switches, flood pump power and coolant hose, also oisl lined for the spindle chiller exit the bottom of the raceway).
Re: Oak Control, Yaskawa Servos, on Brand New Rigid Head Bed Mill with ATC
Posted: Sun Dec 08, 2019 4:04 pm
by tblough
Spectacular build so far! Keep posting photos.
Re: Oak Control, Yaskawa Servos, on Brand New Rigid Head Bed Mill with ATC
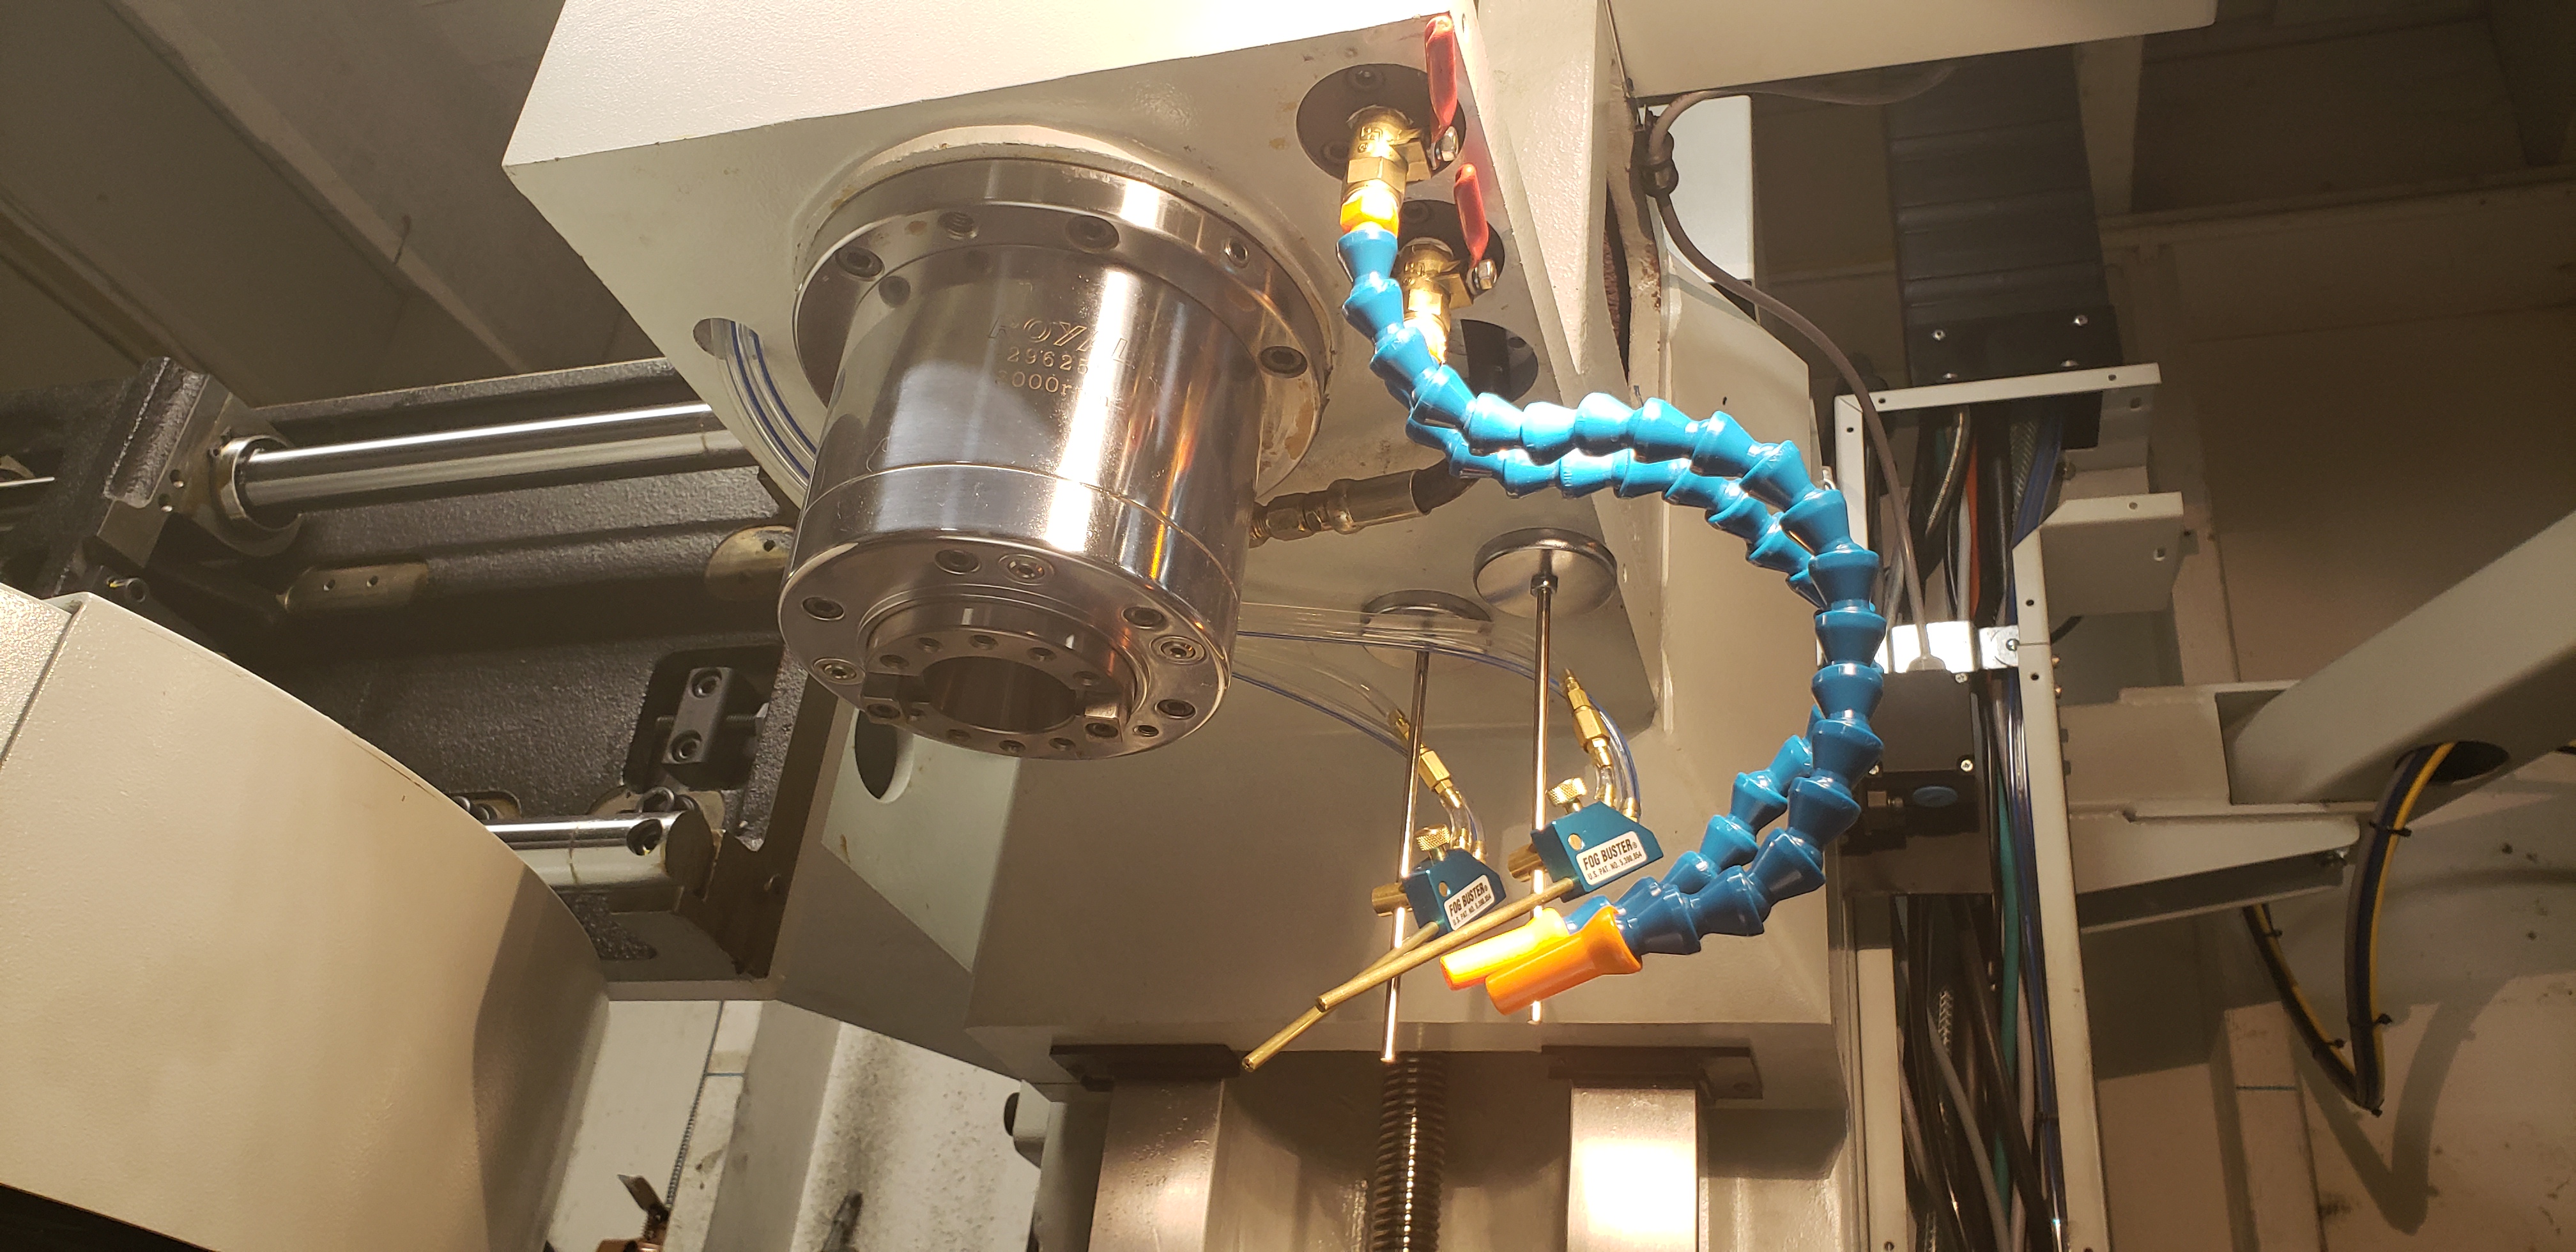
I got the 1/2 gallon 2-head model with liquid check valves...I ordered 20 feet of air/coolant line per head and a 24V solenoid air control valve. The extra line allowed me to pipe the lines through the mill column, up the raceway, through the spindle head cable carrier, and neatly out the bottom of the spindle head like the factory coolant/air lines.
there is about 18" of extra line in the spindle head that can be pulled out if needed to allow easy positioning of the nozzles.
Right now the nozzles are mounted with the factory mag bases. After I learn how best to use/position them I plan to install NOGA arms for them.
All air and coolant must strictly be installed to the right or right/rear of the spindle or else it will crash into the tool changer. This currently forces the fog busters to be near the rear of the spindle with the factory mag bases, I have a feeling it will be annoying blasting chips out the front of the mill right onto the operator, the future NOGA arms will allow them to mount more far right/front to blow sideways and backward...
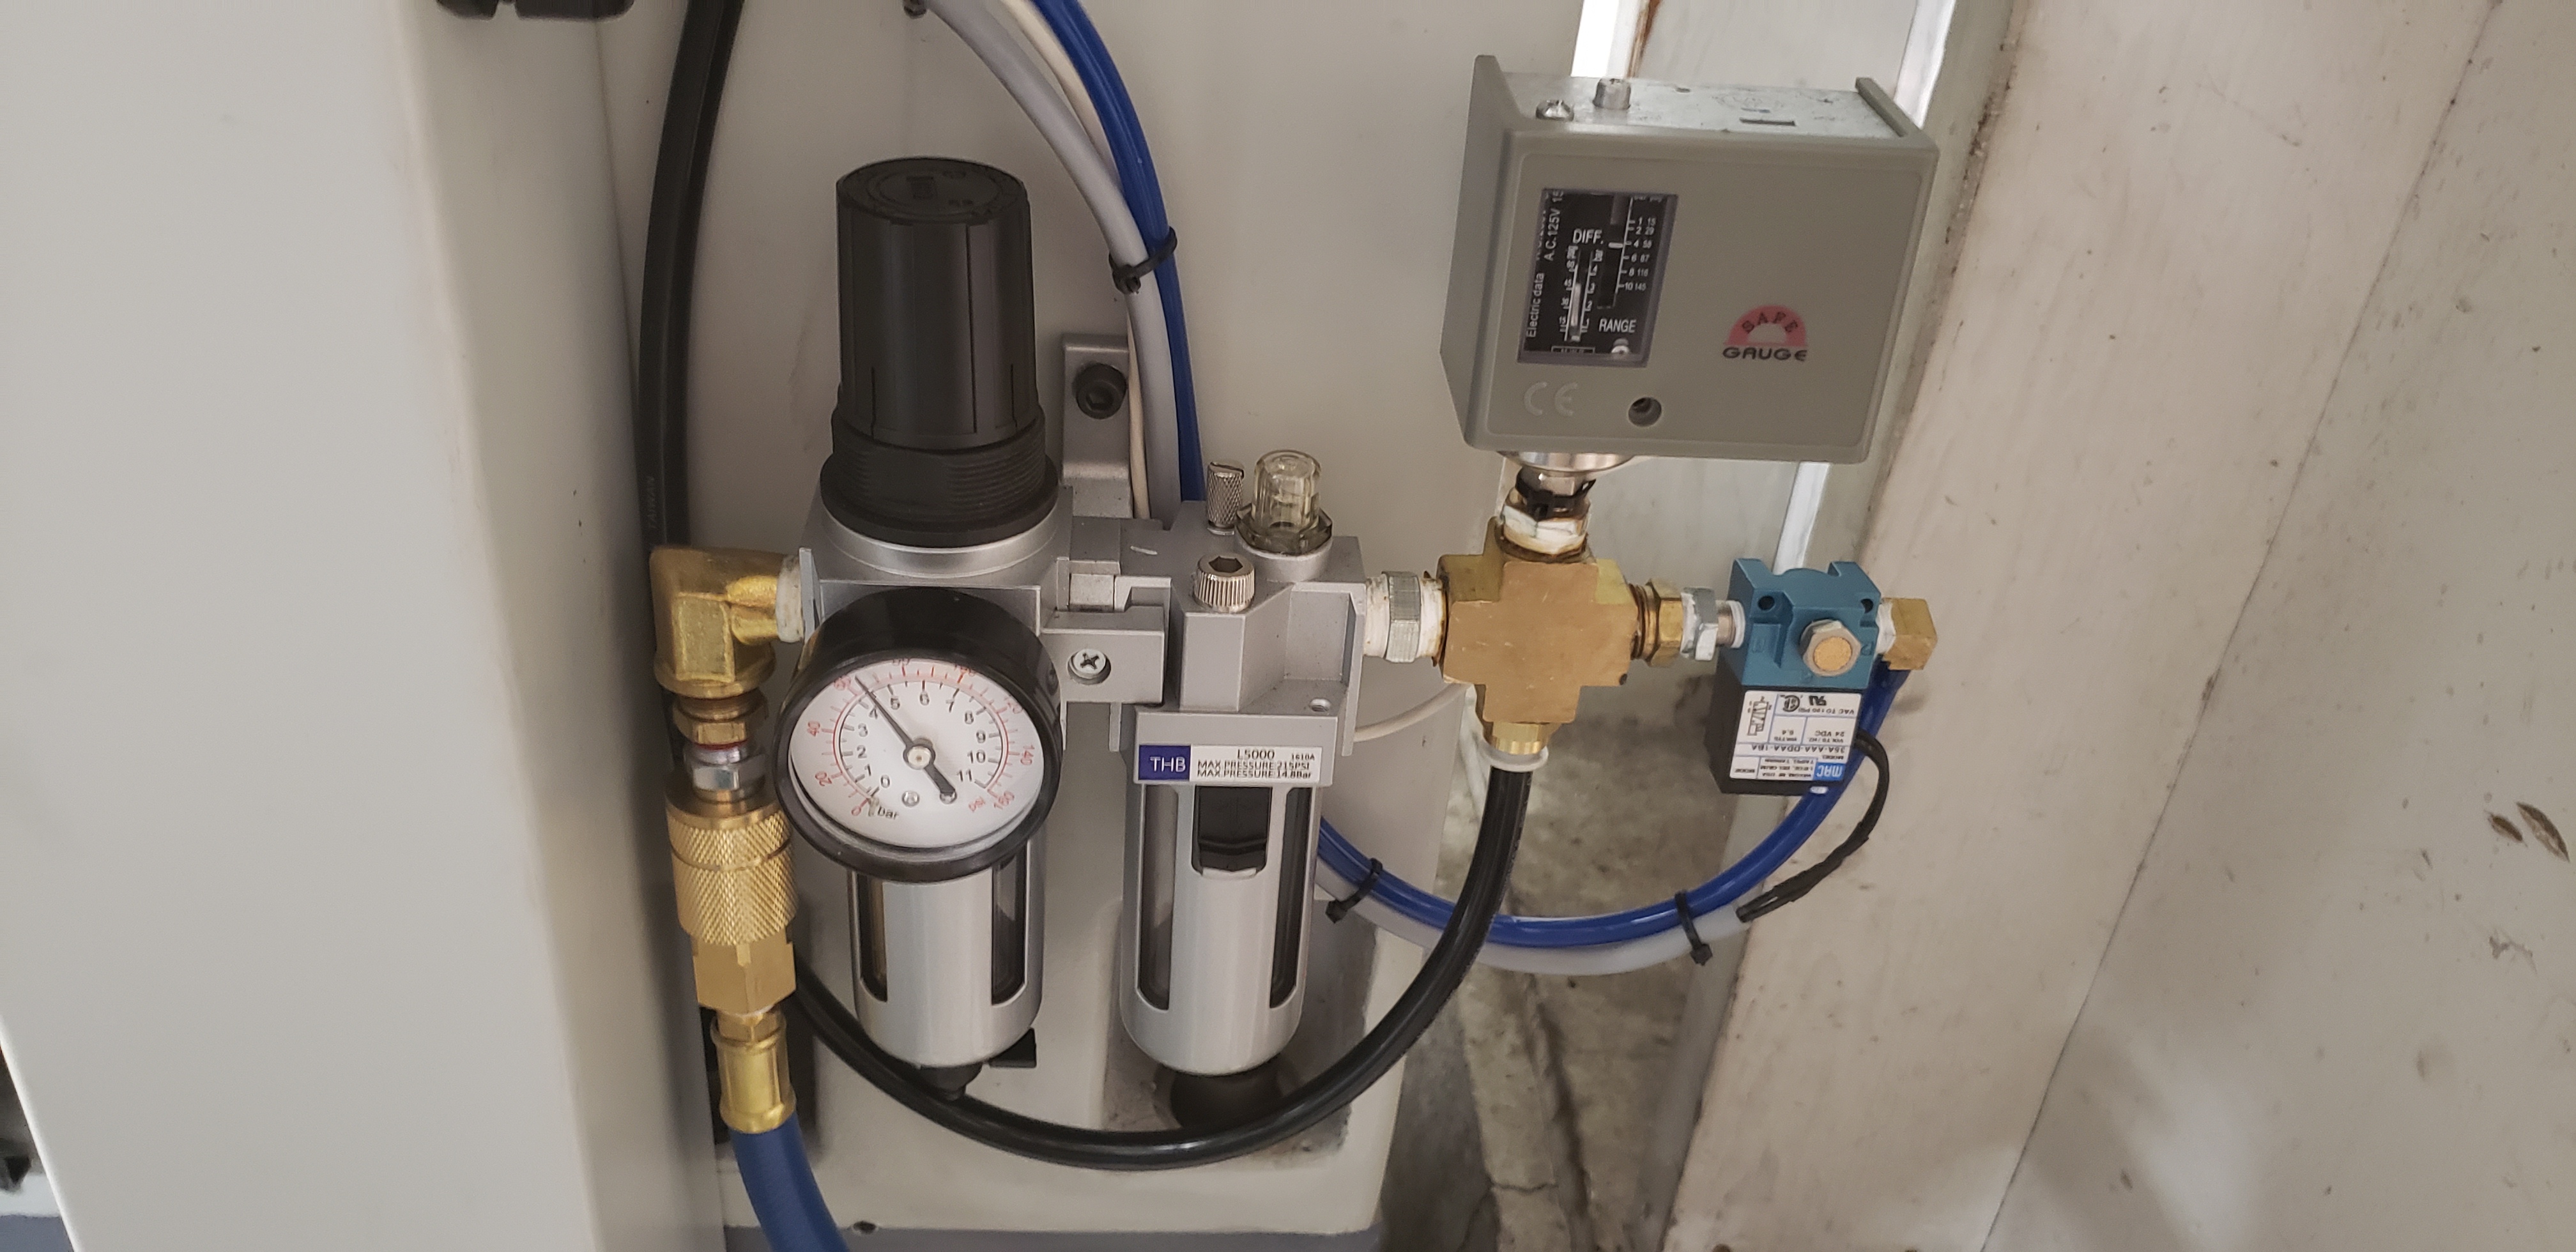
The solenoid valve is wired as M7 "Mist", I put the manual air valve they provide in line with one of the heads so you can turn one off is desired allowing operation with 1 or 2 heads.
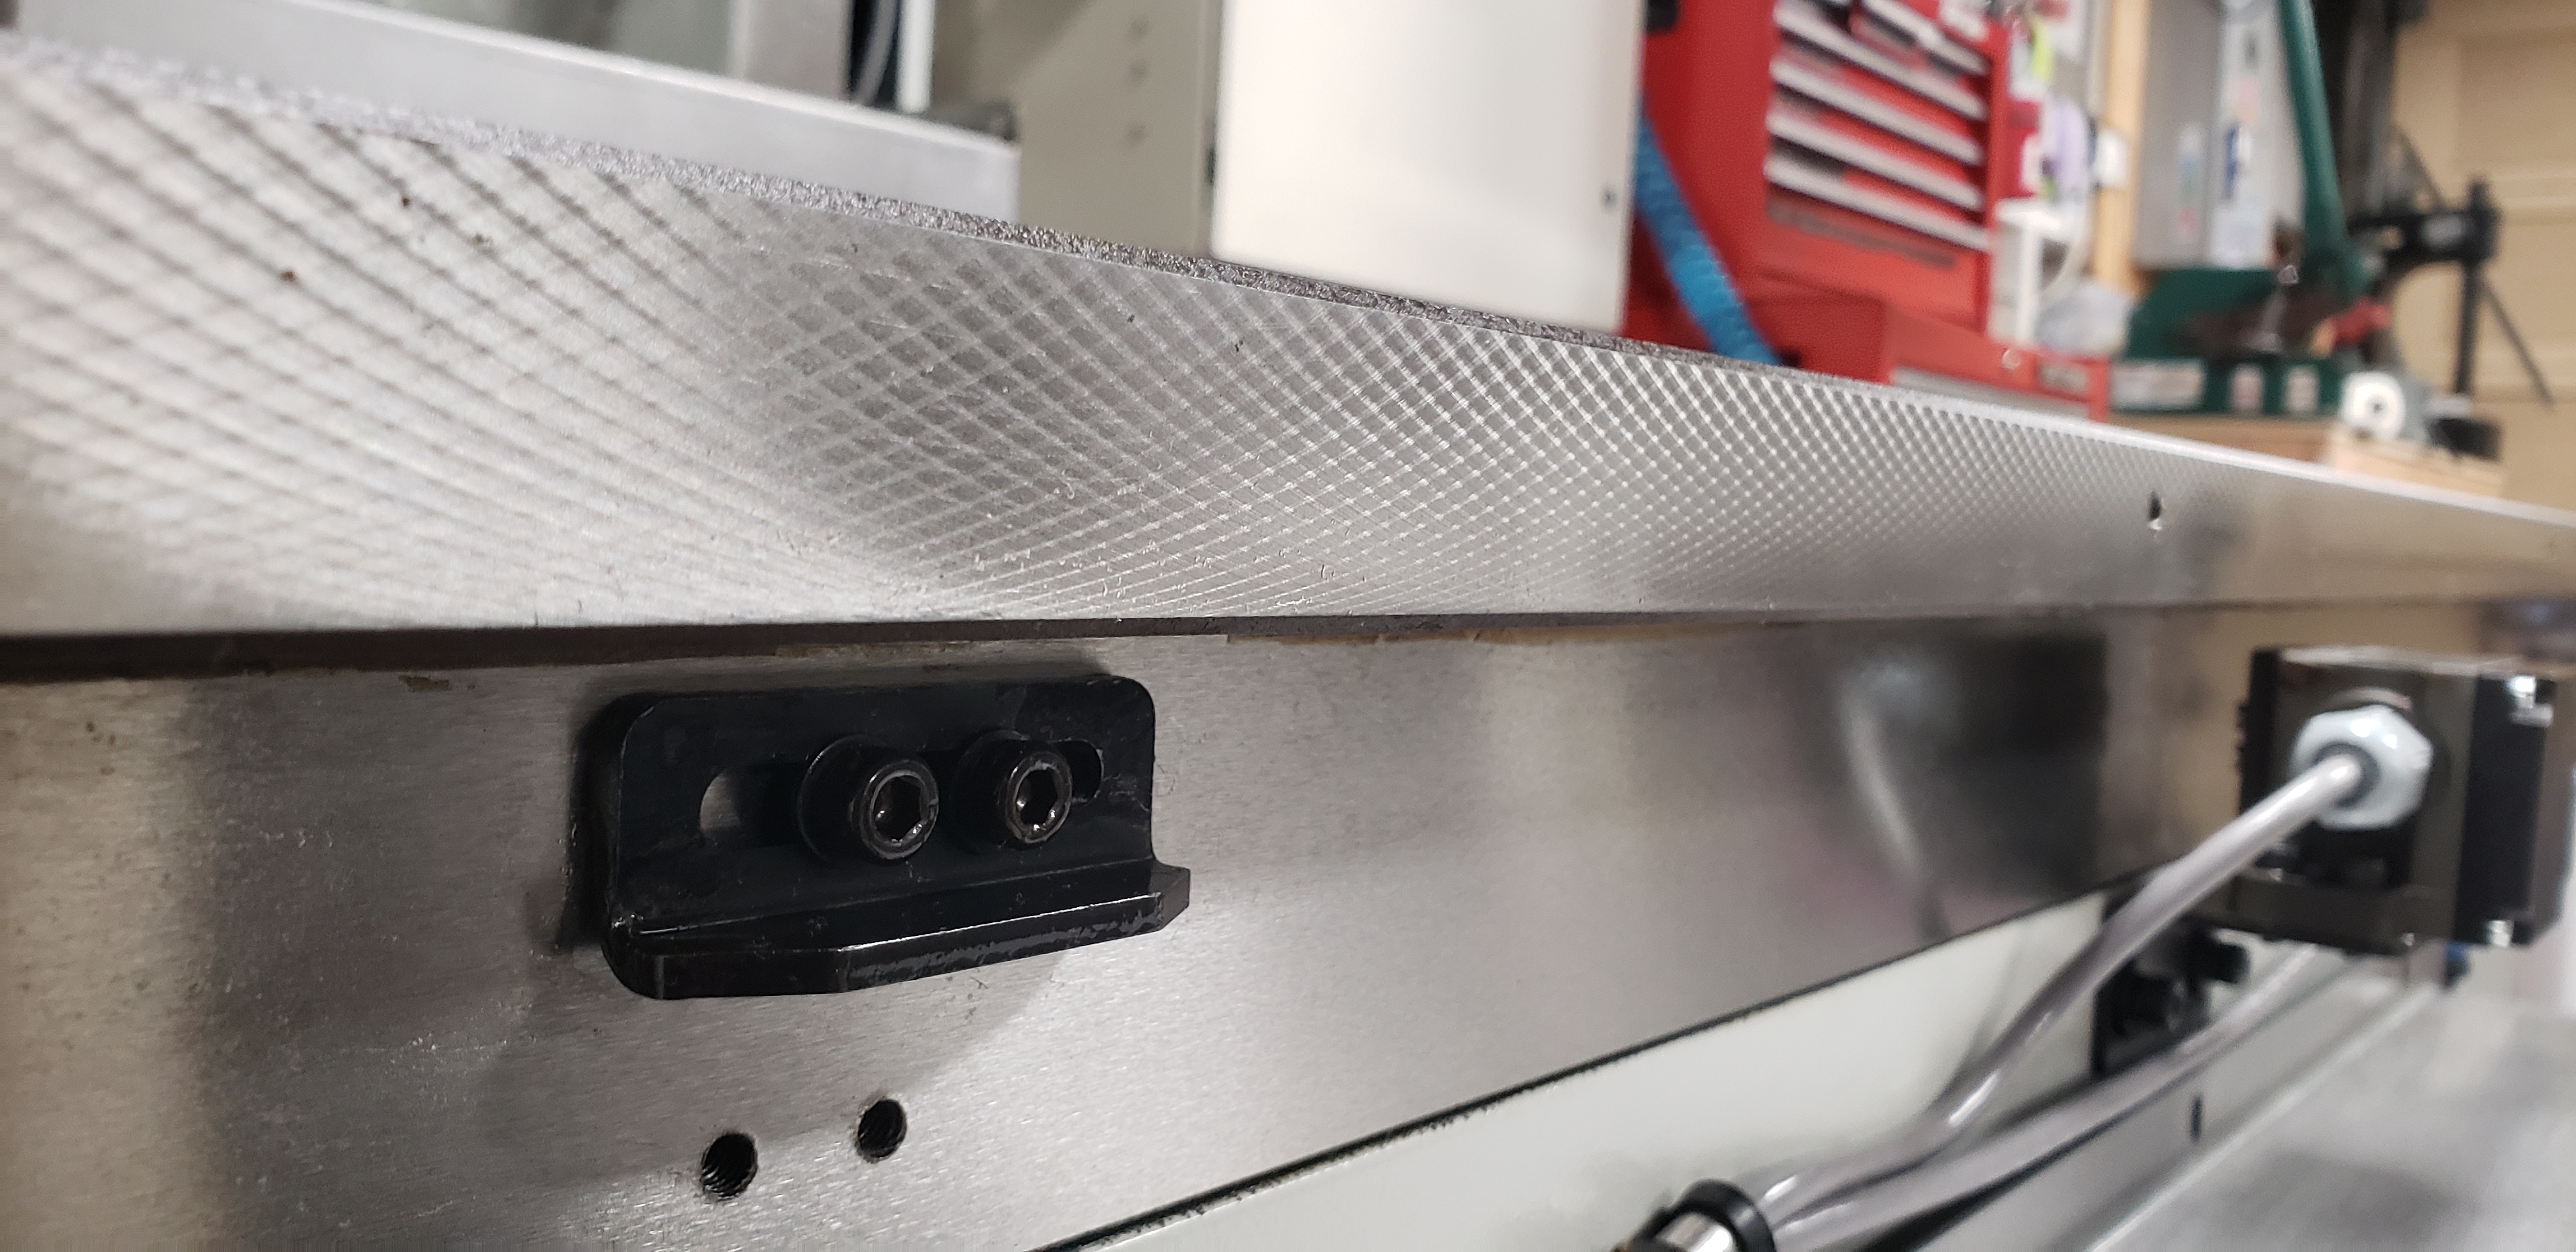
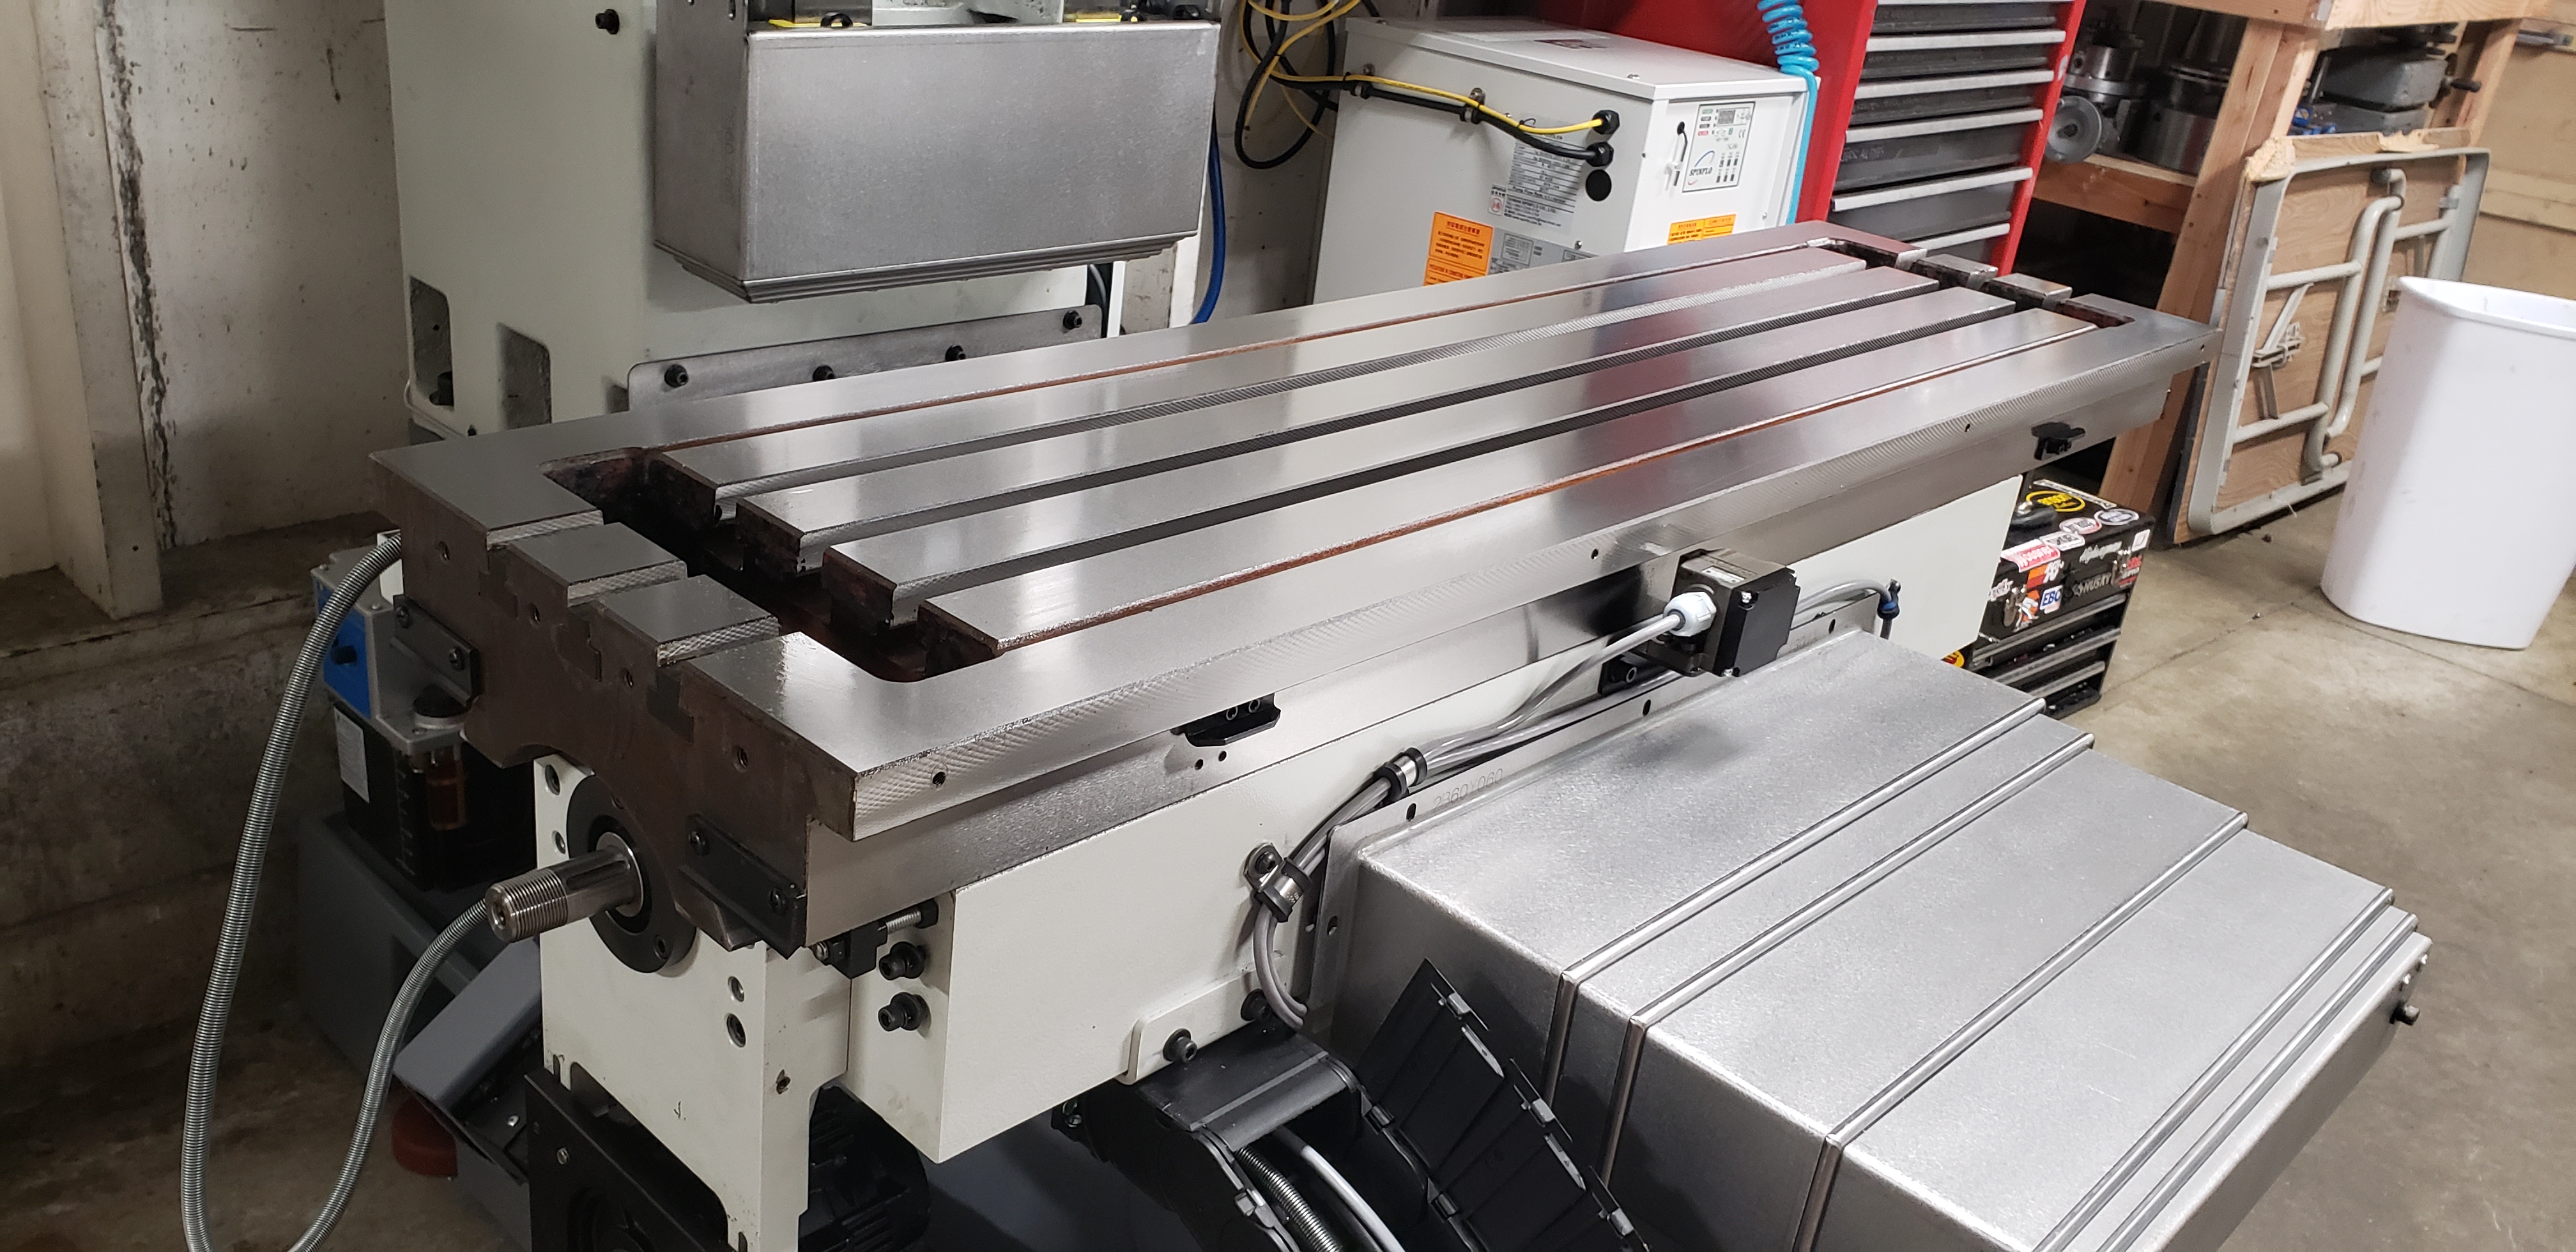
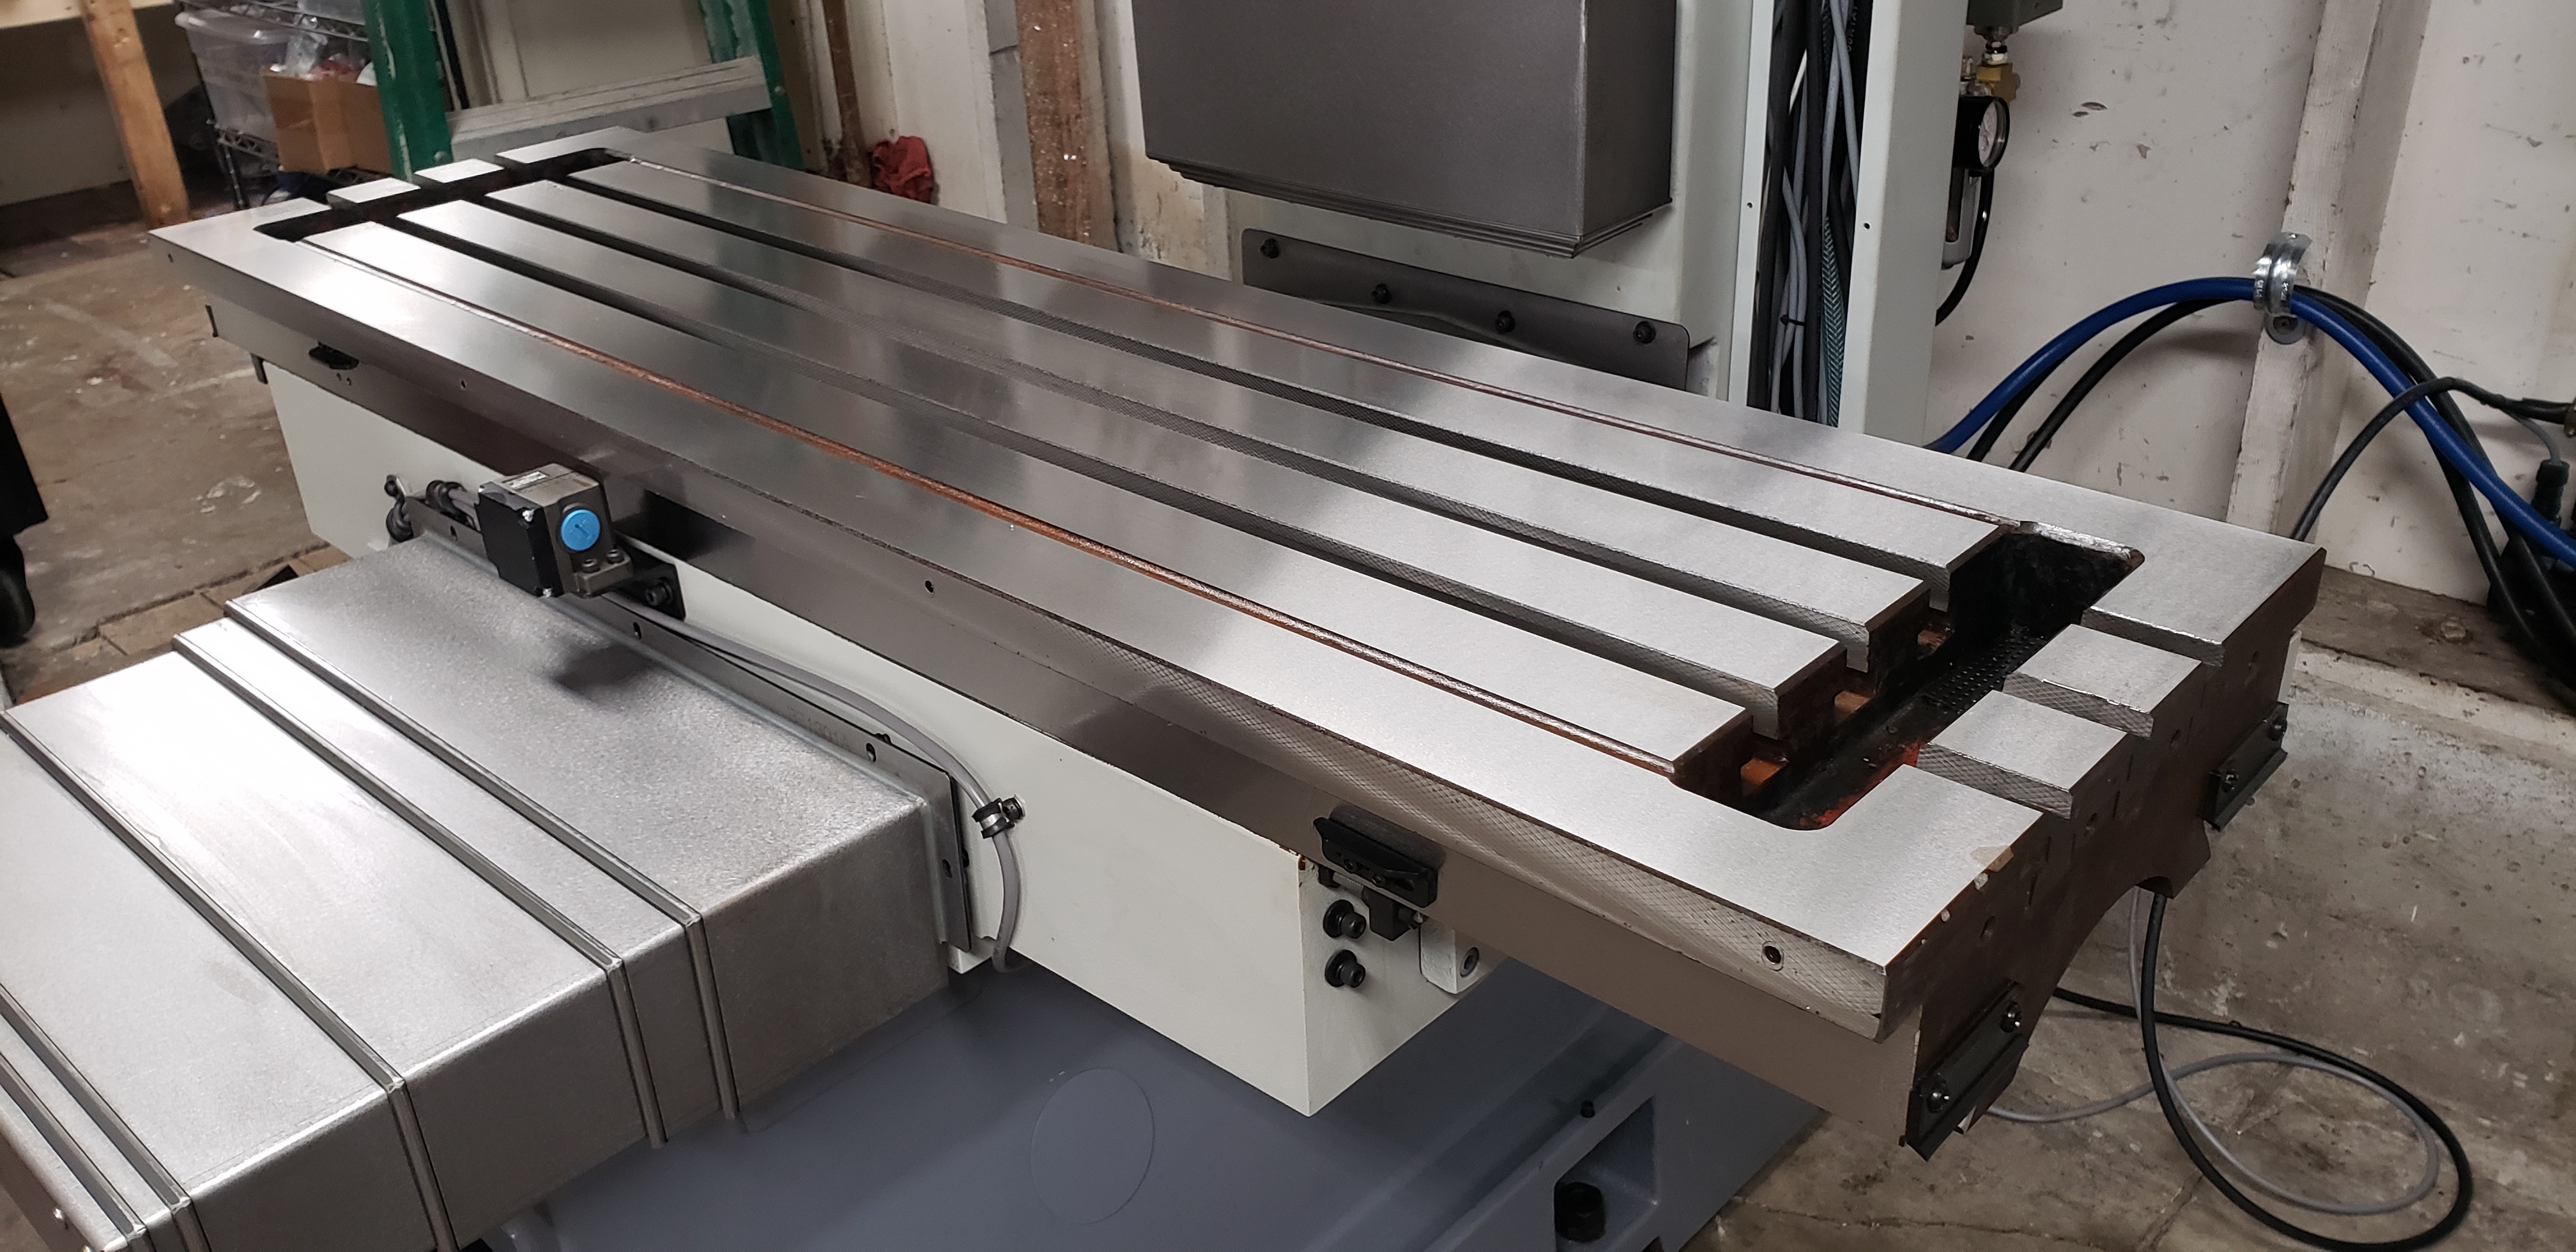
I also cleaned the packing wax off of the table. That stuff was tenacious! Took about 3 hours to remove, but I MUCH prefer that to the alternative = a rusty table!
Re: Oak Control, Yaskawa Servos, on Brand New Rigid Head Bed Mill with ATC
Posted: Tue Dec 10, 2019 1:36 pm
by tblough
Big fan of Fog Busters as well. I've got them on all four of my machines. Keep up the good work.
Re: Oak Control, Yaskawa Servos, on Brand New Rigid Head Bed Mill with ATC
Posted: Thu Jan 02, 2020 1:23 pm
by jhenise
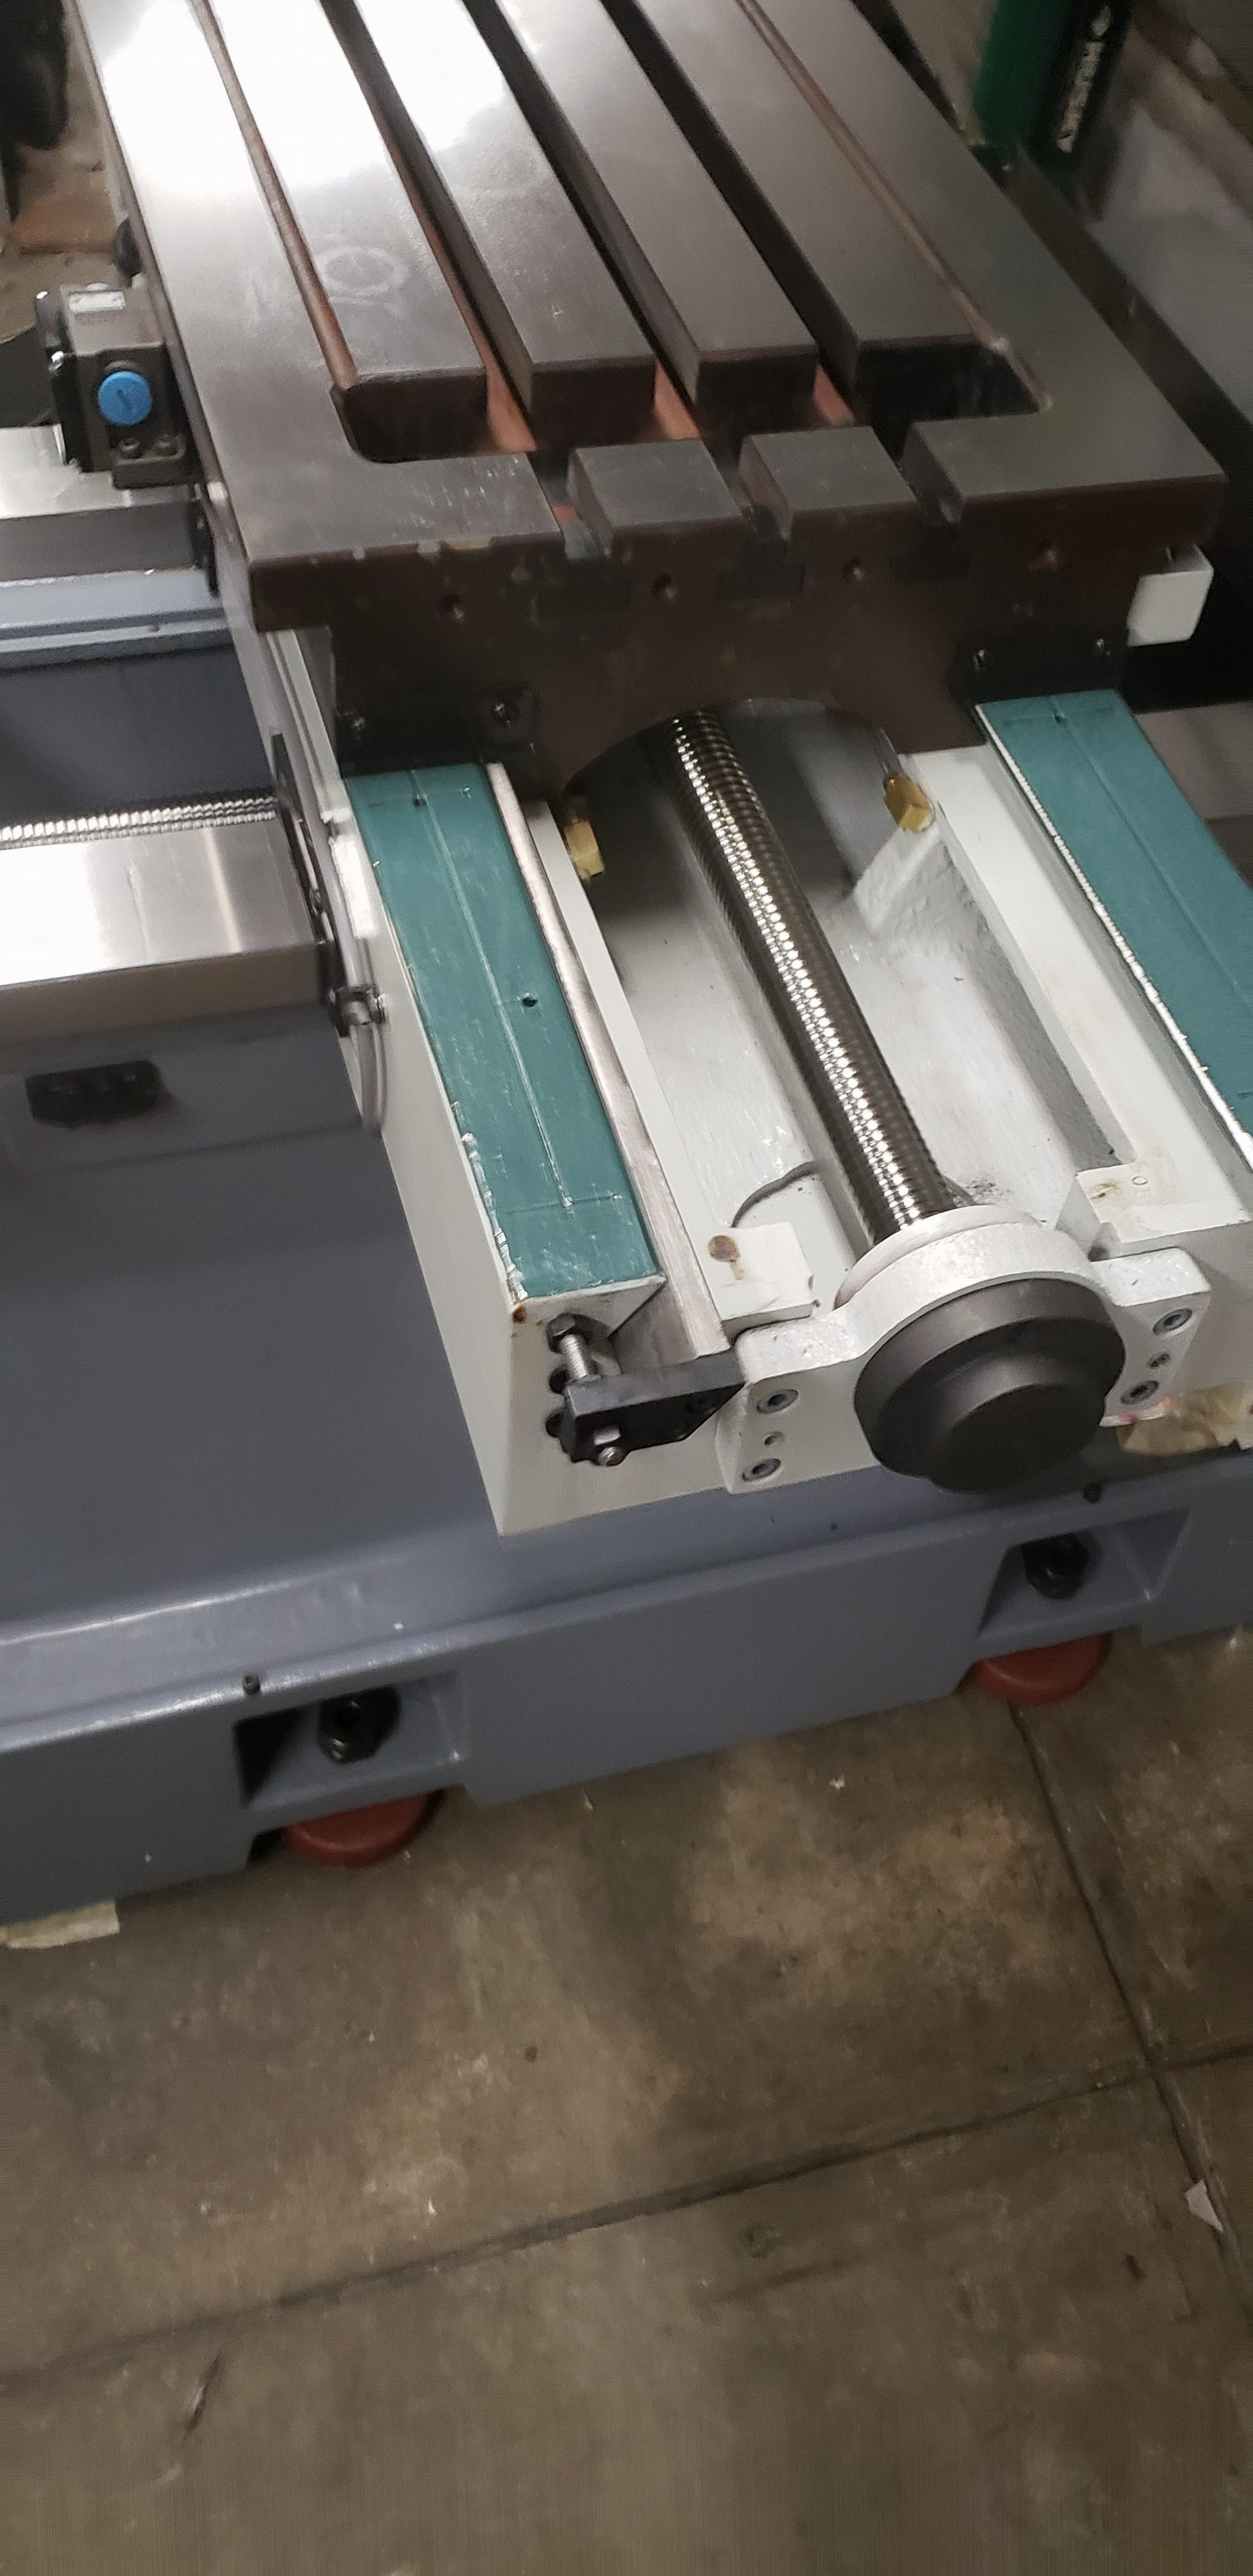
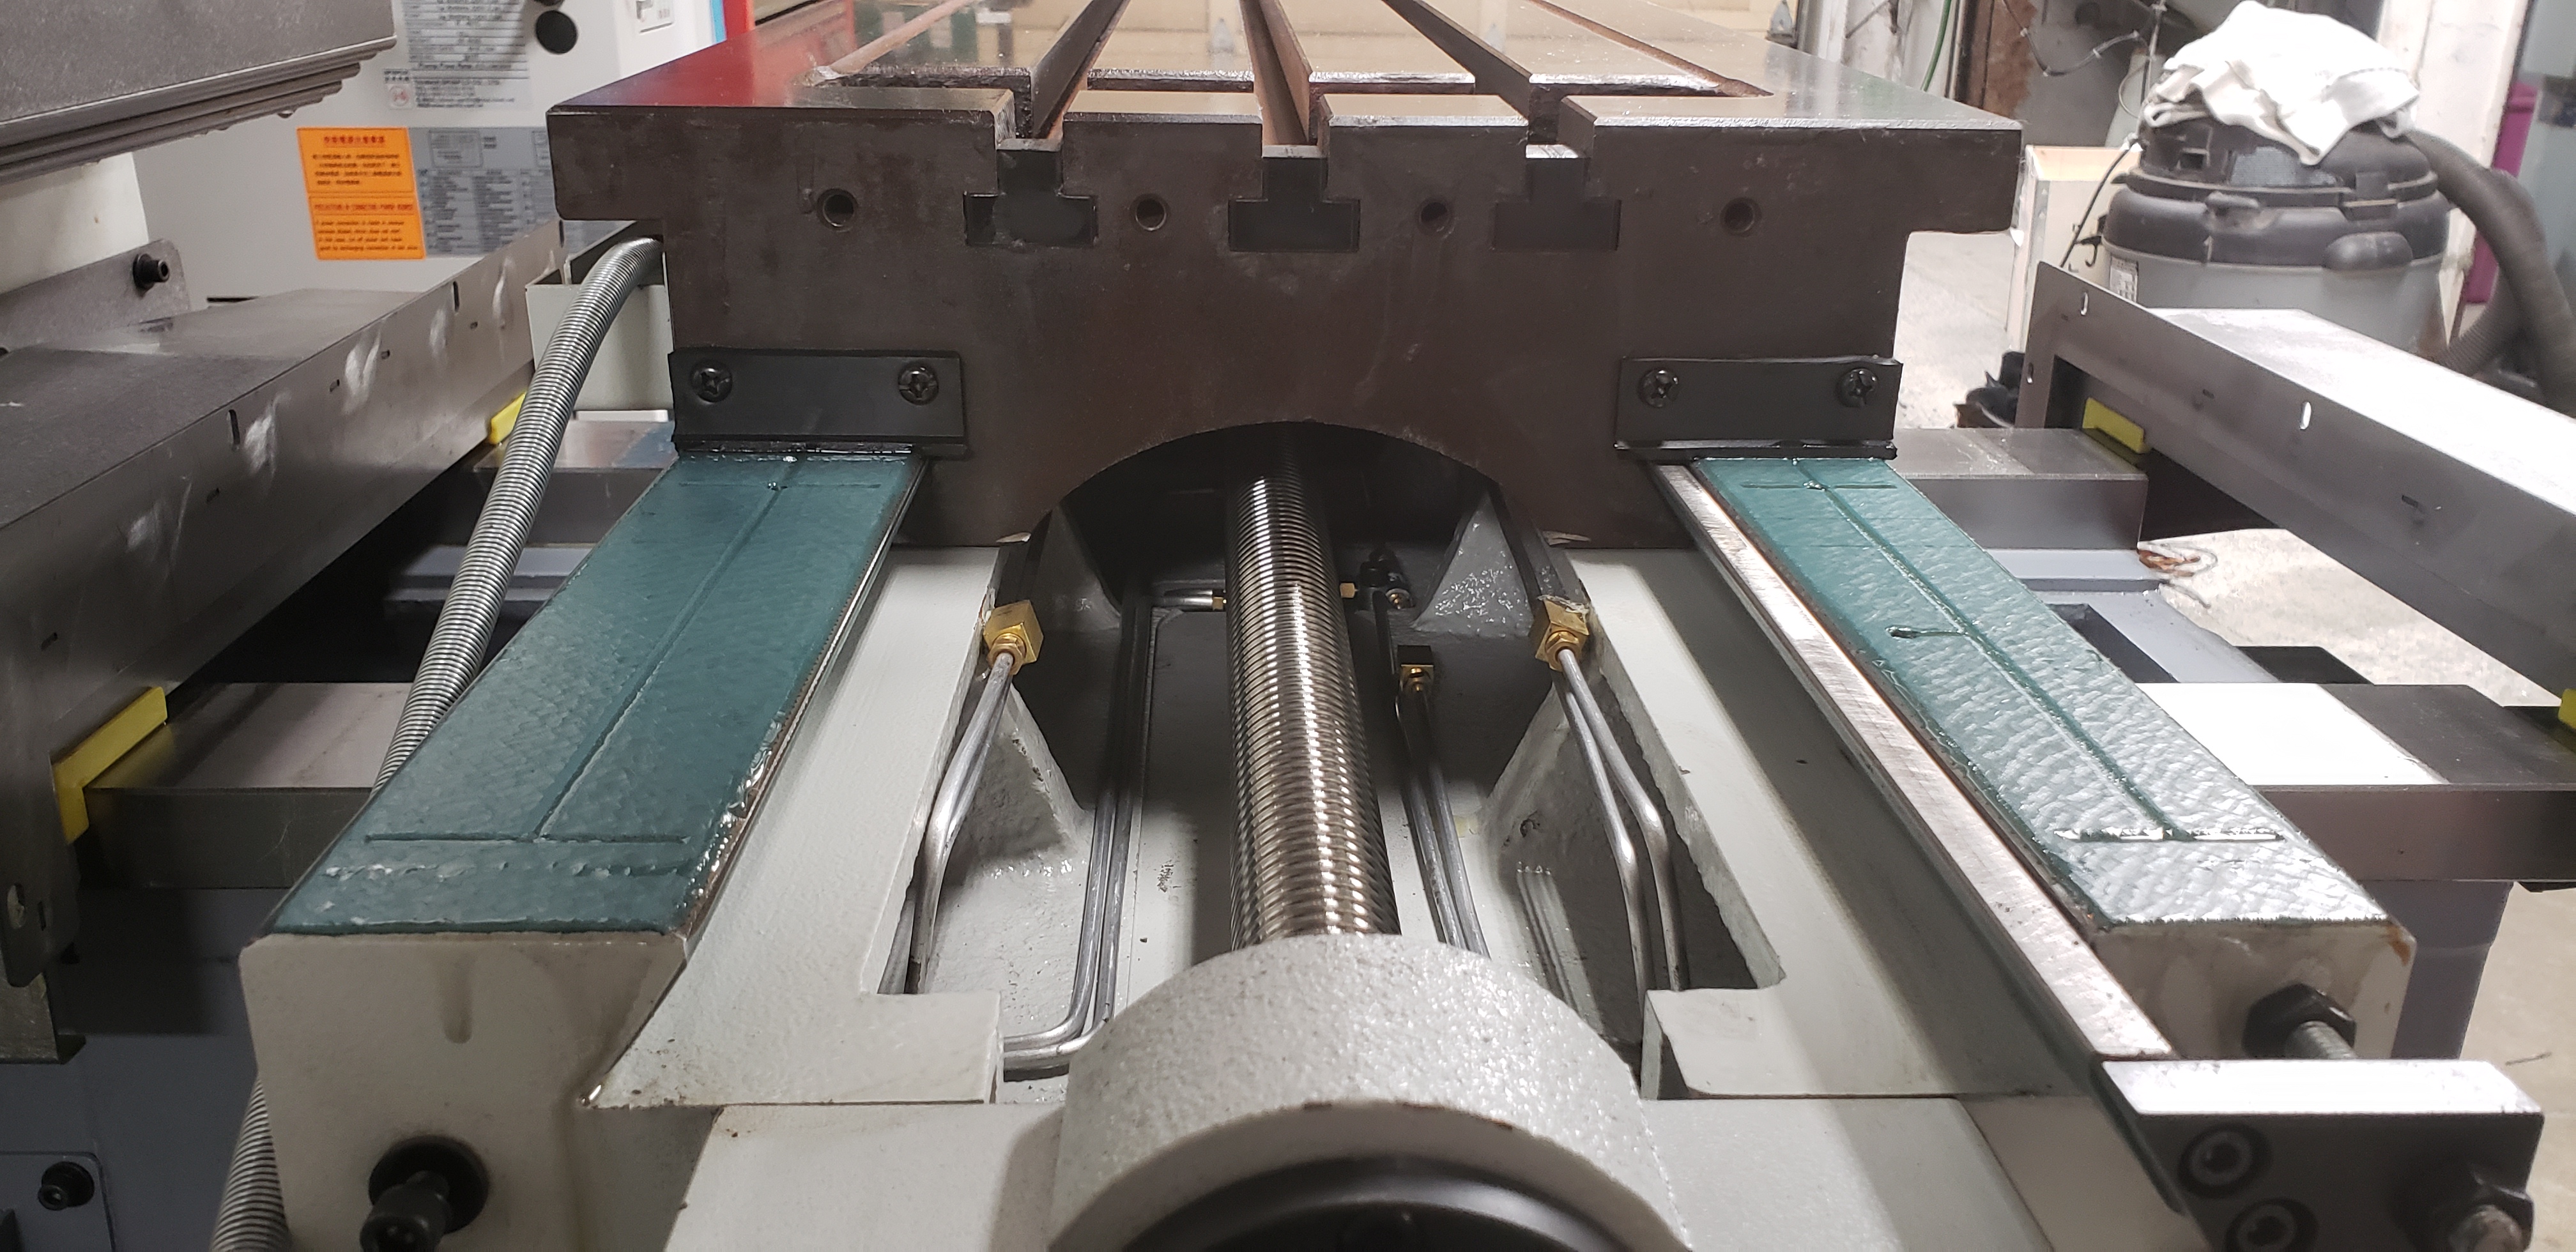
a few photos of the new turcite on the slide ways...
i have spent some time running the machine with the way protectors off so i can get a feel for how well the lube system is working. Seems like the fairly standard 30 min off / 15 sec on does the job of keeping everything wet. Using Mobil Vactra 2.
Re: Oak Control, Yaskawa Servos, on Brand New Rigid Head Bed Mill with ATC
Posted: Thu Jan 02, 2020 1:47 pm
by martyscncgarage
Looking good!
Re: Oak Control, Yaskawa Servos, on Brand New Rigid Head Bed Mill with ATC
Posted: Thu Jan 02, 2020 2:37 pm
by jhenise
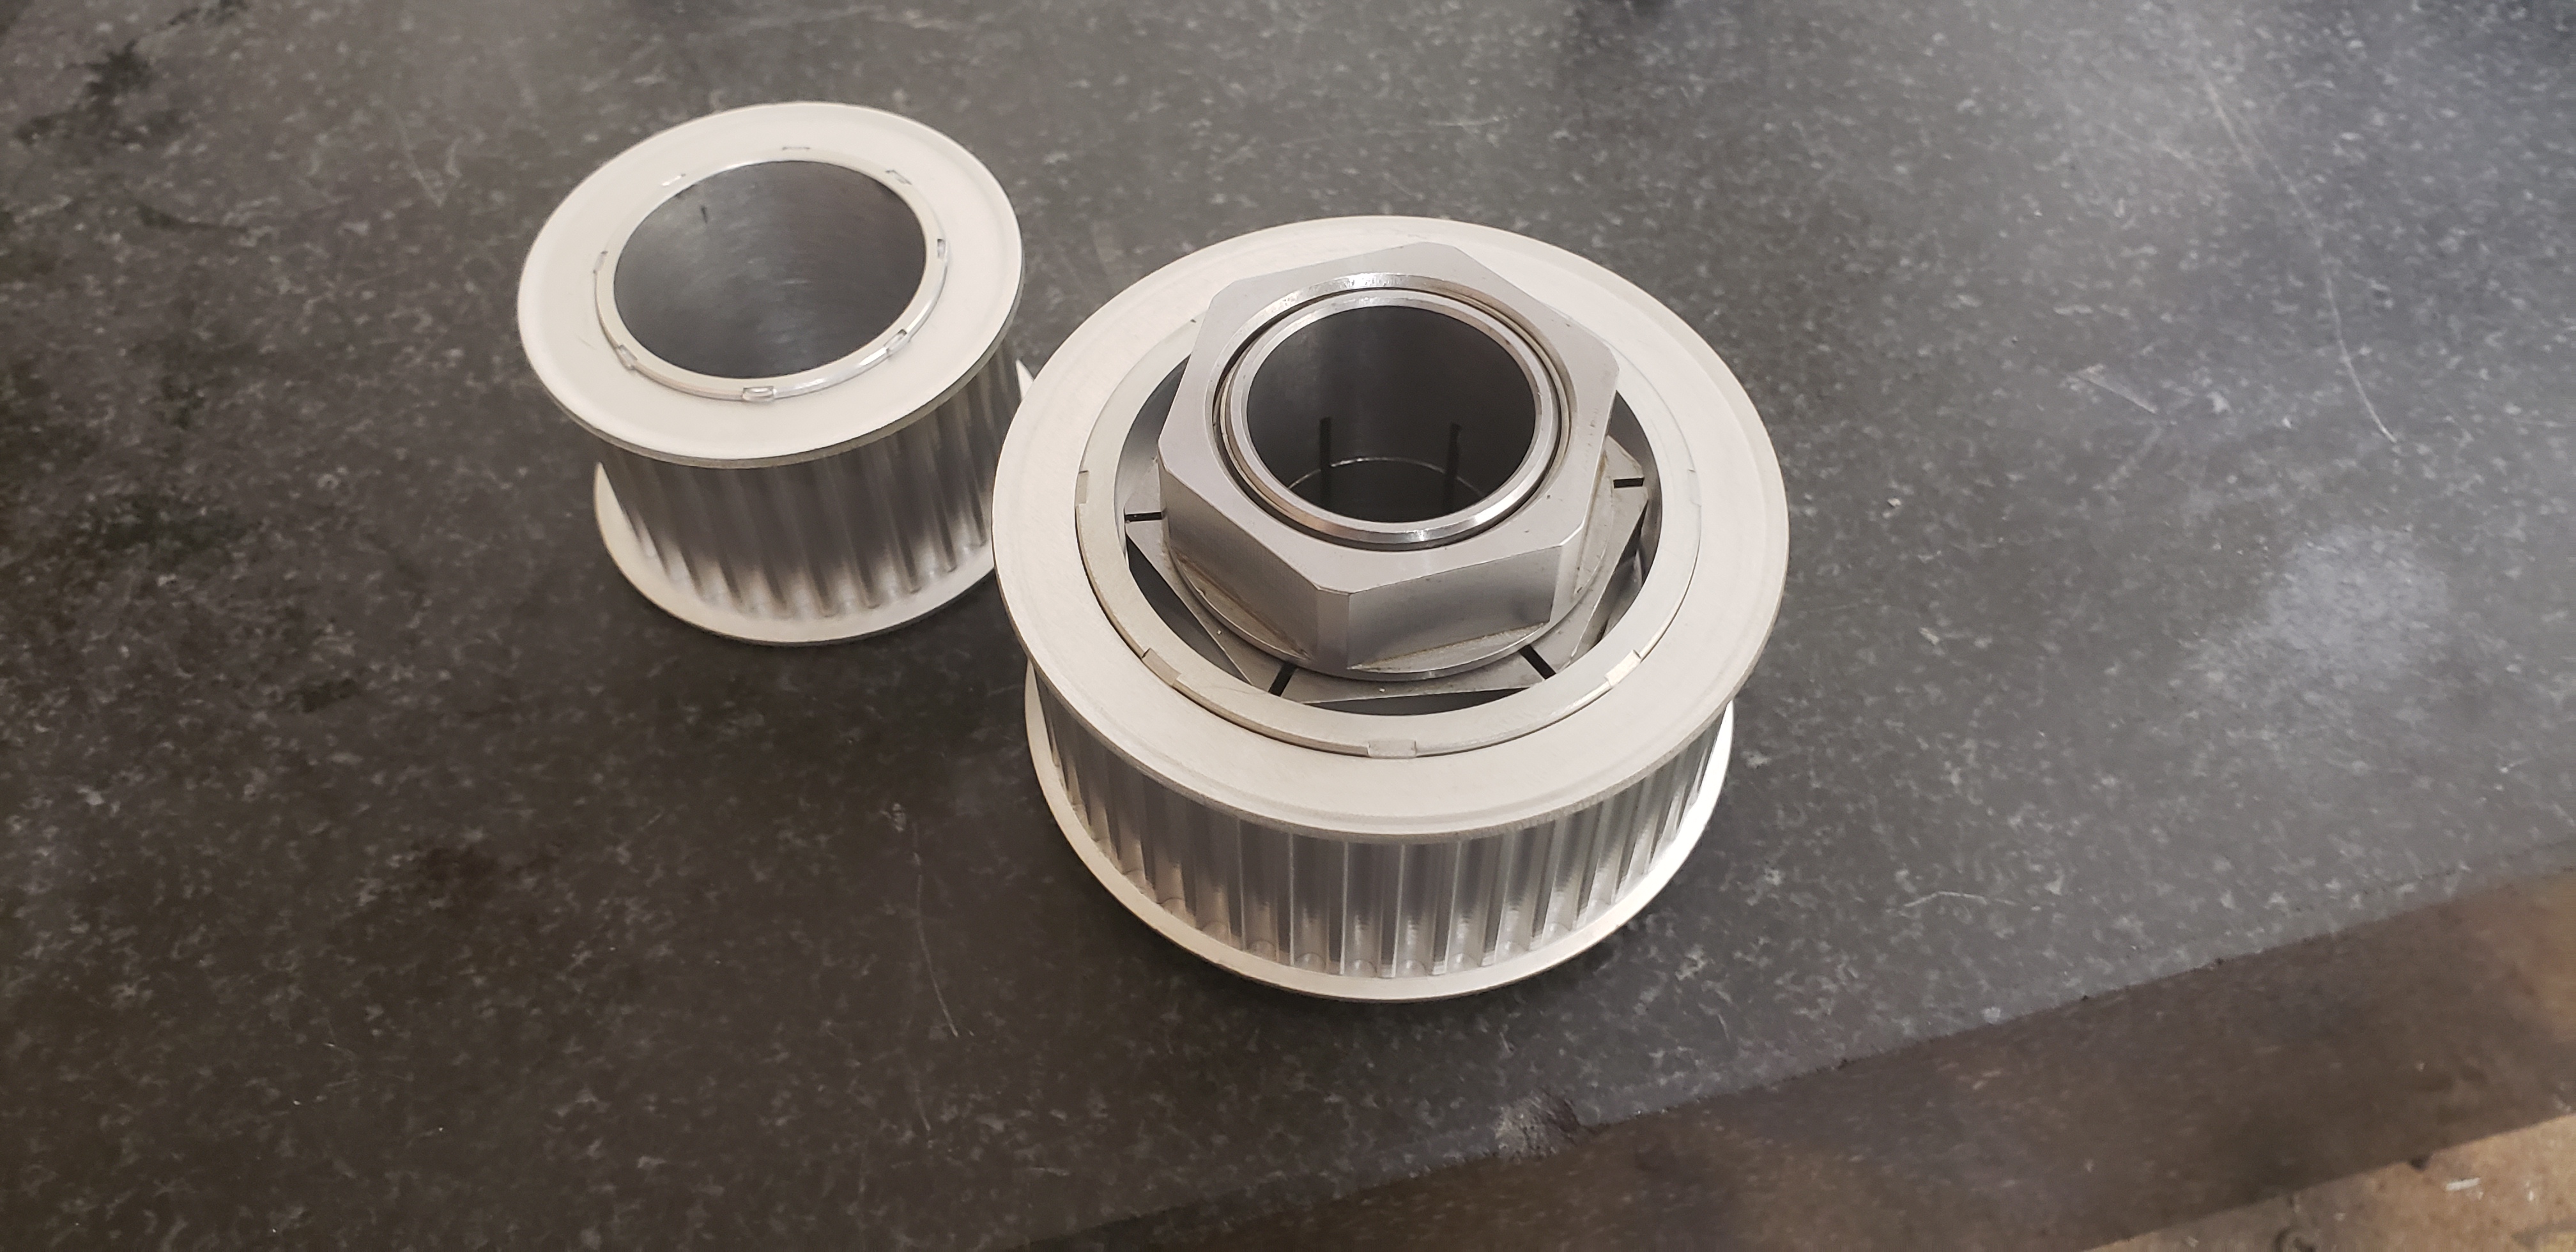
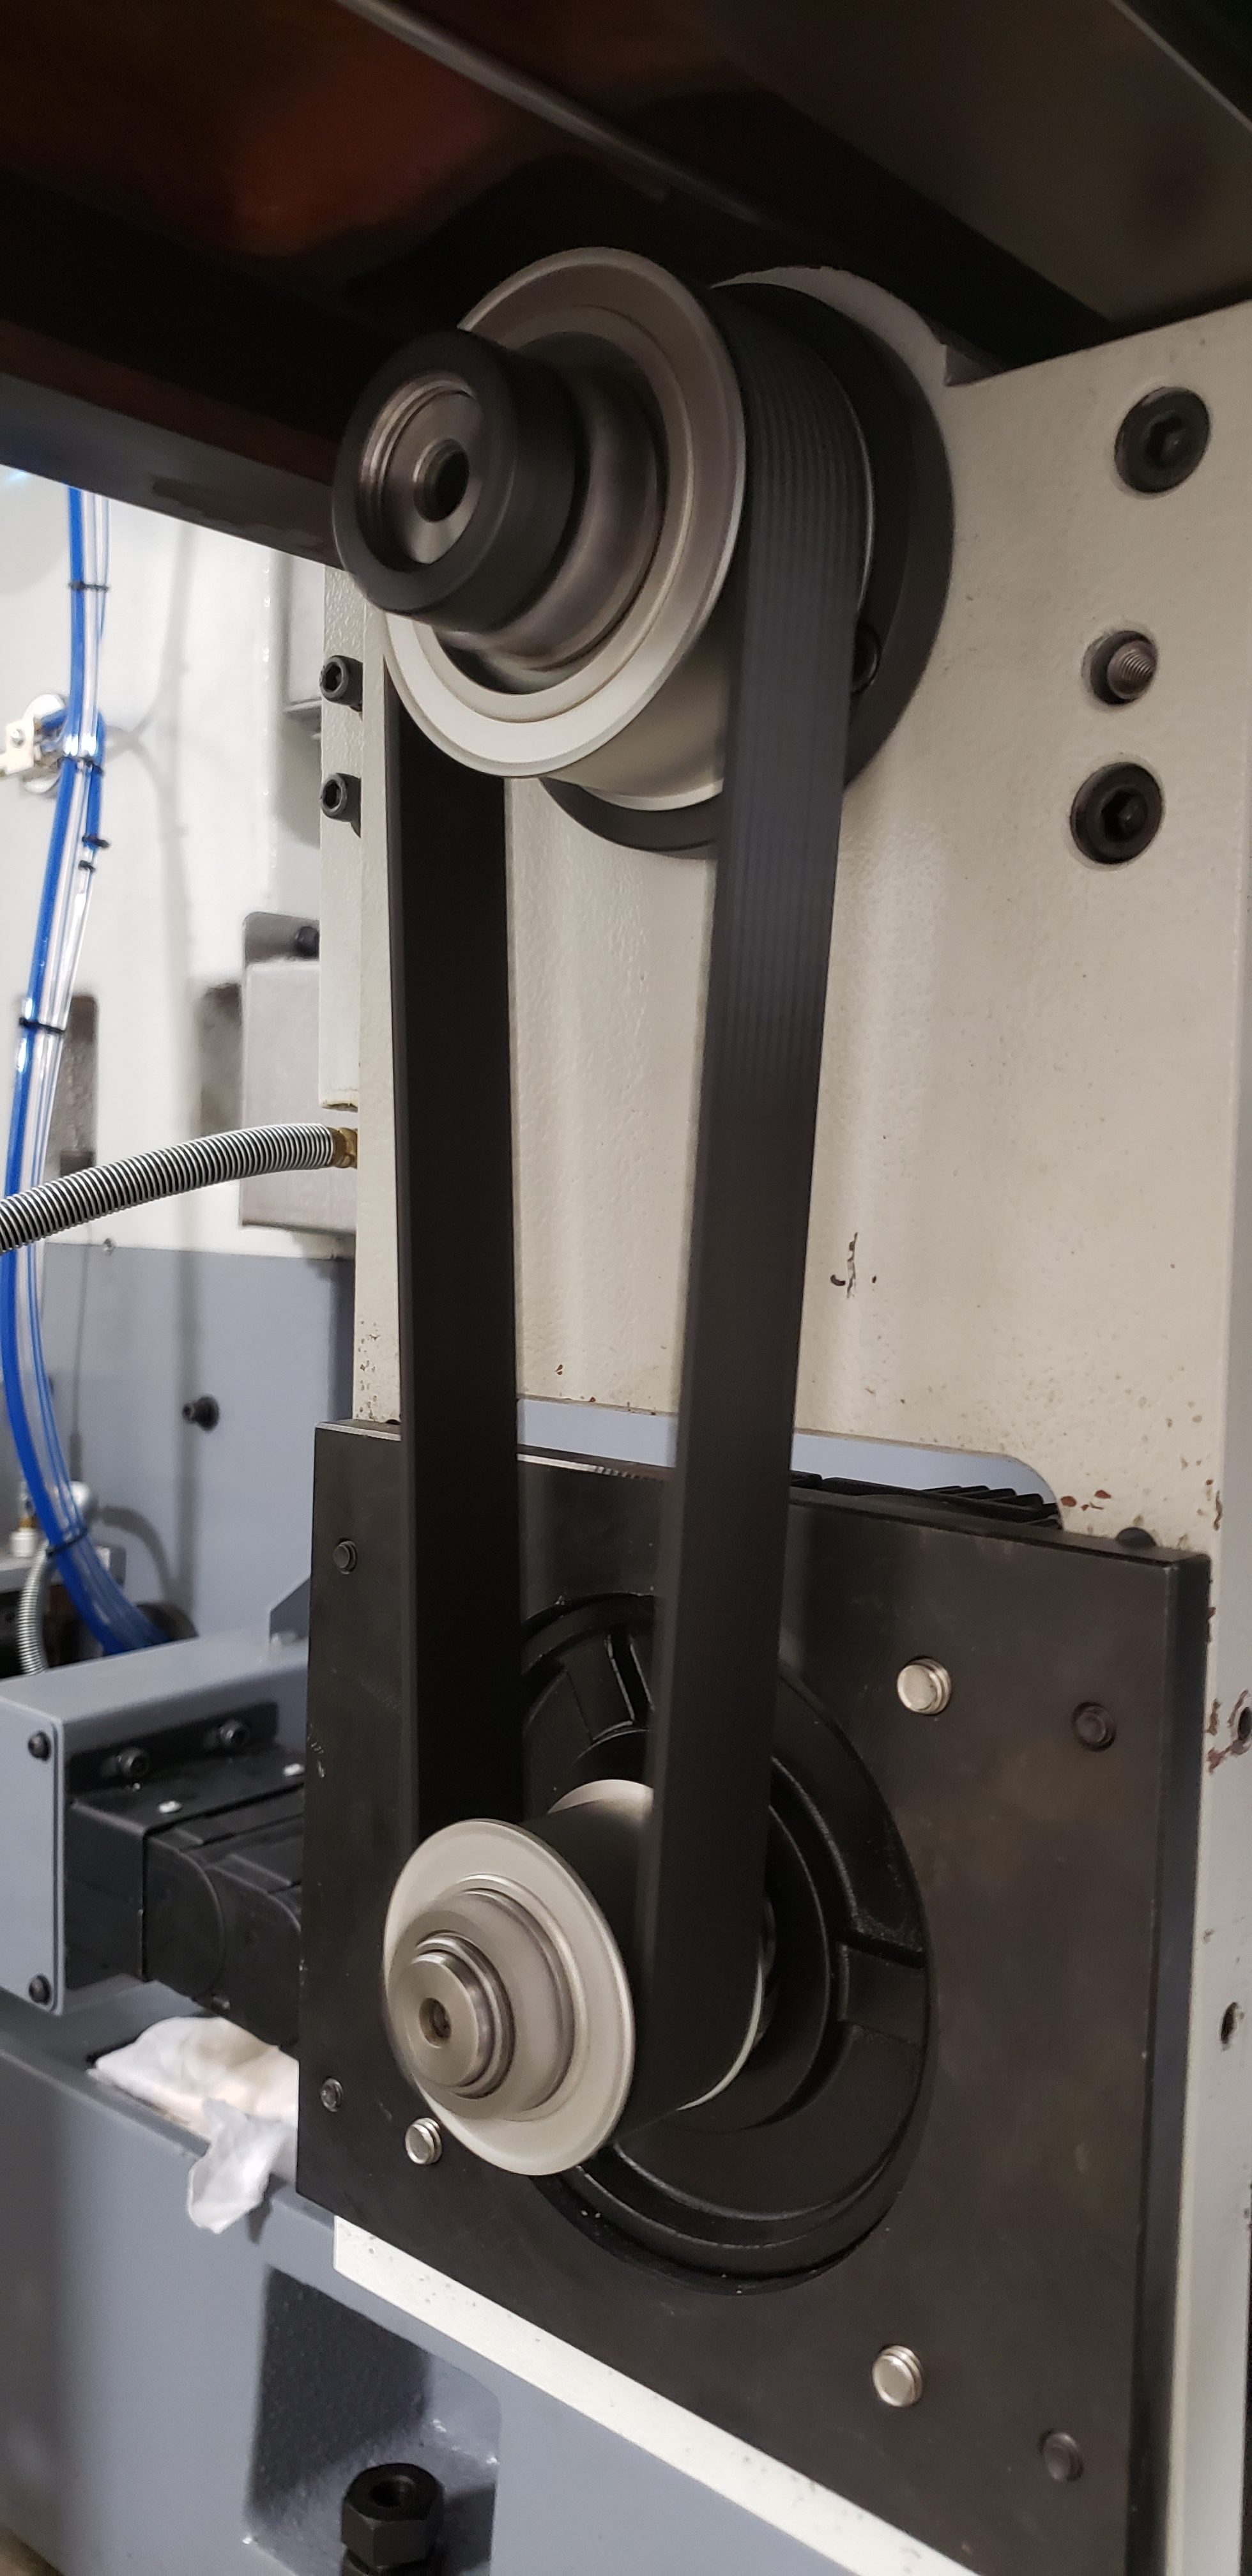
Here are the pulleys for the Gates GT3 drive belts, these are aluminum pulleys ordered from Misumi (MR5 type), shown along with the Fenner Key less drive bushings. I used a 1.5:1 gear ratio (30 tooth on teh servos, and 45 tooth on the ball screws) for the X,Y,and Z axis...
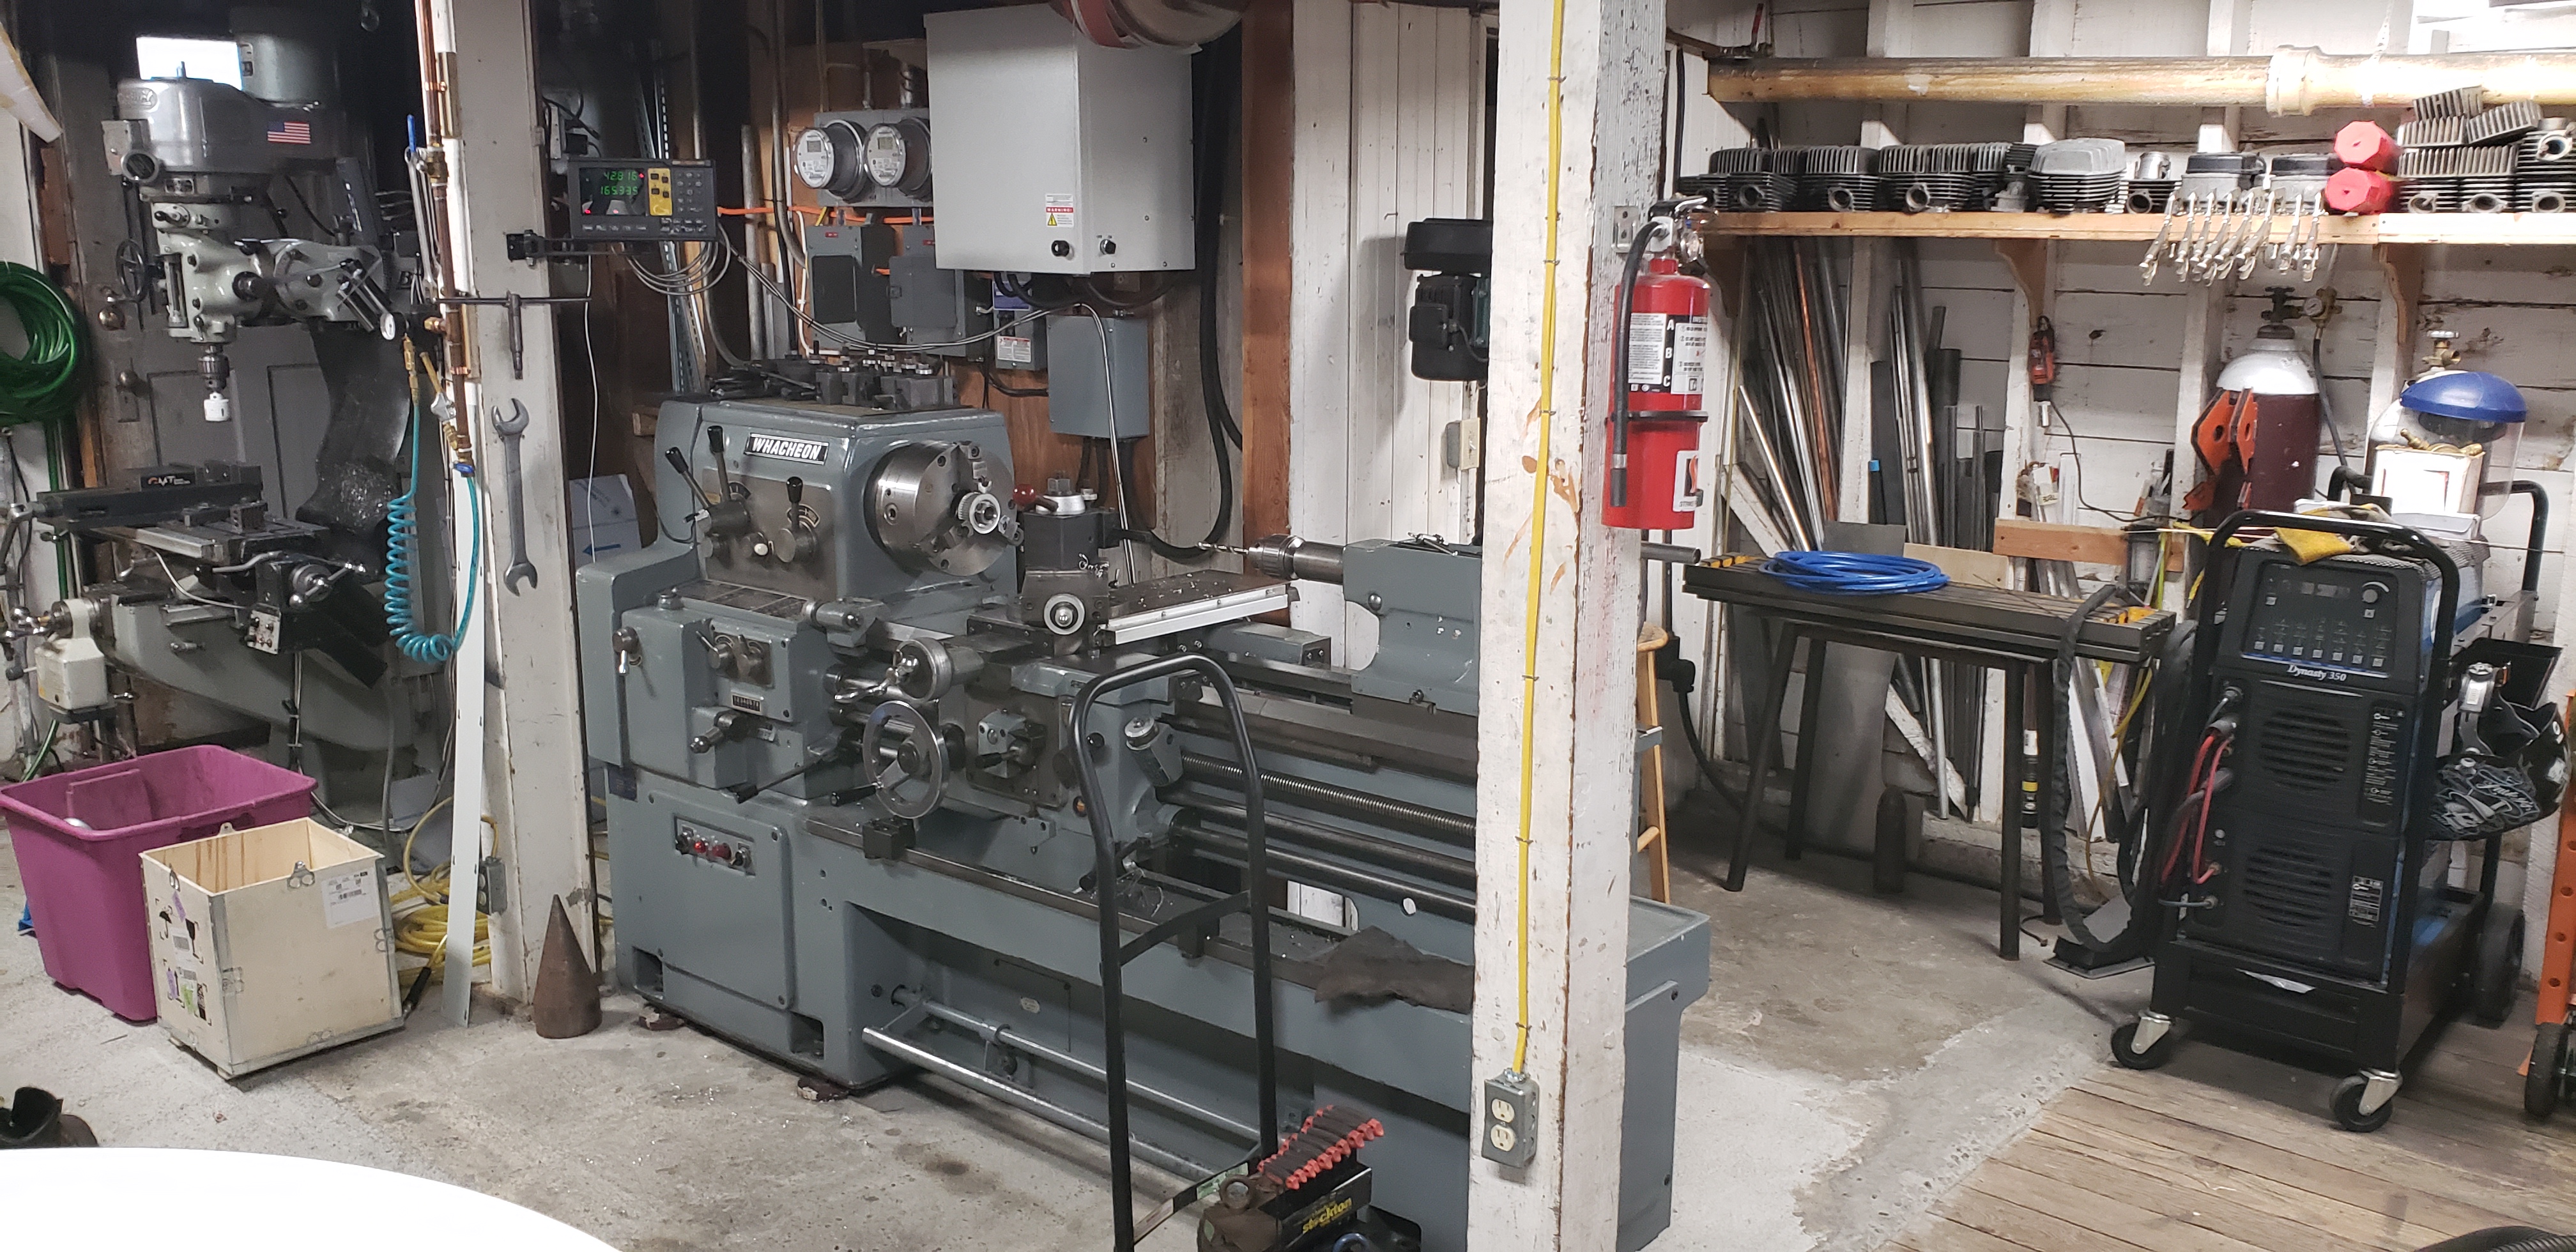
It helps to have some other machine tools around to make parts for your CNC build
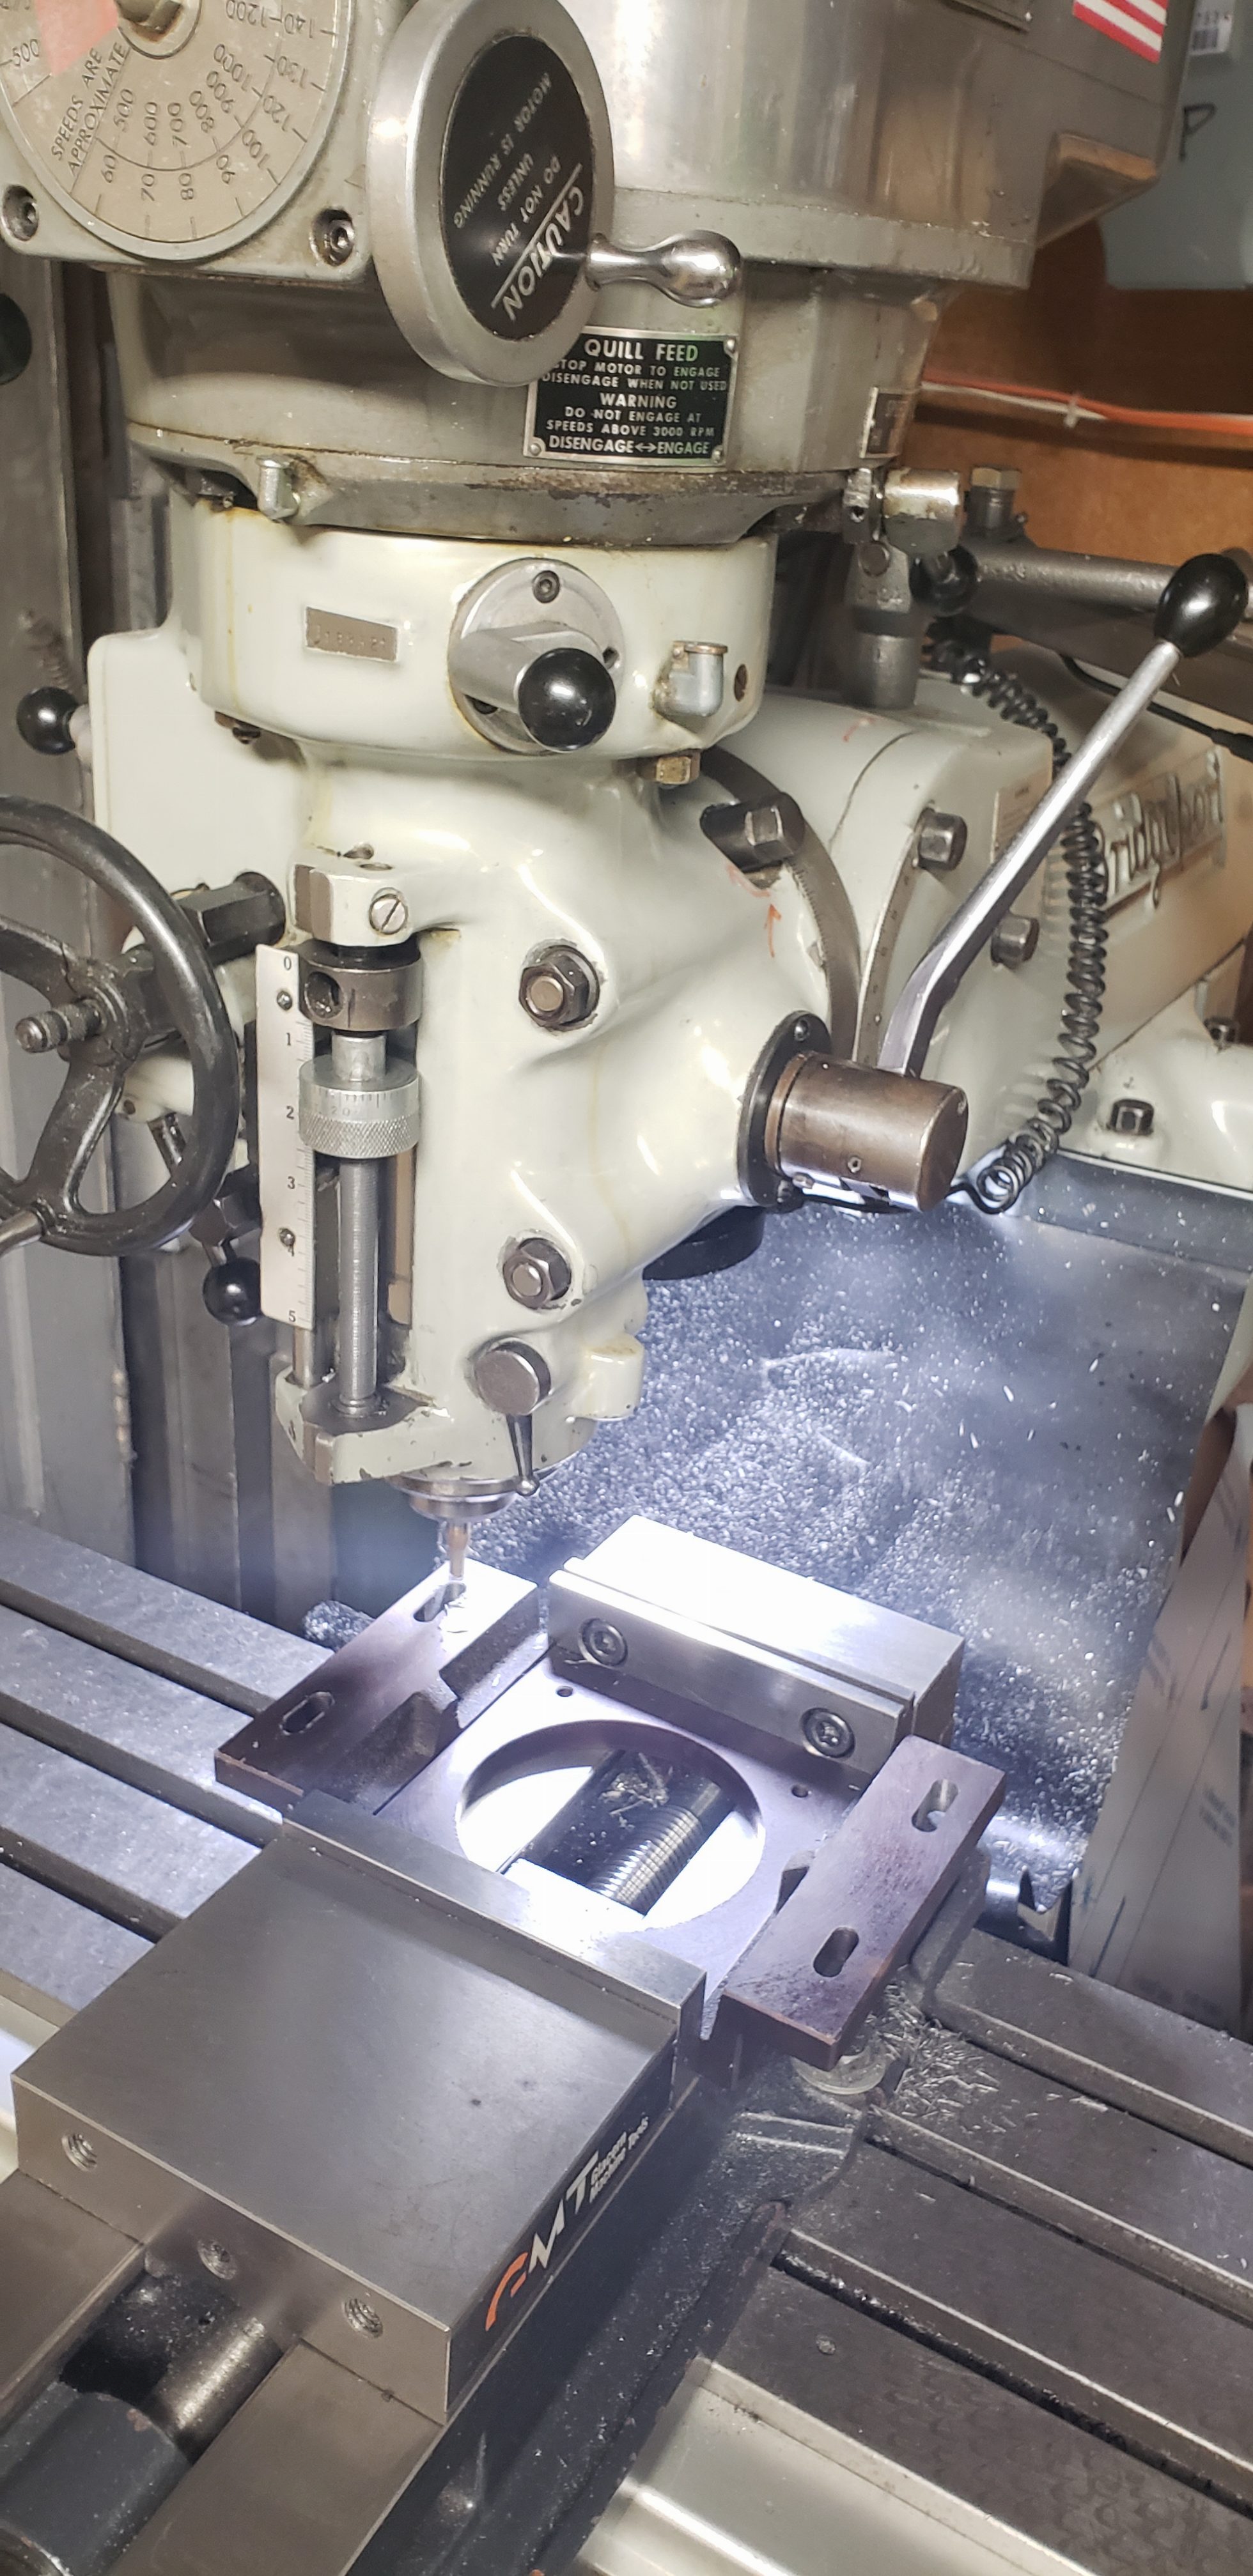
I had to machine counter bores into the ball screw pulleys, and elongate some slots in one of the servo motor mounts.
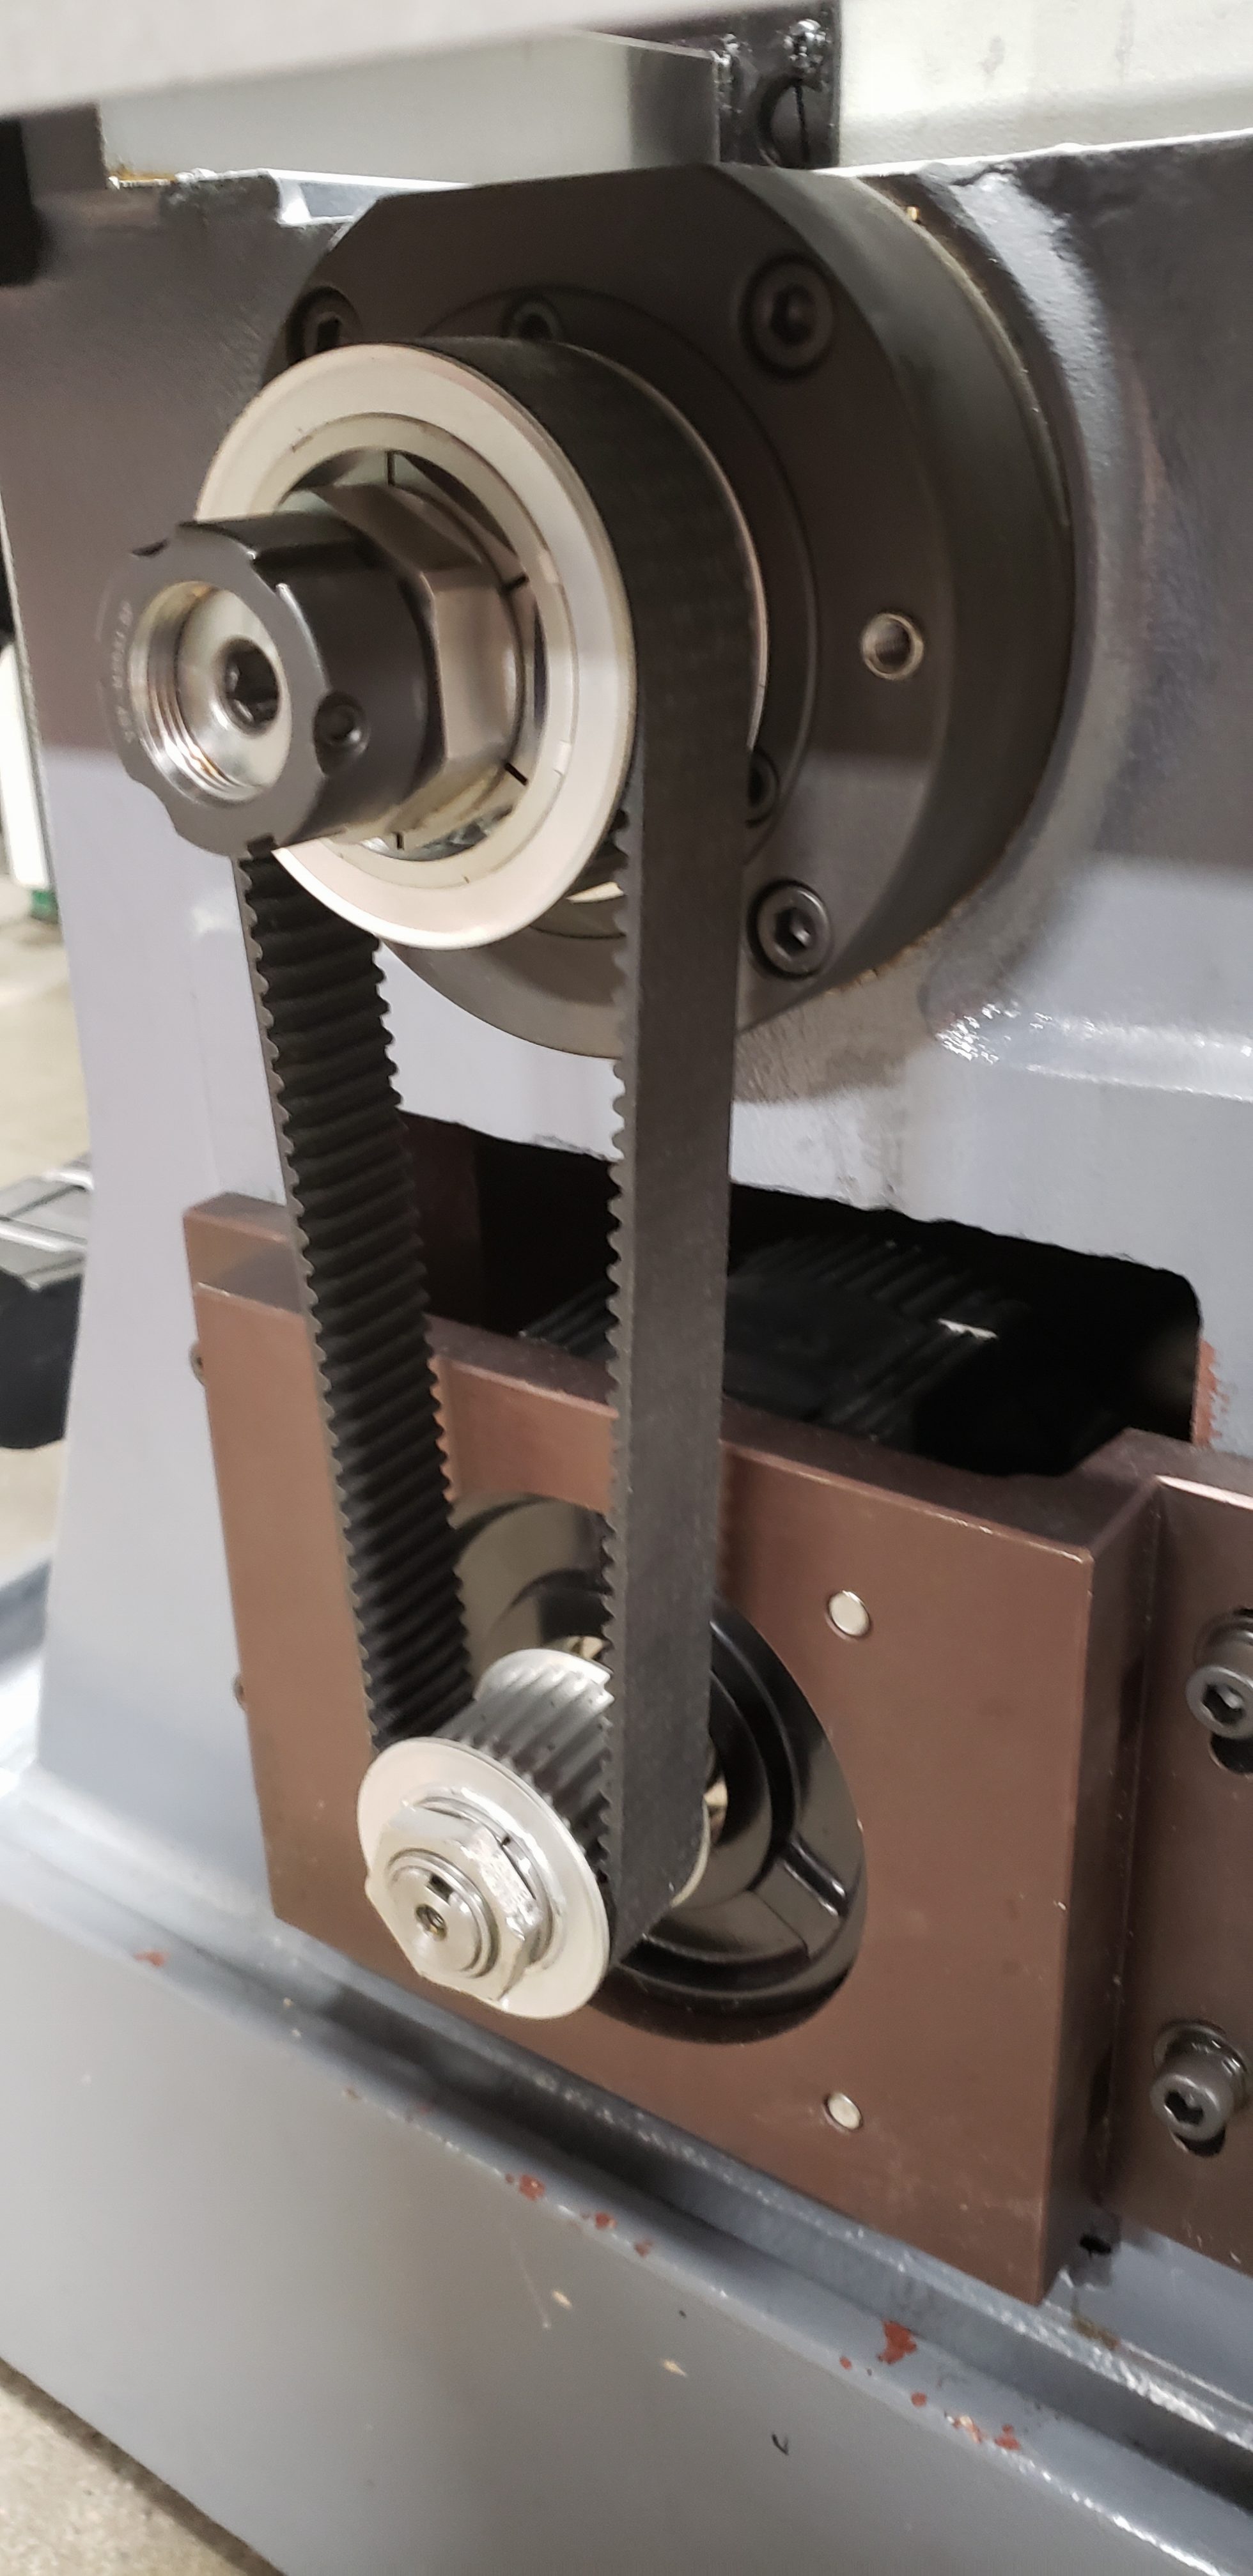
here is the finished Y axis drive...
running drive on X axis...
Re: Oak Control, Yaskawa Servos, on Brand New Rigid Head Bed Mill with ATC
Posted: Thu Jan 02, 2020 4:59 pm
by cnckeith
nice! thanks for posting the photos.
Re: Oak Control, Yaskawa Servos, on Brand New Rigid Head Bed Mill with ATC
Posted: Fri Jan 03, 2020 2:21 pm
by jhenise
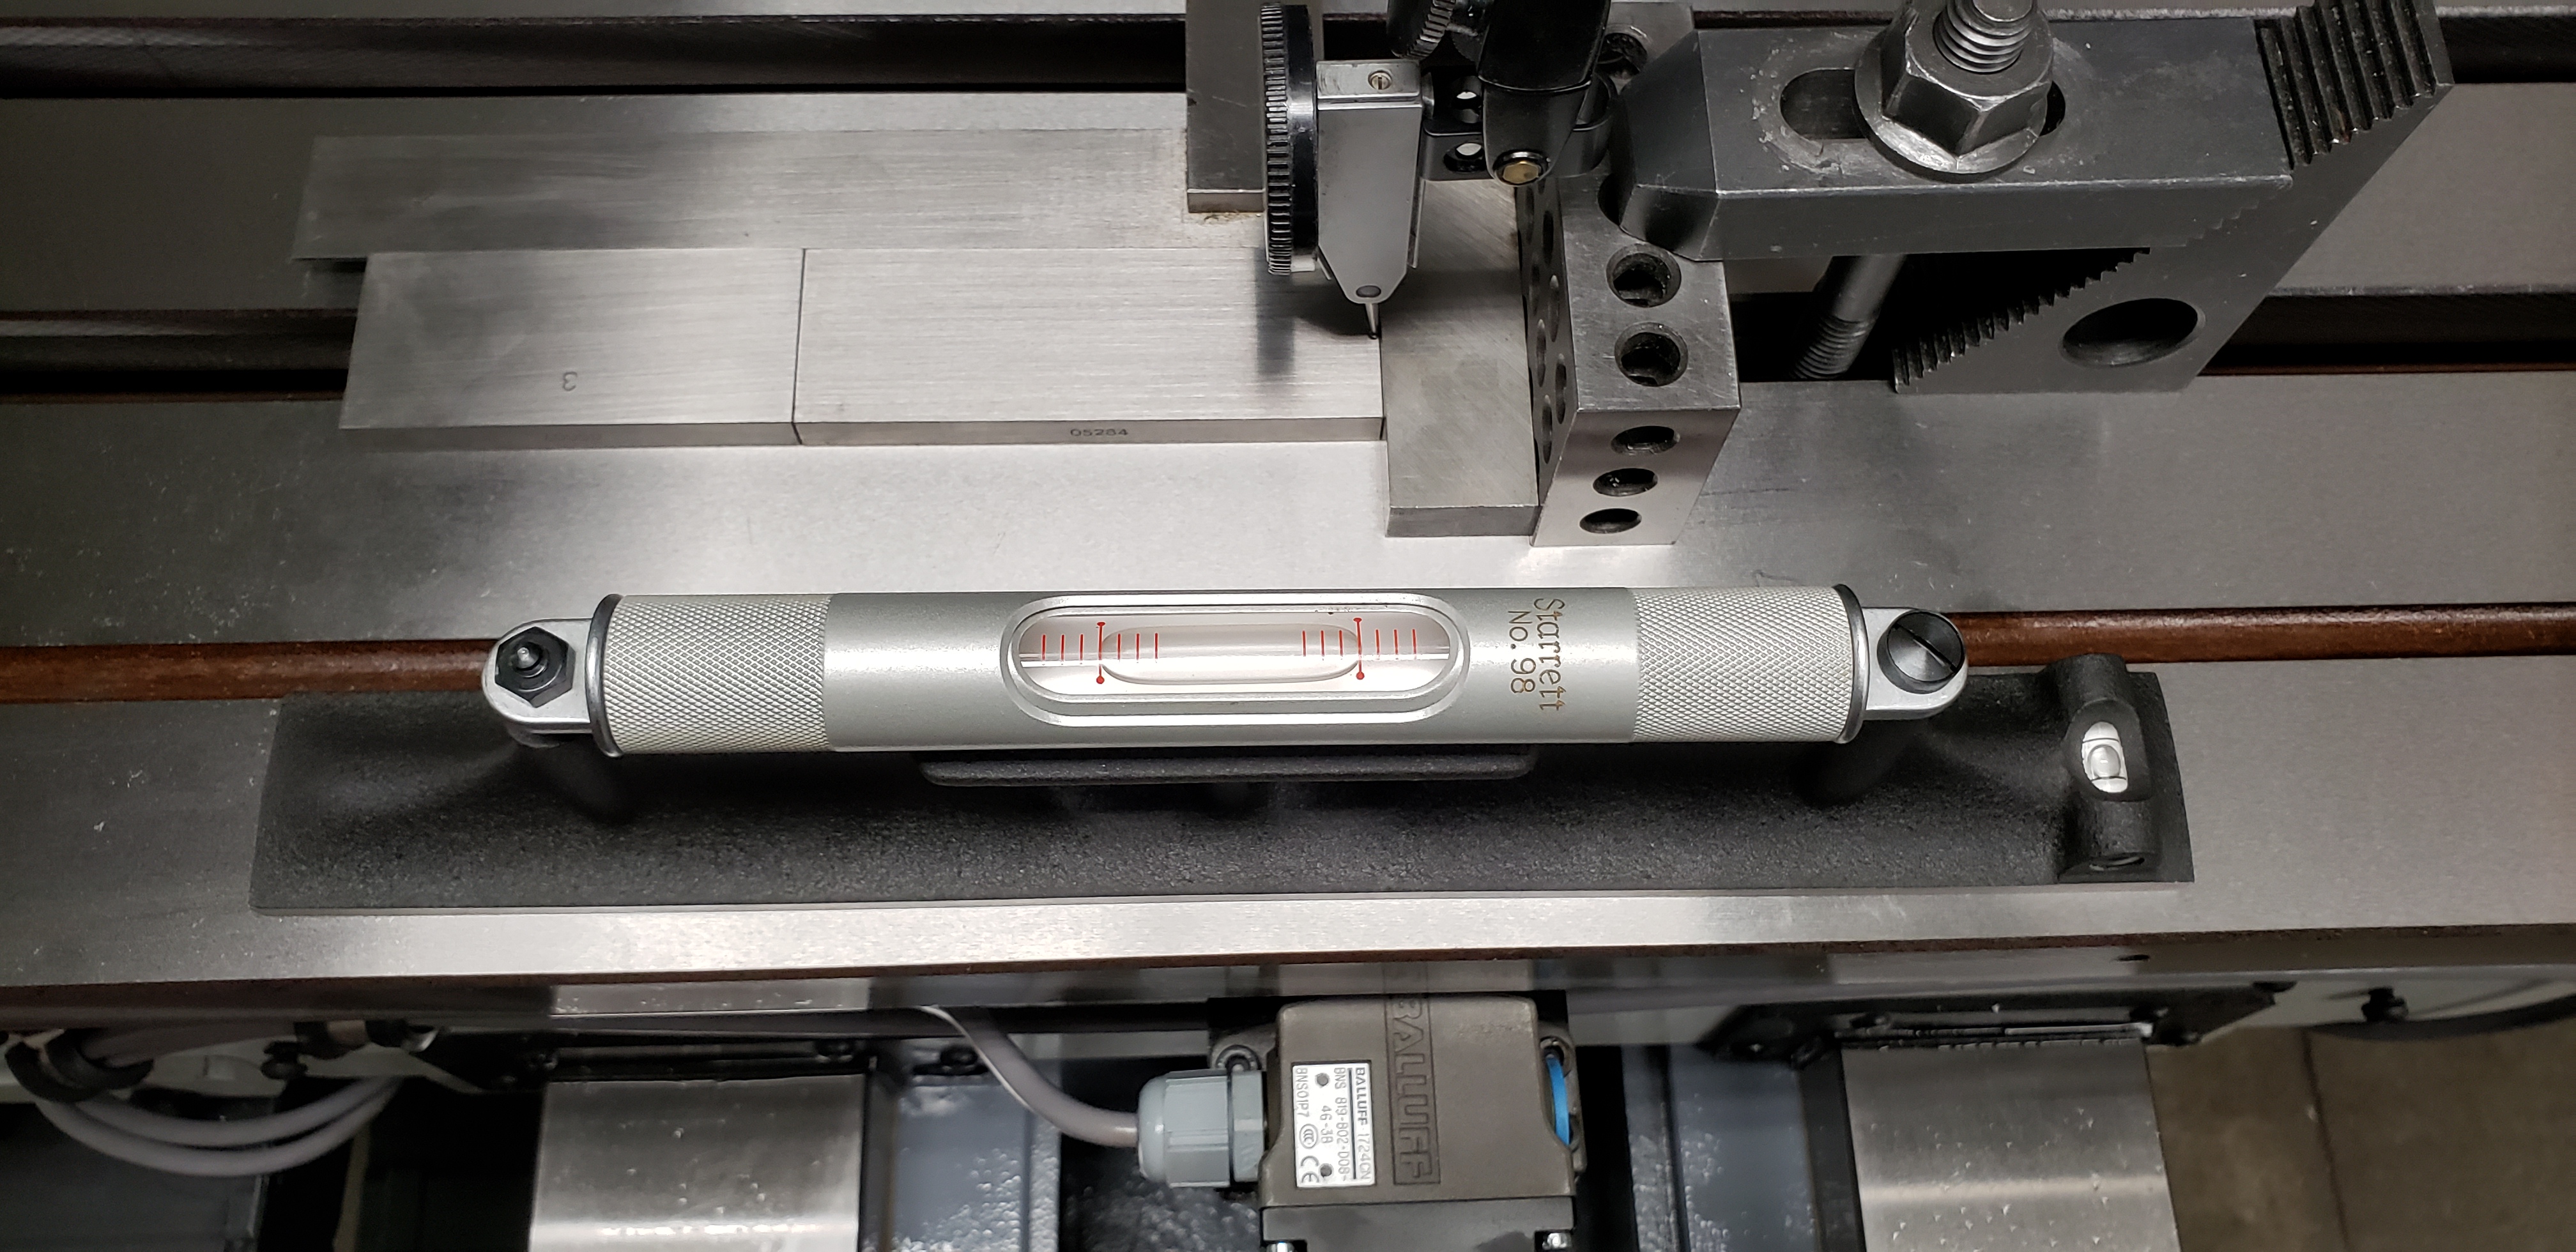
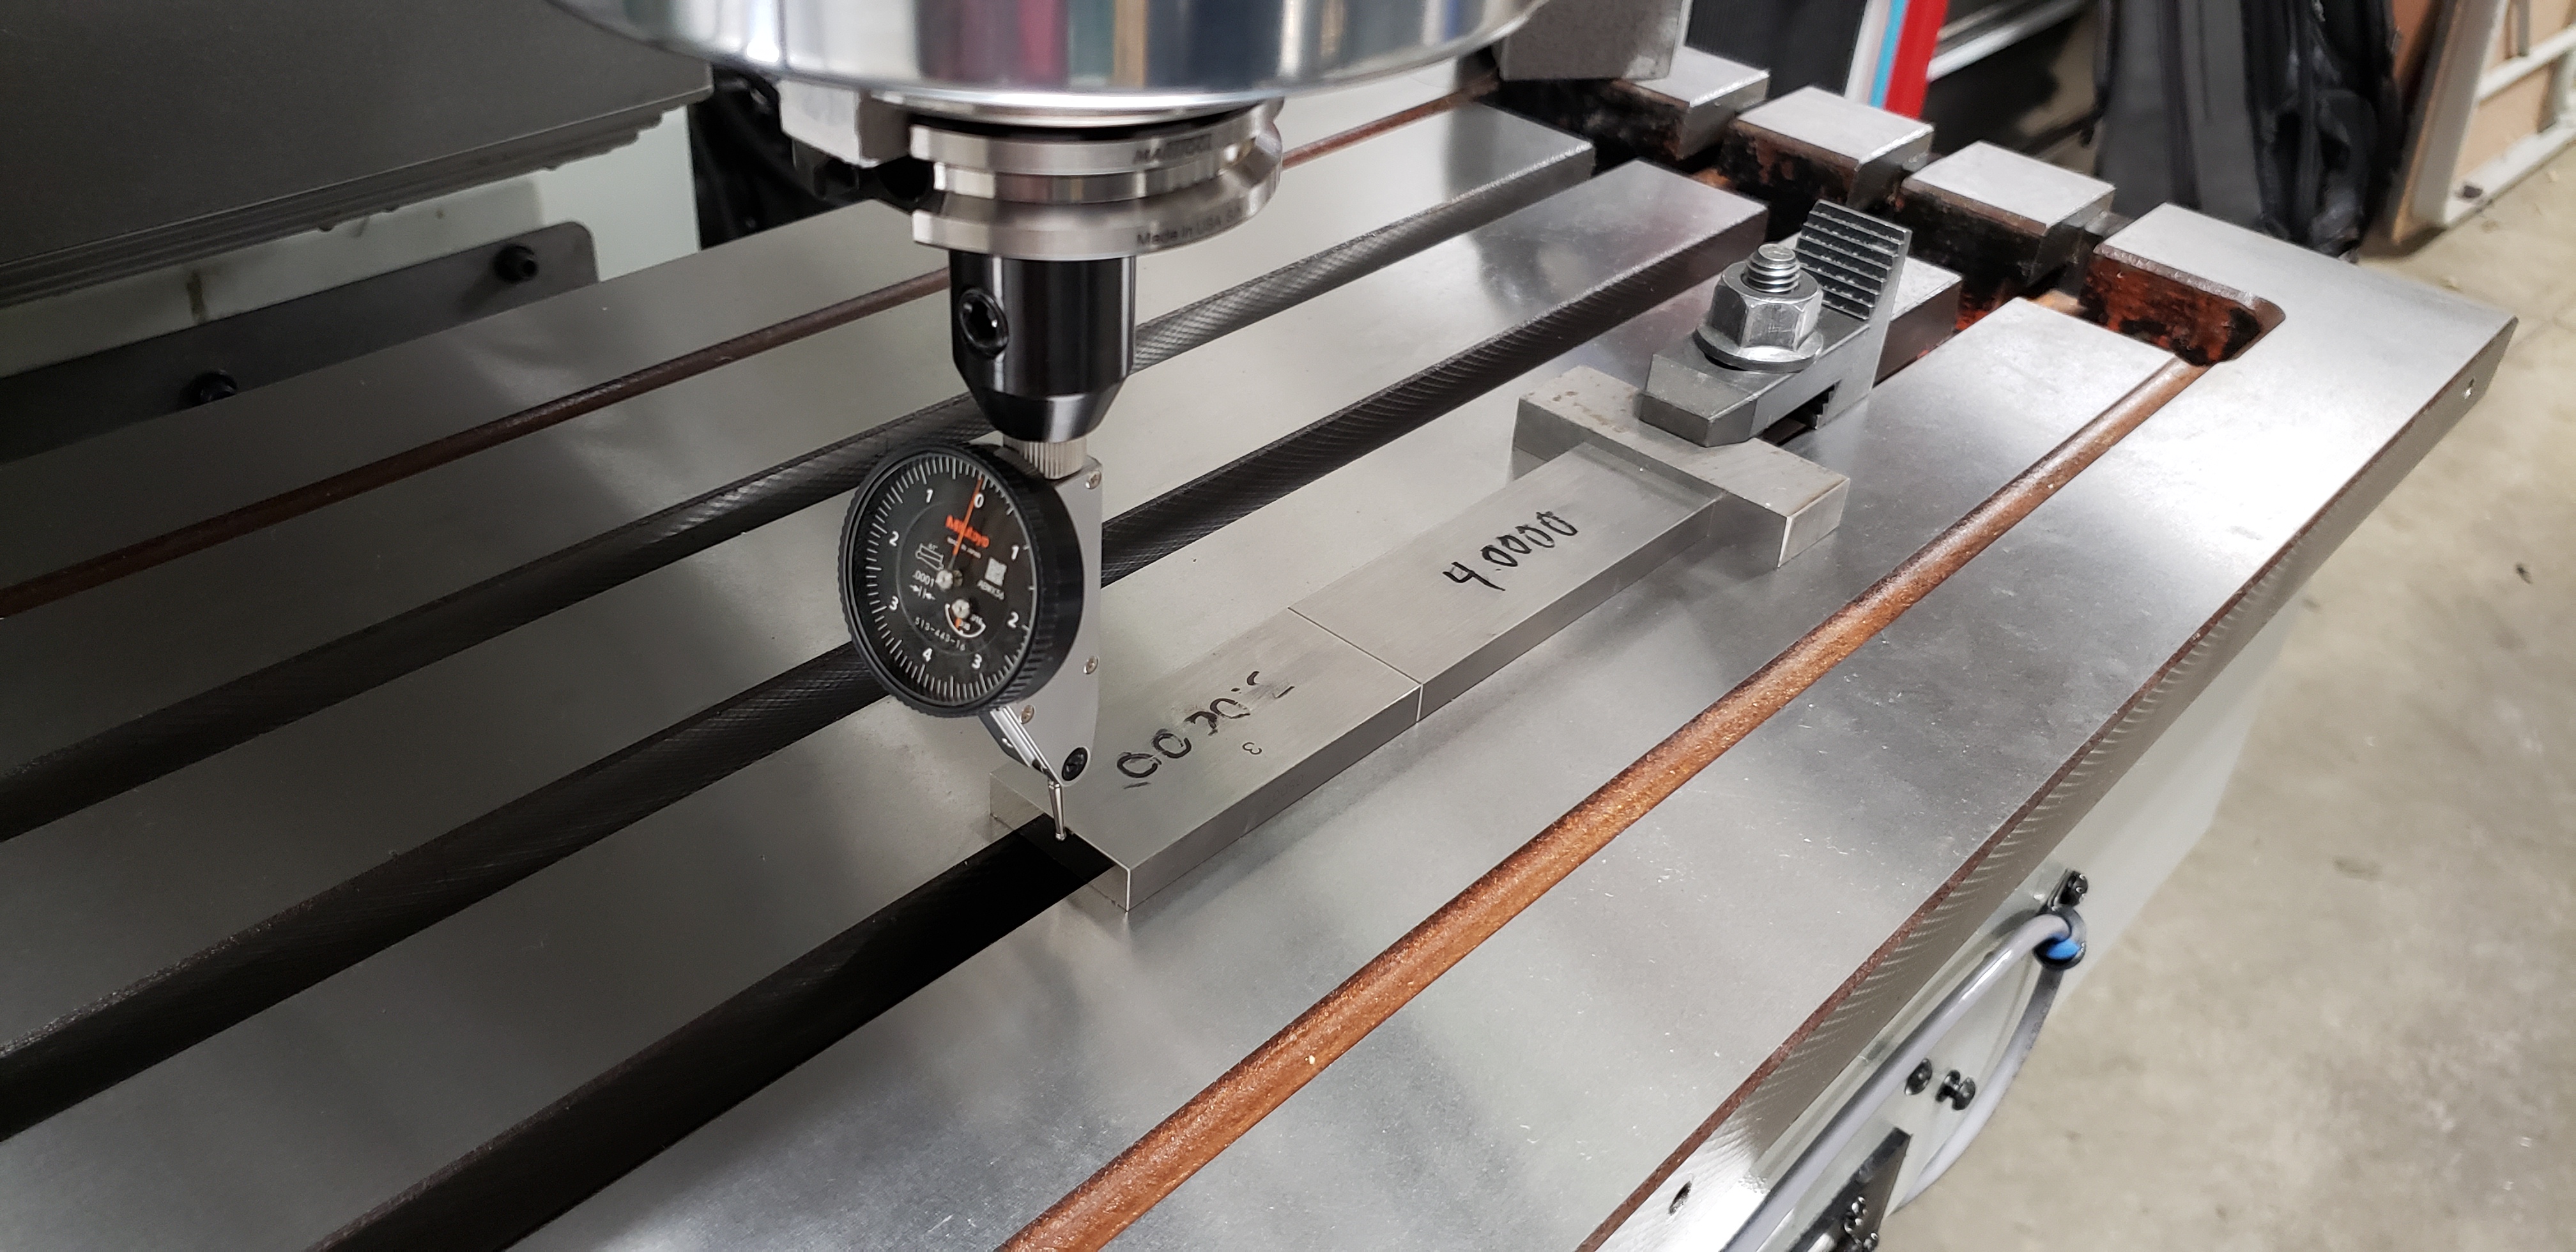
Next up after all basic servo and VFD tuning the machine is leveled then the servo turns/inch ratios were calibrated using gauge blocks (4.0000" and 3.0000") and a 0.0001" indicator... This was done for X Y and Z... then backlash was determined using a 1" x 0.0005" dial indicator and a 0.100" back and forth motion.
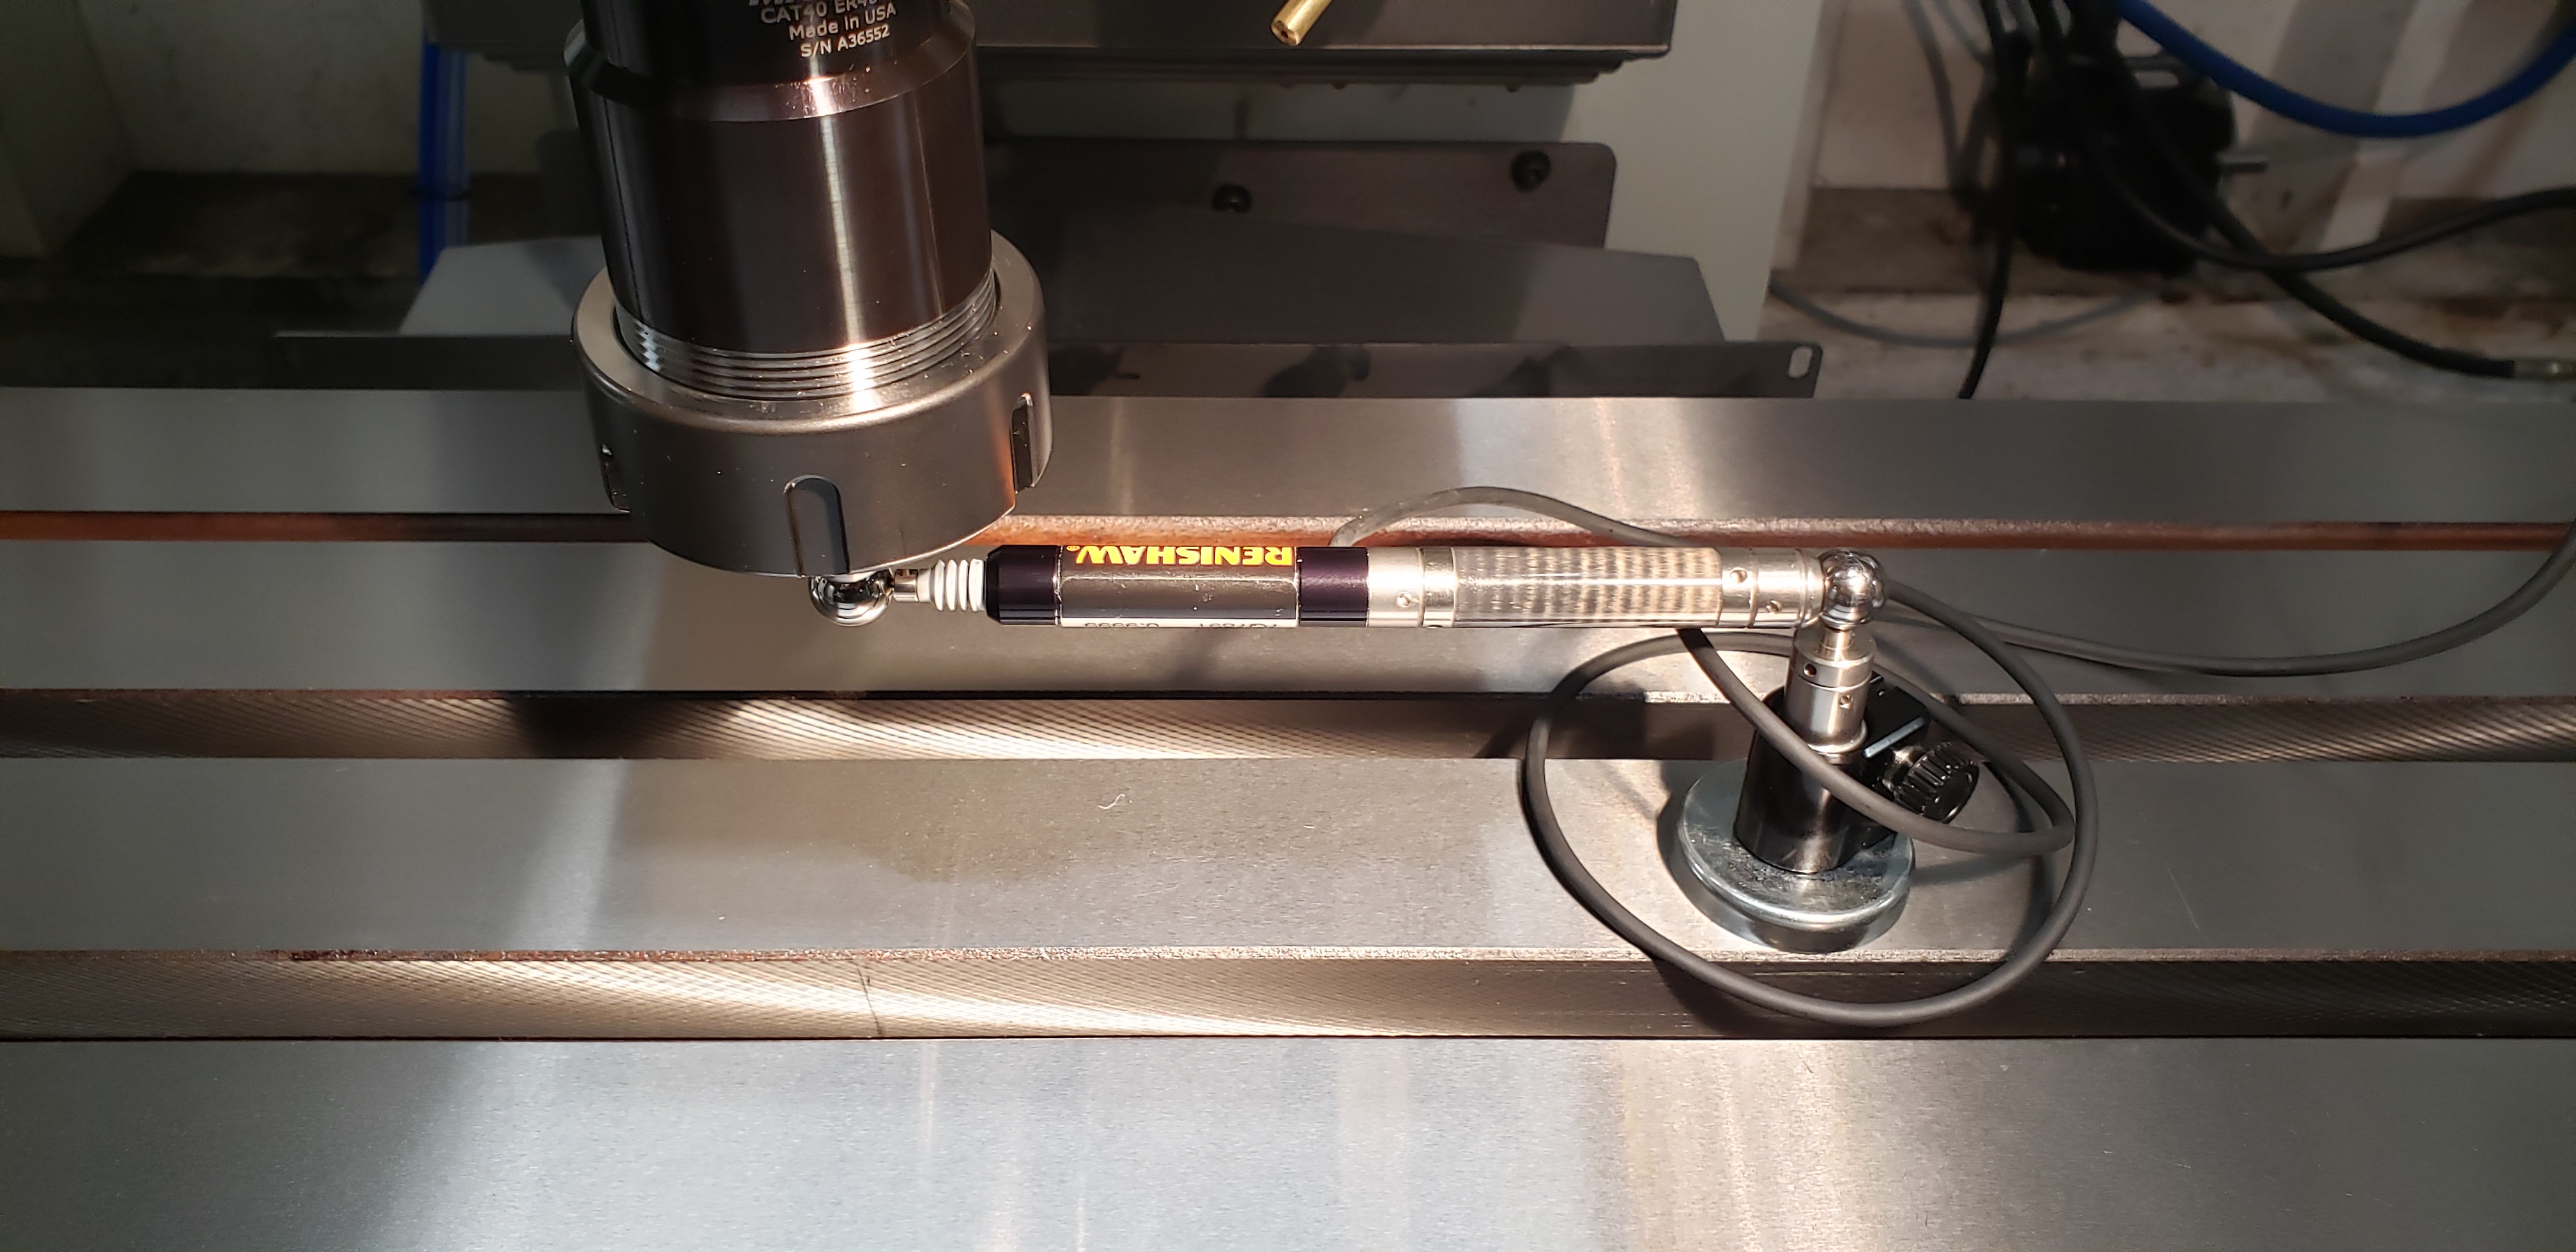
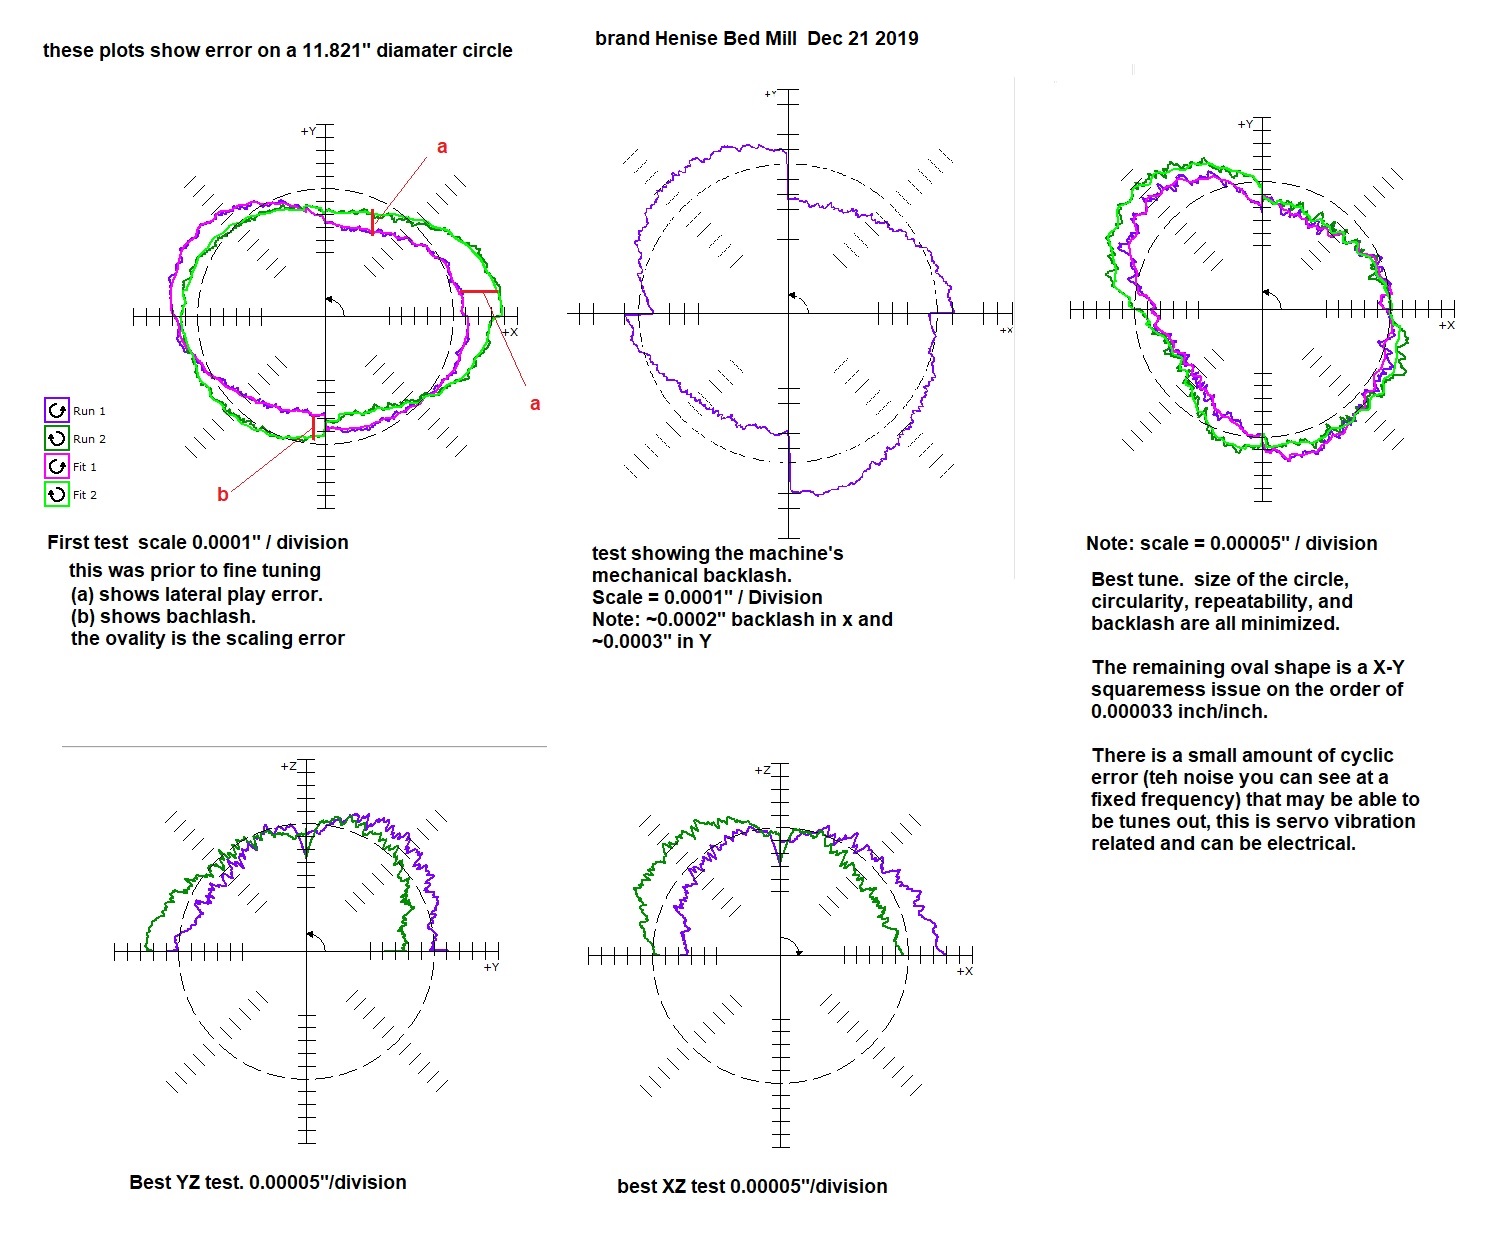
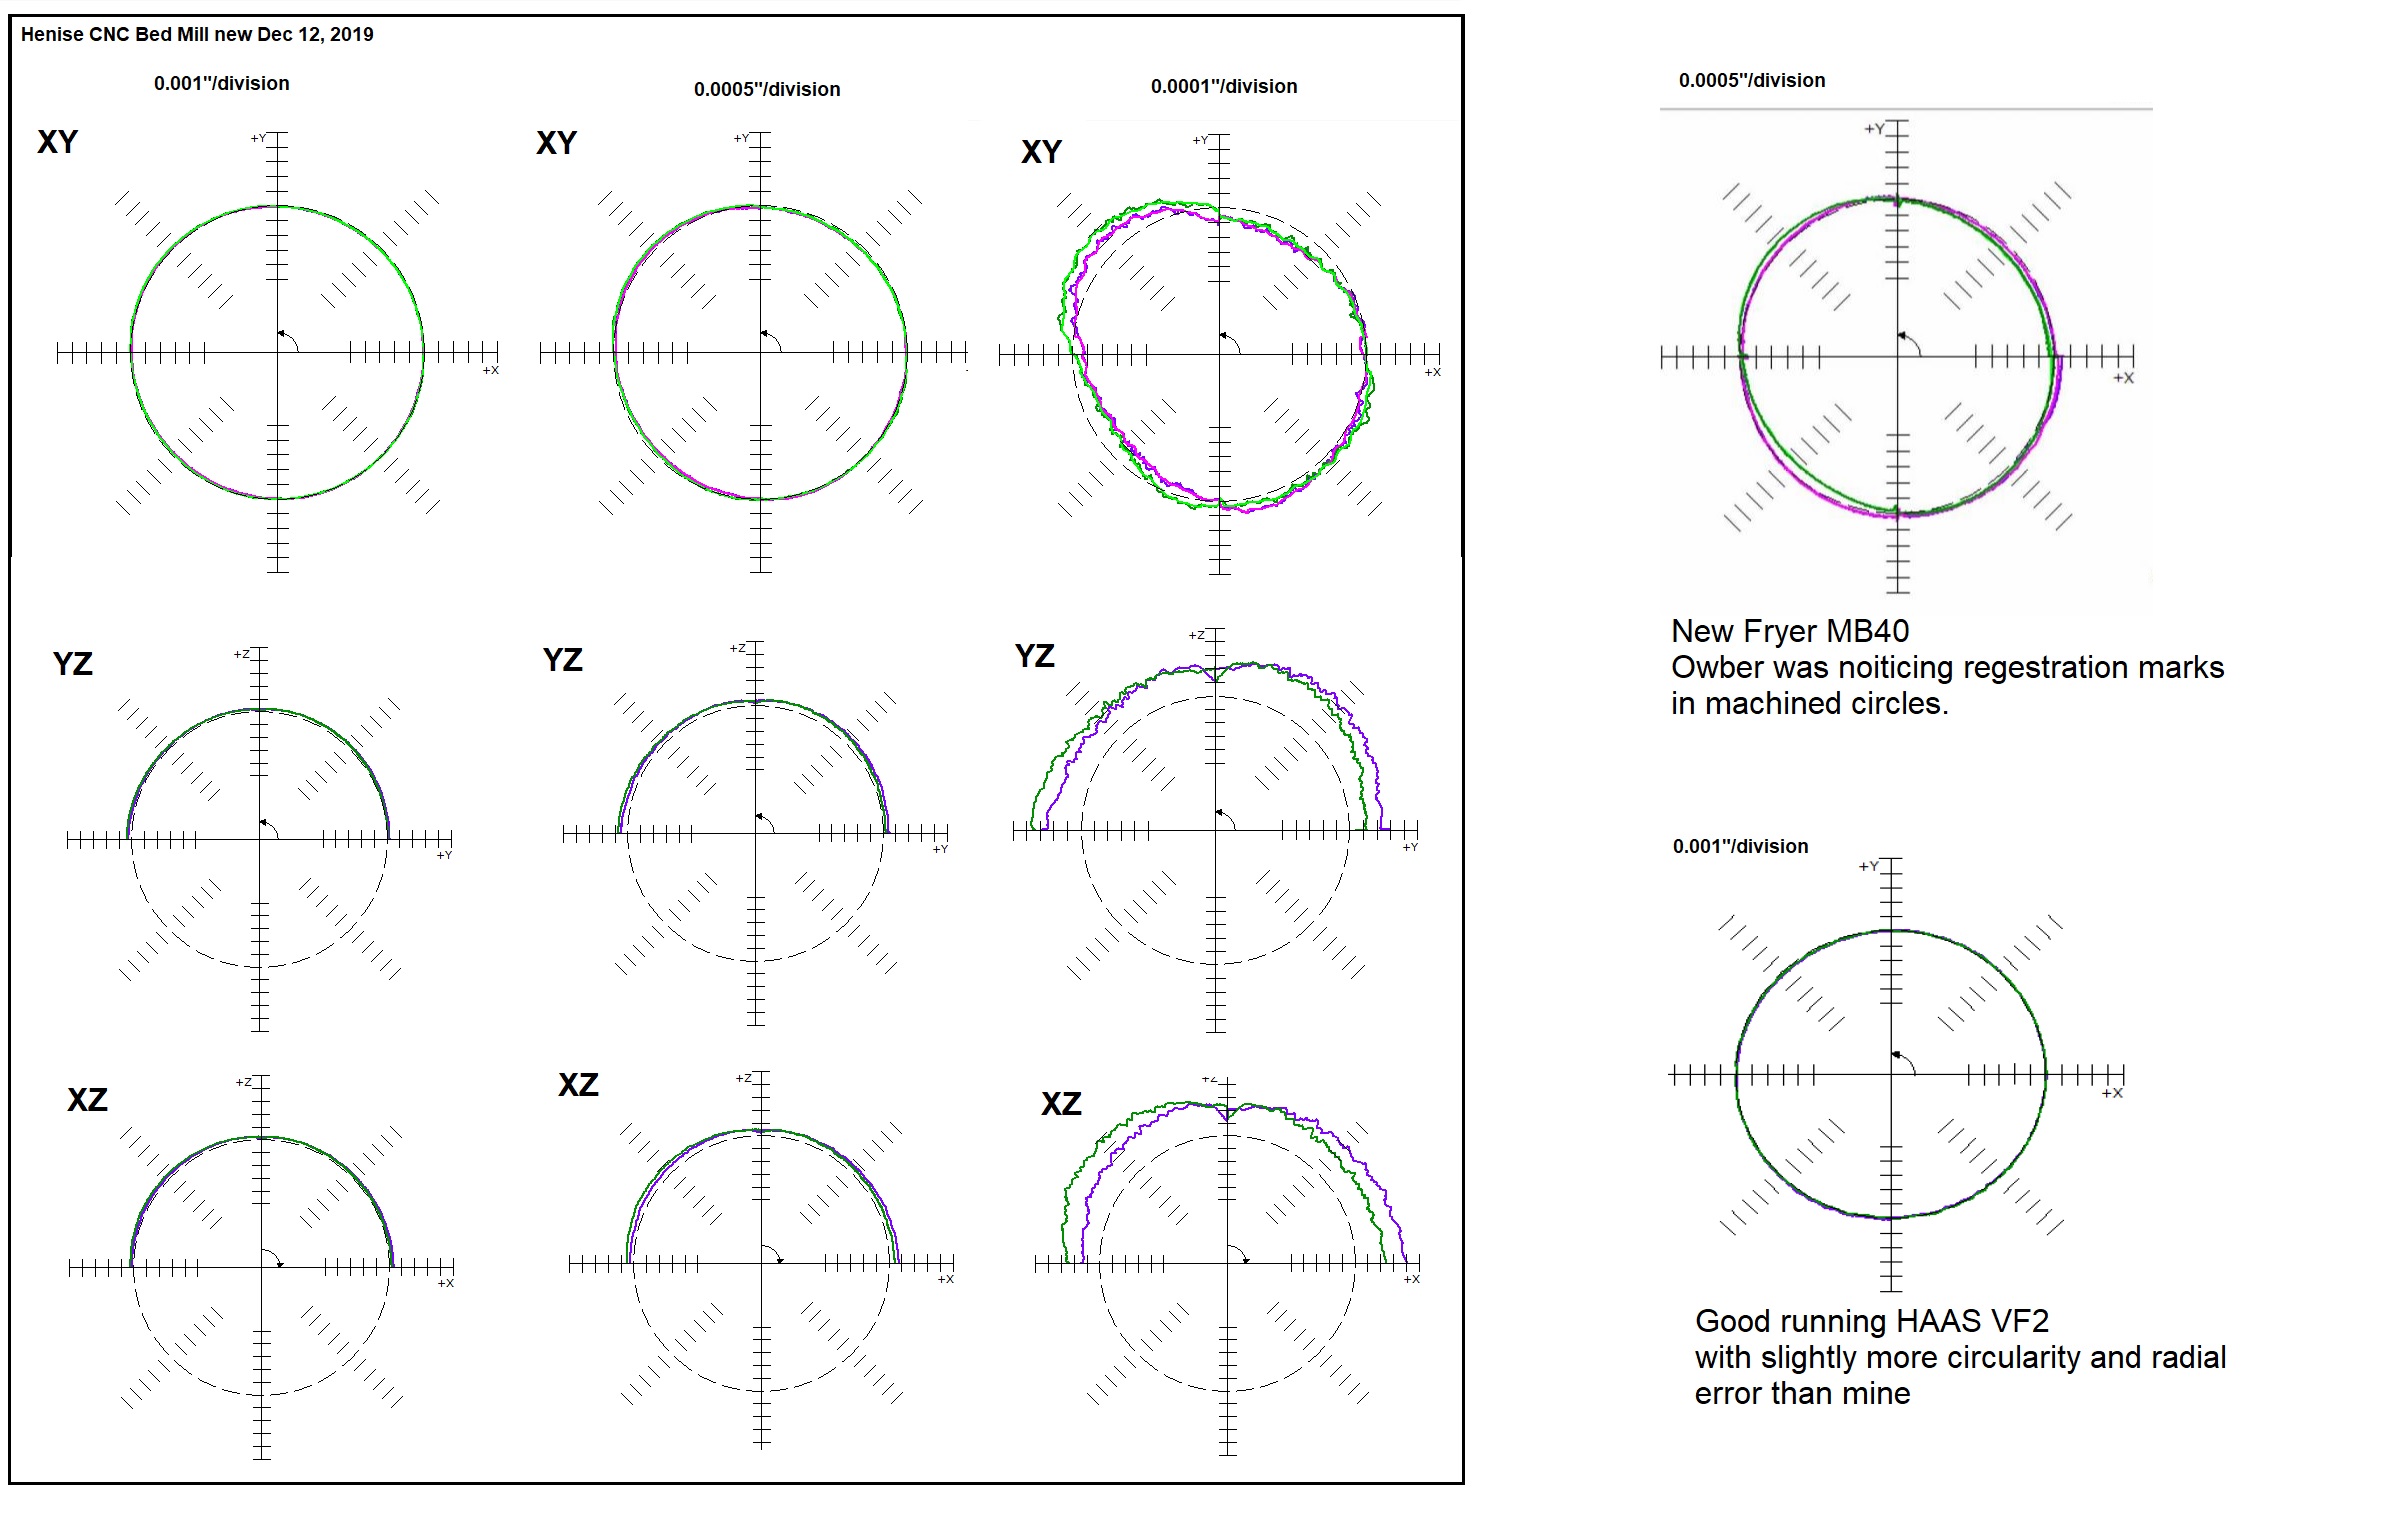
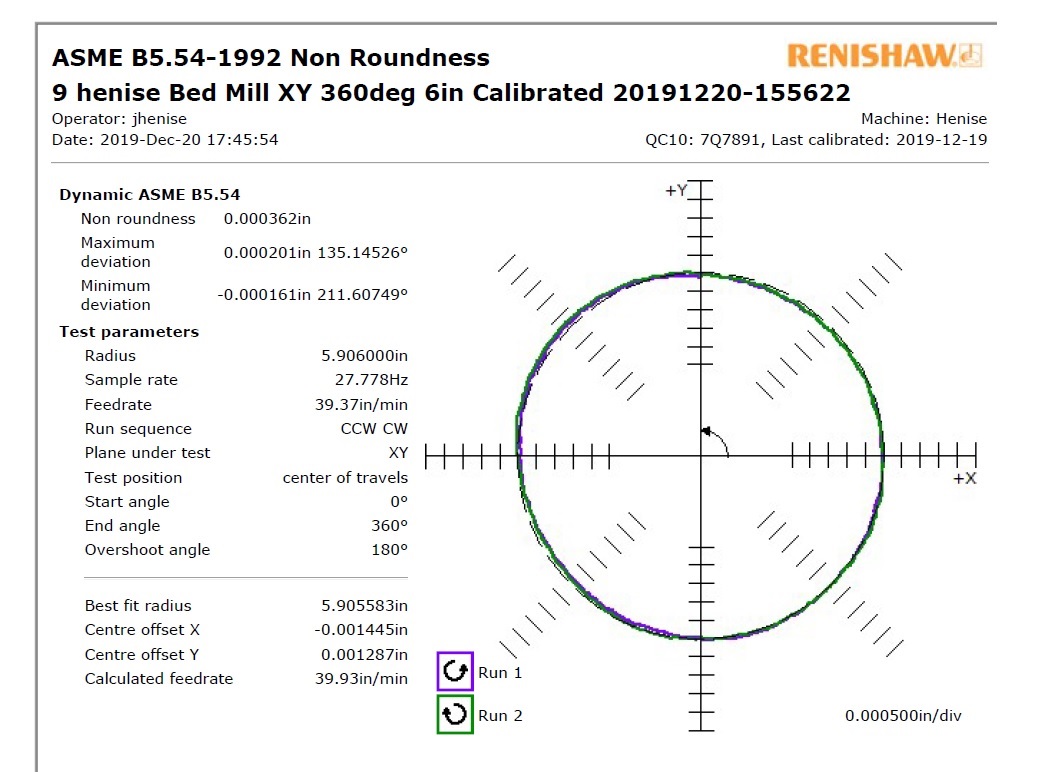
Then the machine was further calibrated with a spherical ball bar test, using a Renishaw QC10 150mm Ball bar in the XY, XZ, and YZ planes.
the Renishaw error analysis software for the test results is simply amazing. It determines about 20 sources of error and ranks them in order so you can address the worst ones first. My first test indicated that the X axis was running slightly faster then the Y (ovality) and that both axis were slightly too fast over all (circle too large). A few rounds of refining the turns/inch parameters fixed that, then I calculated mechanical back lash from the ball bar test and refined the backlash comp in the control (about 0.00018"-0.00035" is needed), this is WAYYY more accurate then the dial indicator method can ever dream up, the ball bar is good to micro inches... At this point there was some minor lateral play error (loose gibs) that cleaned up with gib adjustment. The Yaskawa servos are very smooth, and with accurate tuning of the drive the mis match between motors can be kept down to 0.010-0.020 ms. There were no significant errors related to servo tuning (cyclic error, reversal spikes)... in the end my greatest remaining error has to do with mechanical squareness of the X to Y axis, but this is down to the 0.00003 inch/inch range...
Below are some photos and video of the process, and figures I made of some test results. In the end specs are as good as or slightly better than benchmarks i found for Haas VF series and Super Mini Mill. So i am happy with that.