New Build - Starting from scratch with a Weiss VM25L (G0704)
Posted: Mon Dec 11, 2023 3:56 pm
Hello and thanks for having me and thank you in advance for assistance!
I will update this with images and videos as recommended in the sticky thread on new builds. I just finished the buying portion and am waiting for all the parts. I do have the Acorn unit and some other parts. I will do the bench testing this weekend I think.
My first question is which schematic would be best suited for the build?
Here is what I have so far:
Weiss VM25L I have been running manually for a few years which I have done many upgrades to.
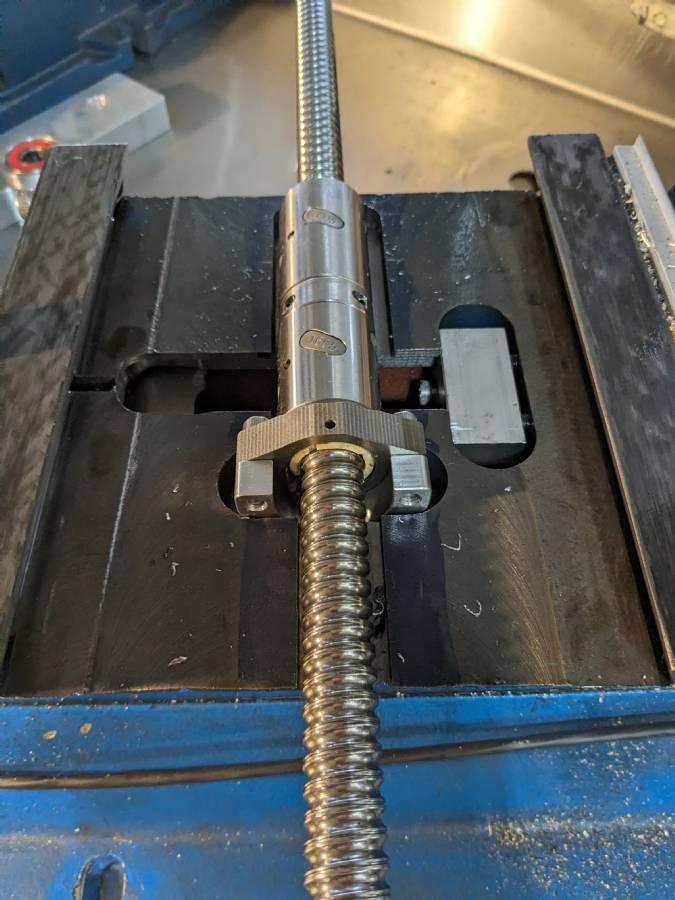
Pro Cut CNC double ball screw kit.
4 axis Acorn Rev4
KBSI-240D Signal Isolator.
24V Fixed Power supply (1000w 41a)
Lenovo ThinkPad T470 Touchscreen.
Automatic Tool Setting Gauge for Z.
Touch Probe.
1000ppr encoder with friction mount (I wanted to use the already in-use hall but think that is a bad idea if even doable) for spindle control.
DB9 and DB25 Breakout Boards.
Solinoid and lines for Mist.
Rotary 4th Axis with a tailstock(Nema 23 - Ratio:6:1, STEPPERONLINE - DM542T ).
STEPPERONLINE - Nema 34 12Nm 6a for Z with a DM860I.
STEPPERONLINE - Nema 23 3Nm 4.2a for X and Y with a DM542T.
Inductive Prox switches.
I went down the wrong Rabbit Hole on Spindles and I am backing up and punting for that. On the mill I already upgraded the drive and spindle to 3000 rpm and it has been great but found a killer deal on a PDS Colombo RV 90 Spindle (7.5HP 5.5kw 18-24k RPM ER25) and the VFD and other parts to convert but I honestly don't think I will be doing that type of work on it, just basic Aluminum work such as 80% lowers and parts. I did consider bolting it to the side and running dual spindles with one just as manual control. Any input on that would be much appreciated.
I will update with plenty of images. I have two lathes I have converted to semi-CNC with ELS that I may go acorn on after I get this one sorted.
I will update this with images and videos as recommended in the sticky thread on new builds. I just finished the buying portion and am waiting for all the parts. I do have the Acorn unit and some other parts. I will do the bench testing this weekend I think.
My first question is which schematic would be best suited for the build?
Here is what I have so far:
Weiss VM25L I have been running manually for a few years which I have done many upgrades to.
Pro Cut CNC double ball screw kit.
4 axis Acorn Rev4
KBSI-240D Signal Isolator.
24V Fixed Power supply (1000w 41a)
Lenovo ThinkPad T470 Touchscreen.
Automatic Tool Setting Gauge for Z.
Touch Probe.
1000ppr encoder with friction mount (I wanted to use the already in-use hall but think that is a bad idea if even doable) for spindle control.
DB9 and DB25 Breakout Boards.
Solinoid and lines for Mist.
Rotary 4th Axis with a tailstock(Nema 23 - Ratio:6:1, STEPPERONLINE - DM542T ).
STEPPERONLINE - Nema 34 12Nm 6a for Z with a DM860I.
STEPPERONLINE - Nema 23 3Nm 4.2a for X and Y with a DM542T.
Inductive Prox switches.
I went down the wrong Rabbit Hole on Spindles and I am backing up and punting for that. On the mill I already upgraded the drive and spindle to 3000 rpm and it has been great but found a killer deal on a PDS Colombo RV 90 Spindle (7.5HP 5.5kw 18-24k RPM ER25) and the VFD and other parts to convert but I honestly don't think I will be doing that type of work on it, just basic Aluminum work such as 80% lowers and parts. I did consider bolting it to the side and running dual spindles with one just as manual control. Any input on that would be much appreciated.
I will update with plenty of images. I have two lathes I have converted to semi-CNC with ELS that I may go acorn on after I get this one sorted.